
Alternative way to disconnect the battery on iPad Air 3
Hi guys,
I have a question on the battery replacement guide for the iPad Air 3. At step 12 the battery is disconnected. Since I haven't done this before, I have a little respect and don't want to break anything.
On Youtube, I found a video, where an alternative way of disconnecting the battery is described (Link, Minute 4:24). The guy in the video puts an opening pick beside the connector and not directly between the contacts of the connector.
For the iPad Air 3 this would mean, that an opening pick is put on the right side of the connector along the logic board.
What are your opinions on this method? Is it recommended or should I do it with the battery blocker?
Thank you very much for your help!
Maginos
Update (04/14/23)
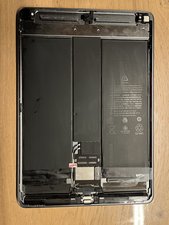
@strongbow Here’s a picture.

Update (04/14/23)
@strongbow
Update (04/21/23)

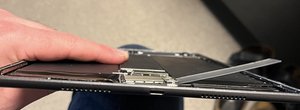
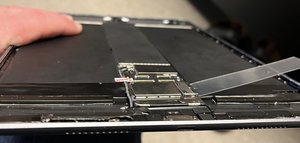
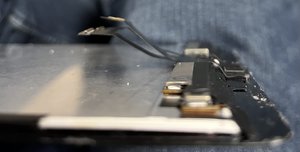
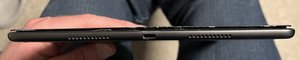
Here are some pictures, I hope you can find something useful for me.
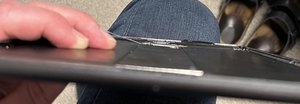
Btw, the display shattered. I don’t know, how bad it is, I will see, when the problem with the slit is solved.
좋은 질문 입니까?


댓글 4개
@strongbow Here’s a picture.
[image|2923629]
Maginos 의
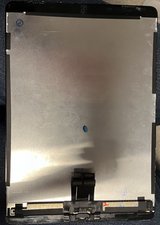
@maginos sorry, meant of the chassis under the screen. To see if something looks like it's not sitting correctly.
[deleted] 의
@strongbow did you find anything that’s not in the place where it should be?
Maginos 의
[image|2933549]
[image|2933552]
[image|2933551]
[image|2933550]
[image|2933547]
[image|2933546]
Maginos 의