소개
This guide will walk you through replacing the inner and outer tie rods on your Volvo 240. You may replace only the outer tie rods (tie rod ends) if you wish; this is a very common repair. If you are planning on replacing just the inner tie rods, though, we recommend that you consider replacing the outer tie rods as well.
필요한 것
-
-
Jack up the front of the car and place it on jack stands.
-
Use an impact wrench or lug wrench to remove the five 19 mm lug nuts from the front wheel.
-
Pull the front wheel off the wheel lugs and set it aside.
-
-
-
-
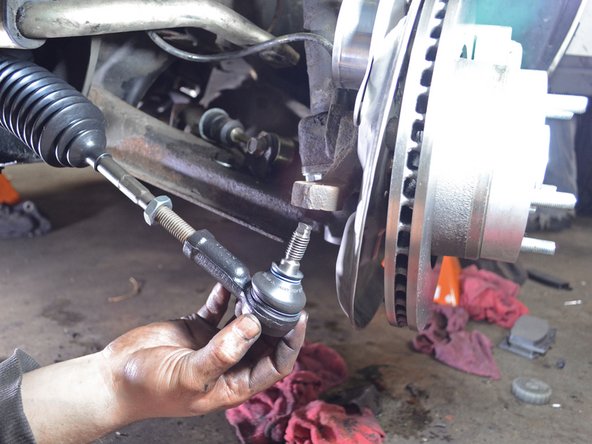
The outer tie rod simply screws onto the inner rod and can be removed by unscrewing it.
-
Screw the outer tie rod onto the inner tie rod.
-
Adjust the length of the tie rod assembly by spinning the outer tie rod so that it is the same length as the existing assembly. Once it is the correct length, use the back-in nut to secure the outer tie rod in place.
-
Repeat this process for the other tie rod assembly, using the new assembly as your guideline for the proper length.
-


With the new tie rods installed, place the wheels back on the car and lower it to the ground.
With the new tie rods installed, place the wheels back on the car and lower it to the ground.
다른 3명이 해당 안내서를 완성하였습니다.

댓글 4개
Recommend buying new boots. Even though my boots where not cracked it would have made the job easier. Great step by step.
how risky is it to break the seals when unscrewing the inner tie rod end ?
plattard.e - 답글