주요 콘텐츠로 건너뛰기

이 안내서에는 최근 변경 사항이 더 있습니다. 최신 비검증 버전으로 전환하십시오.

1999-2002 Suzuki SV650 Coolant Drain

단지 전제 조건
이 안내서는 다른 가이드의 선행 작업으로 사용하기 위한 것입니다. 그 자체로는 불완전합니다.

필요한 것

  1. 1999-2002 Suzuki SV650 Coolant Drain, Coolant Drain: 1 단계, 이미지 1/2 1999-2002 Suzuki SV650 Coolant Drain, Coolant Drain: 1 단계, 이미지 2/2
    • Remove the radiator cap security screw with a Phillips #1 screw driver by turning it counter-clockwise.

    • Remove the radiator cap by pressing down on it and turning it counter-clockwise until it can be lifted off the radiator.

    • If your engine has been running recently, be very careful. The system may be pressurized and hot which will cause coolant to flow out through the radiator filler hole when the cap is removed.

  2. 1999-2002 Suzuki SV650 Coolant Drain: 2 단계, 이미지 1/3 1999-2002 Suzuki SV650 Coolant Drain: 2 단계, 이미지 2/3 1999-2002 Suzuki SV650 Coolant Drain: 2 단계, 이미지 3/3
    • Locate the 10 mm hex coolant drain plug. It is on the right engine cover, just below the coolant outlet.

    • Turn the coolant drain plug counter-clockwise with a 10 mm socket wrench or box end wrench until it can be turned freely by hand.

    • Place a container under the drain plug to catch the coolant when it streams out of the coolant drain hole.

    • Coolant capacity is 1.7L, ensure your container can accommodate this.

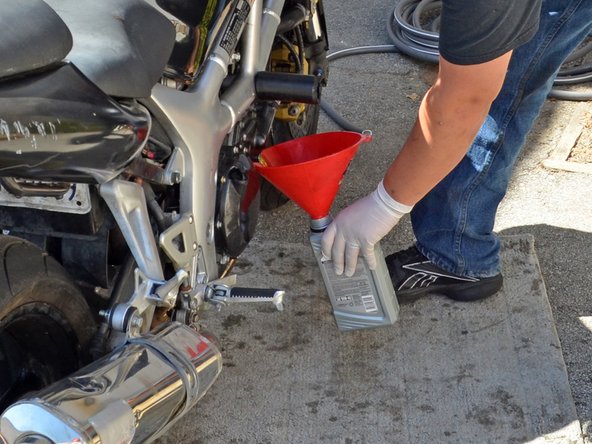
    • If you are not using a pan style container, it is recommended that you use a funnel to help prevent spills.

  3. 1999-2002 Suzuki SV650 Coolant Drain: 3 단계, 이미지 1/2 1999-2002 Suzuki SV650 Coolant Drain: 3 단계, 이미지 2/2
    • Finish removing the drain plug by hand and allow the coolant to drain into the container.

    • Once the draining coolant has slowed to a drip, stand the bike up vertically to allow the last of it to drain.

  4. 1999-2002 Suzuki SV650 Coolant Drain: 4 단계, 이미지 1/3 1999-2002 Suzuki SV650 Coolant Drain: 4 단계, 이미지 2/3 1999-2002 Suzuki SV650 Coolant Drain: 4 단계, 이미지 3/3
    • Put the coolant drain plug back in its hole and turn it clockwise with a socket wrench or box end wrench until it is snug.

    • Do not over-tighten the drain plug or you risk stripping the threads. Suzuki rates the drain plug torque at 9.5 lb-ft (13 N-m).

    • Place the radiator cap back over the filler hole and turn it clockwise until is snug.

    • Placing the radiator cap back on the radiator will prevent debris from entering the radiator while working on the bike.

결론

To reassemble your device, follow these instructions in reverse order.

Phillip Takahashi

회원 가입일: 08/22/11

86,704 평판

안내서 87개 작성하였습니다

댓글 0개

댓글 쓰기

조회 통계:

24 시간 전: 0

7일 전: 0

30일 전: 0

전체 시간: 302