주요 콘텐츠로 건너뛰기

2001-2006 Mini Cooper Radio Replacement

필요한 것

  1. 2001-2006 Mini Cooper Radio Replacement, Radio / Head Unit: 1 단계, 이미지 1/3 2001-2006 Mini Cooper Radio Replacement, Radio / Head Unit: 1 단계, 이미지 2/3 2001-2006 Mini Cooper Radio Replacement, Radio / Head Unit: 1 단계, 이미지 3/3
    • Grab the knee bolster panel under the steering column with both hands.

    • Pull it down and out.

    • Using a Torx screwdriver with T30 tip, remove the two M5 x 2.5 x 25 screws in the left pillar.

  2. 2001-2006 Mini Cooper Radio Replacement: 2 단계, 이미지 1/3 2001-2006 Mini Cooper Radio Replacement: 2 단계, 이미지 2/3 2001-2006 Mini Cooper Radio Replacement: 2 단계, 이미지 3/3
    • Open the glovebox.

    • Using a Torx screwdriver with a T20 tip, remove the two M5 x 2.5 x 30 screws in the right hand side pillar.

    • Minis in America will usually have a cup holder attached with these 2 screws on the right. It will come off when the 2 screws are removed and can be set to the side.

  3. 2001-2006 Mini Cooper Radio Replacement: 3 단계, 이미지 1/3 2001-2006 Mini Cooper Radio Replacement: 3 단계, 이미지 2/3 2001-2006 Mini Cooper Radio Replacement: 3 단계, 이미지 3/3
    • With the glovebox still open, grab the bottom of the passenger dash panel and pull it forward. The panel does not need to be removed, just popped out.

    • Grab under the driver side dash panel near the radio and pull it forward. Again, the panel does not need to be removed, just popped out.

    • Pull each side of the middle dash panel until it pops out, like the previous ones.

  4. 2001-2006 Mini Cooper Radio Replacement: 4 단계, 이미지 1/3 2001-2006 Mini Cooper Radio Replacement: 4 단계, 이미지 2/3 2001-2006 Mini Cooper Radio Replacement: 4 단계, 이미지 3/3
    • Grab the left hand side pillar, then pull it out and to the left.

    • Grab the right hand side pillar, then pull it out and to the right.

    • The four screws holding the radio in should now be exposed.

  5. 2001-2006 Mini Cooper Radio Replacement: 5 단계, 이미지 1/3 2001-2006 Mini Cooper Radio Replacement: 5 단계, 이미지 2/3 2001-2006 Mini Cooper Radio Replacement: 5 단계, 이미지 3/3
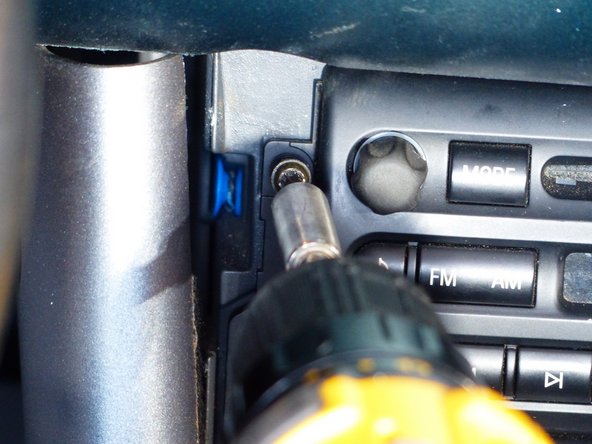
    • Using a screwdriver with a T20 bit, take out the four M3 x 2 x 20 screws holding the radio in place.

  6. 2001-2006 Mini Cooper Radio Replacement: 6 단계, 이미지 1/2 2001-2006 Mini Cooper Radio Replacement: 6 단계, 이미지 2/2
    • Grab the radio and gently pull it out of the dash.

  7. 2001-2006 Mini Cooper Radio Replacement: 7 단계, 이미지 1/3 2001-2006 Mini Cooper Radio Replacement: 7 단계, 이미지 2/3 2001-2006 Mini Cooper Radio Replacement: 7 단계, 이미지 3/3
    • Pinch the antenna connector and pull it straight out.

  8. 2001-2006 Mini Cooper Radio Replacement: 8 단계, 이미지 1/2 2001-2006 Mini Cooper Radio Replacement: 8 단계, 이미지 2/2
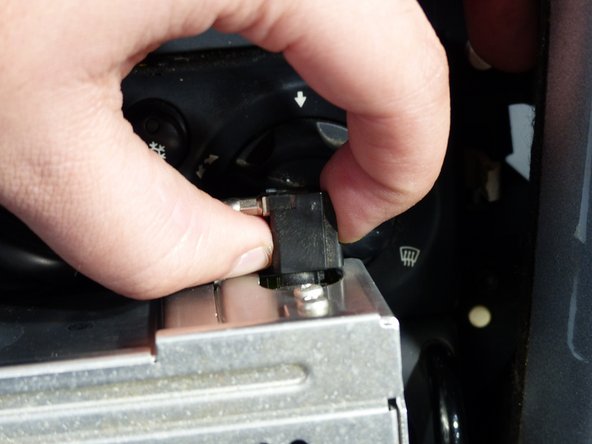
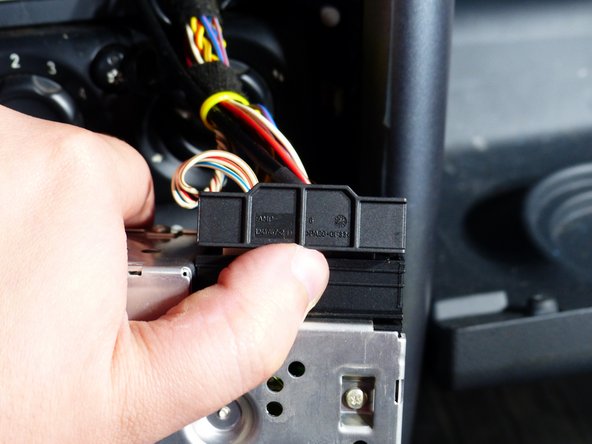
    • For the main connector, pinch the lever arm with the piece of plastic next to it.

    • Lift up on the arm and pull the connector out.

    • The radio can now be removed from the car.

결론

To reassemble your device, follow these instructions in reverse order.

다른 5명이 해당 안내서를 완성하였습니다.

David Olson

회원 가입일: 03/24/20

292 평판

안내서 1개 작성함

댓글 한 개

I bought everything to install a aftermarket radio in my 2005. Mini s. Everything lights up. Stations tune in but no sound

Roy Ober - 답글

댓글 쓰기

조회 통계:

24 시간 전: 21

7일 전: 59

30일 전: 222

전체 시간: 11,322