소개
Change the oil in your '02-'07 Mitsubishi Lancer, with 2.0L I4 DOHC engine, to improve engine performance and longevity.
It is typically recommended that you change your vehicle's oil every 3,000 to 7,500 miles. However, this number can vary depending on your operating conditions, age of your vehicle, number of miles on your engine and your driving habits. Use of synthetic oils can help reduce engine wear and are advisable for older engines or if your typical driving involves extended periods of stop and go traffic.
필요한 것
-
-
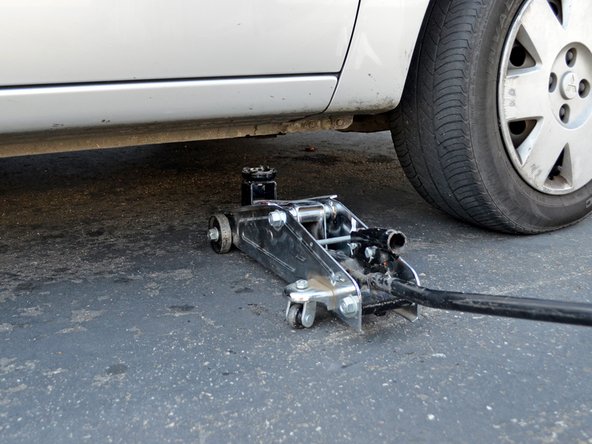
Begin by locating the lifting point. It is on the passenger side of the car, below the rocker panel and just behind the front wheel.
-
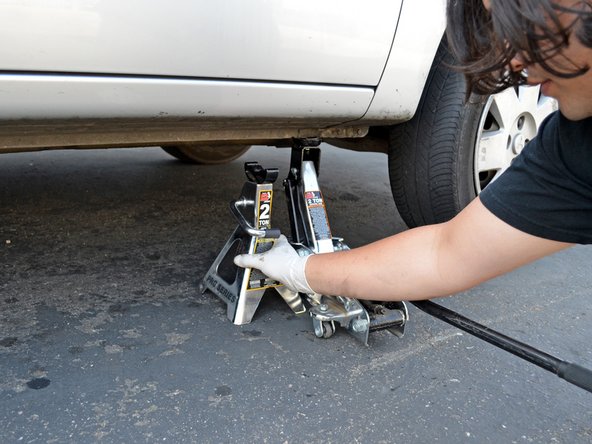
Place the jack under the lifting point.
-
Lift the car until you can fit underneath it.
-
-
-
Locate the 17mm hex oil drain plug. It is on the passenger side of the car, facing backwards and is next to the exhaust pipe.
-
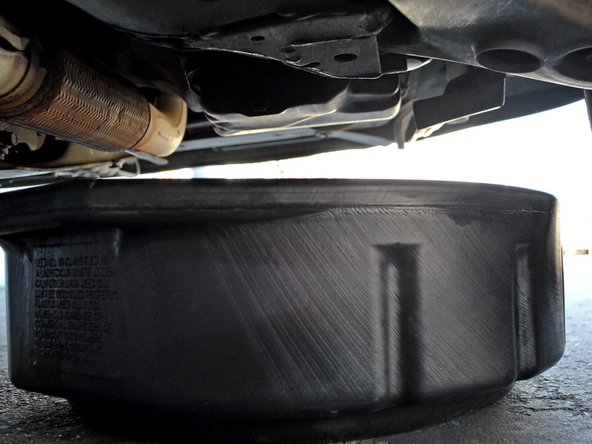
Place the oil drain pan underneath the oil drain plug.
-
-
-
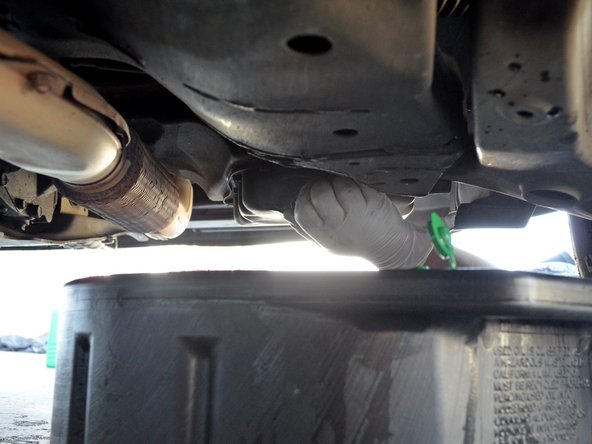
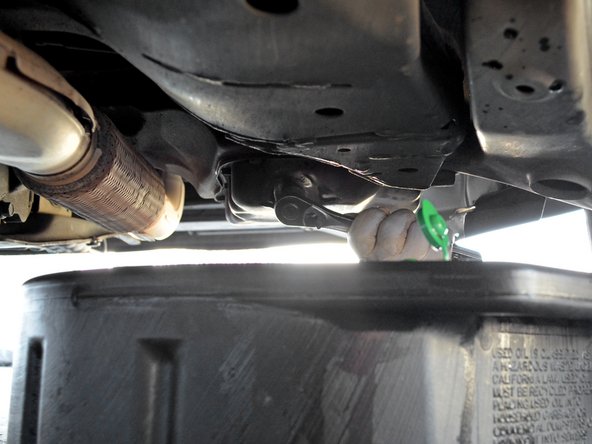
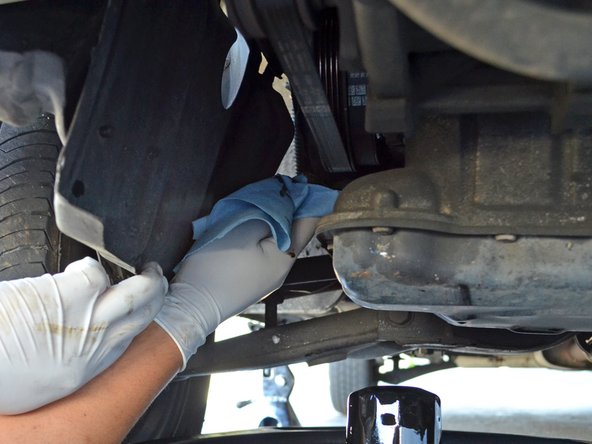
Locate the oil filter. It is on the passenger side of the oil drain pan and is most easily accessible from the front of the car.
-
Reposition the oil drain pan so that it catches the oil that will spill when you remove the oil filter.
-
-
-
-
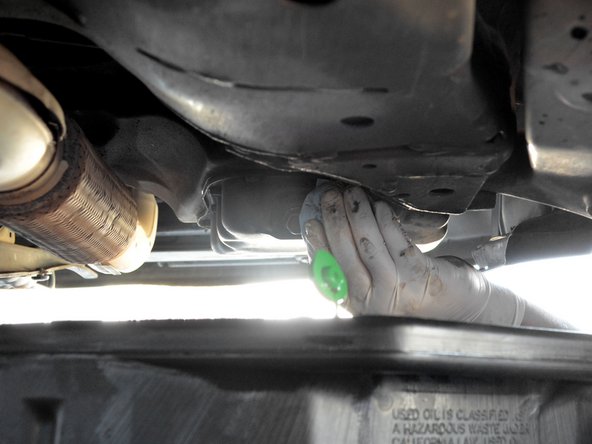
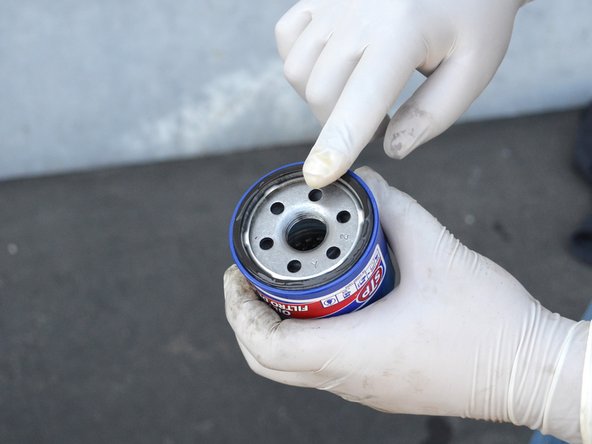
Place the threaded end of the oil filter onto the engine's oil filter threads, being careful to not get dirt or debris on the filter's gasket.
-
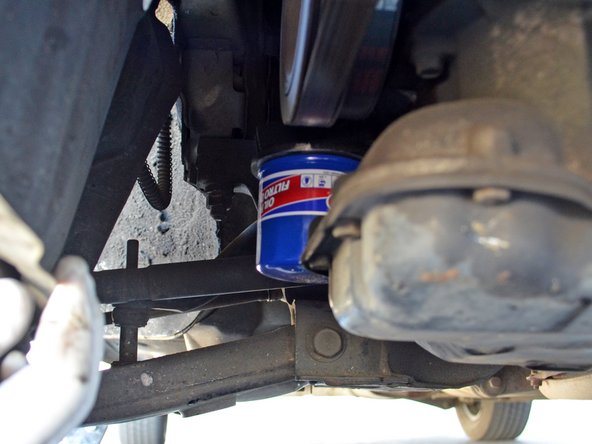
Turn the filter clockwise by hand until it is snug. Tightening the filter should require a moderate amount of your strength, but not all of it.
-
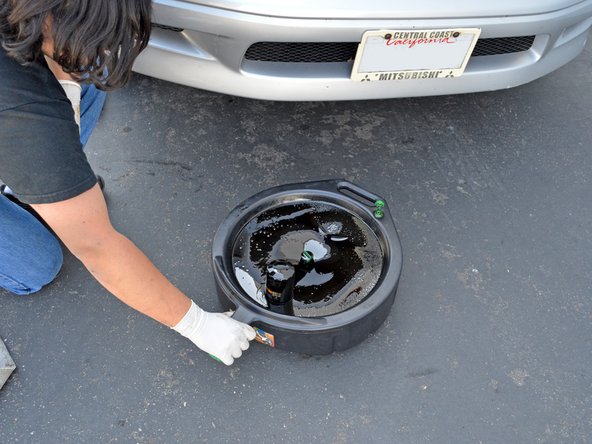
Remove the oil drain pan from under the car.
-
-
-
Place the jack back under the lifting point.
-
Lift the car until the jack stand is no longer supporting the car.
-
Remove the jack stand.
-
Slowly lower the car until the jack is no longer supporting the it.
-
-
-
Locate the hood release lever. It is below the left side of the driver's console.
-
Pull the lever until you hear the hood click.
-
Go to the front of the car and locate the hood release latch. It is under the hood and slightly towards the driver's side of the car.
-
Lift up on the hood release latch and lift the hood open.
-
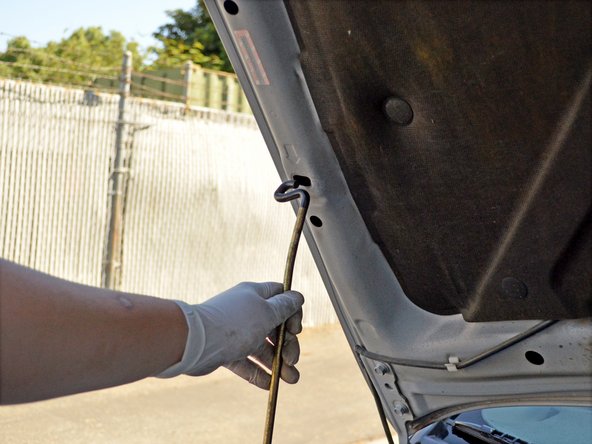
Place the end of the hood prop rod into the hole on the passenger's side of the hood marked by an arrow.
-
-
-
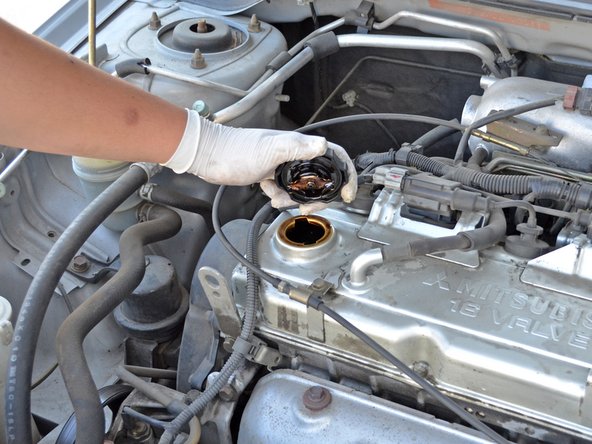
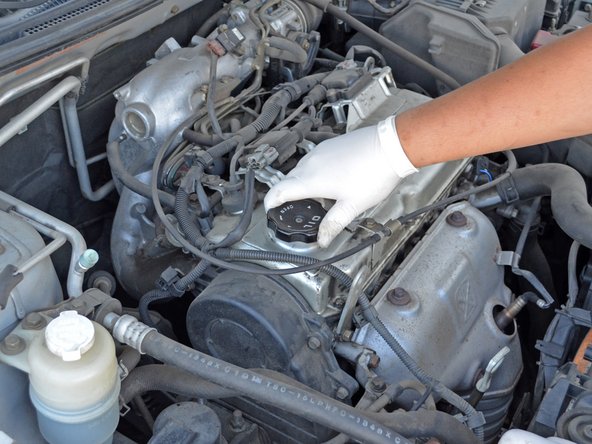
Locate the oil dipstick. It has a white handle and is on the front passenger side of the engine.
-
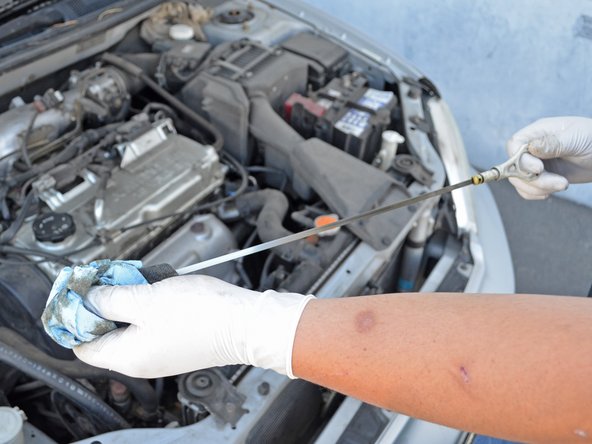
Pull out the oil dipstick, wipe it off, place it all the way back into its hole and remove it again.
-
Check the oil level on the end of the dipstick. It should be between the two holes or slightly above the top one.
-
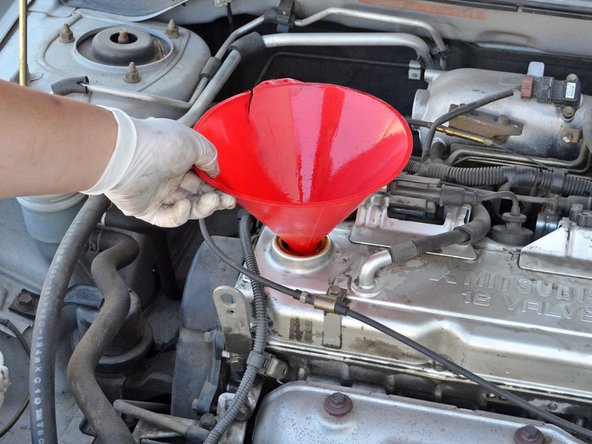
Add oil if the oil level is below the bottom hole of the dipstick. Place the oil dipstick all the way back in its hole.
-
-
-
Support the hood with one hand and use your other hand to place the hood prop rod back into its holder.
-
Gently lower the hood until it clicks into the secondary latch.
-
Press firmly on the edge of the hood until you hear the primary latch engage.
-
-
-
Start the car and look for leaks under the car. If there are leaks, shut the car off and determine if the drain plug or filter need to be tightened, or if a part has been damaged.
-
After running the engine for a few minutes, let it cool down for at least an hour and re-check the oil level. If the oil level is more than a 1/2" above the top hole of the dipstick you will need to drain oil. If the oil level is below the bottom hole of the dipstick you will need to add oil.
-
Allow 12-24 hours for all the oil to drain out of your old oil filter.
-
Take your old oil and filter to a recycling facility. Most auto parts stores and repair shops accept these at no charge. In addition, some cities and/or counties have a service where they will collect used oil and filters from your home. For more information, see the American Petroleum Institute's web page on used motor oil collection and recycling.
-


다른 23명이 해당 안내서를 완성하였습니다.

댓글 7개
what are u looking for mate?
Overall nice job on the write up. You get a Gold Star!