소개
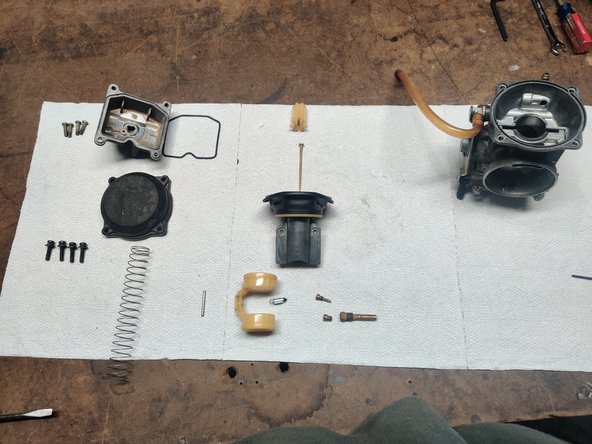
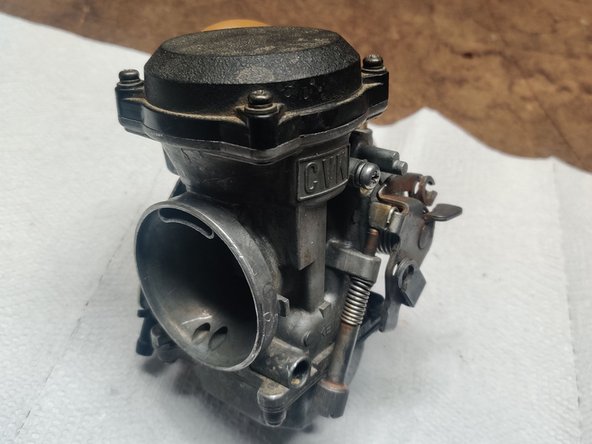
If your 2002 Kawasaki KLR650 Carburetor needs to be rebuilt to better control the the air and fuel entering the engine-please use this guide to replace it. Please inspect all parts before starting this project. In addition, safely remove all old fuel and dispose of according to your local laws.
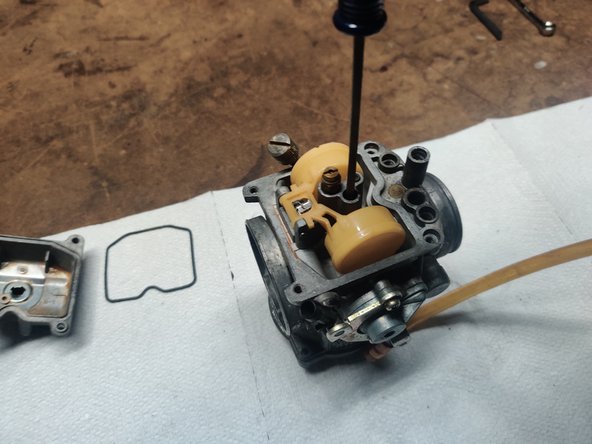
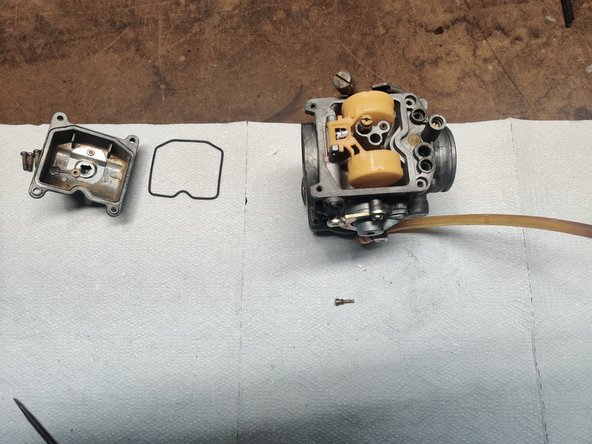
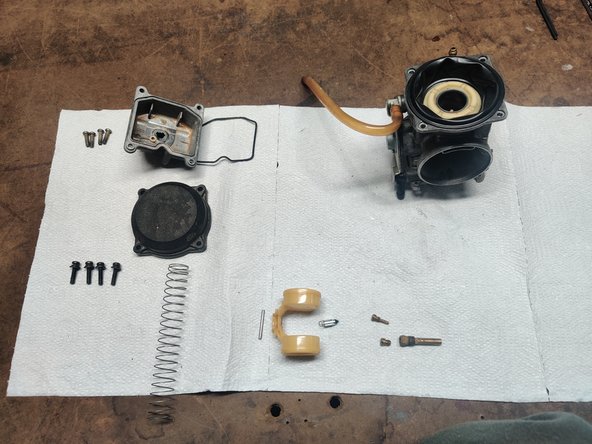
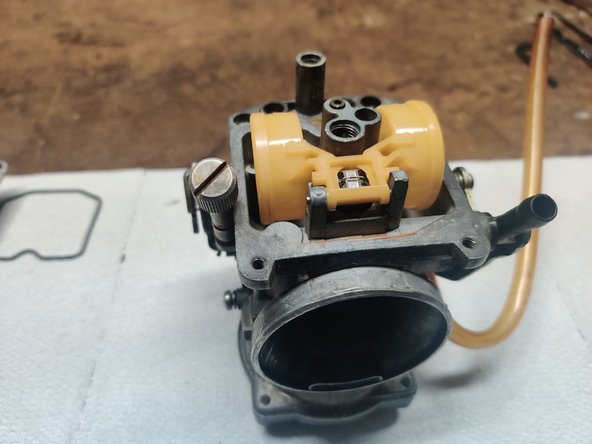
Removing the bowl and taking the gasket out of the bowl will be your first step in aiding to better control the air and fuel.
A couple of warnings before you begin:
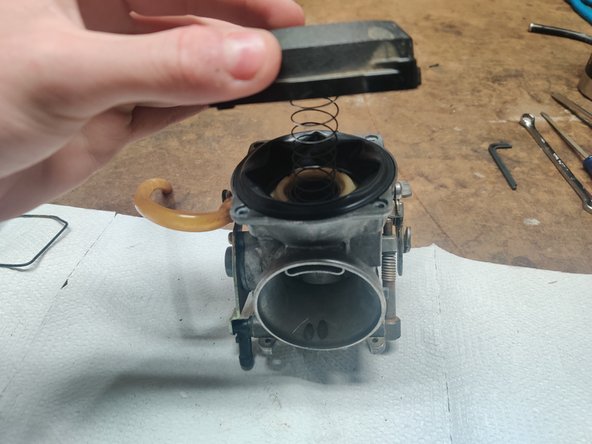
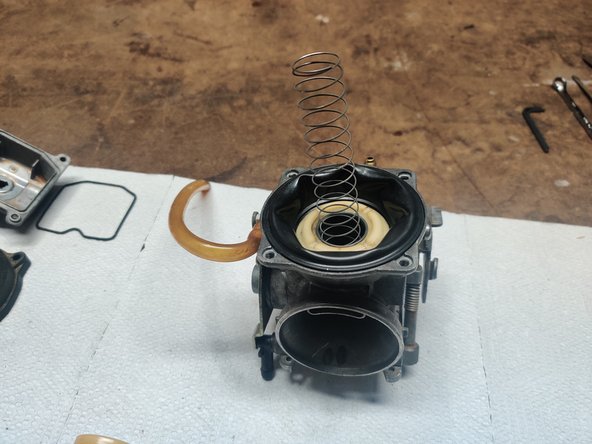
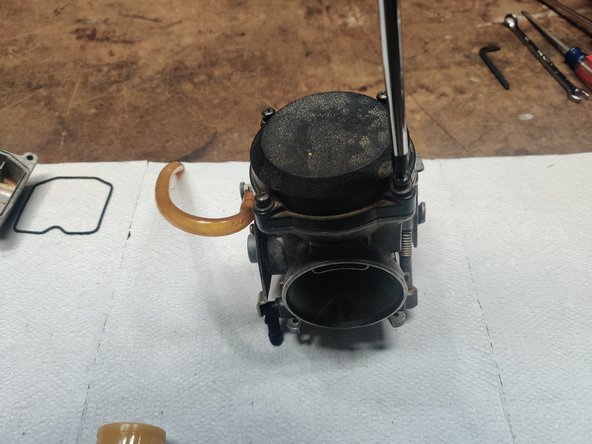
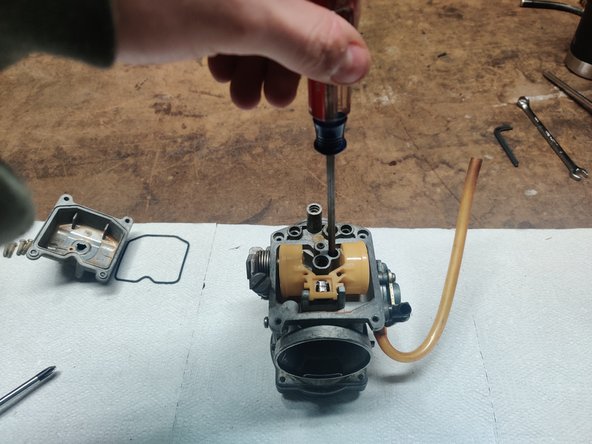
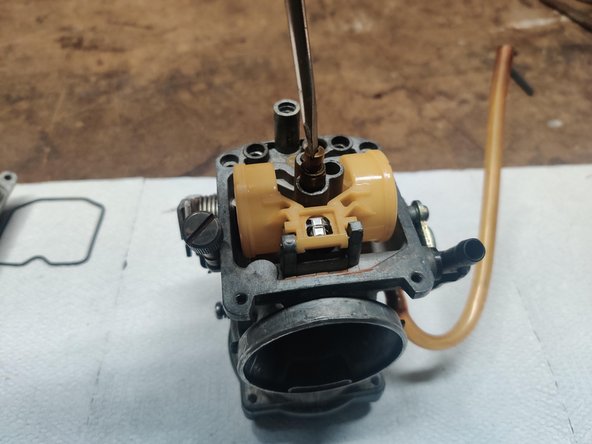
In step 7 note that the top housing is spring loaded.
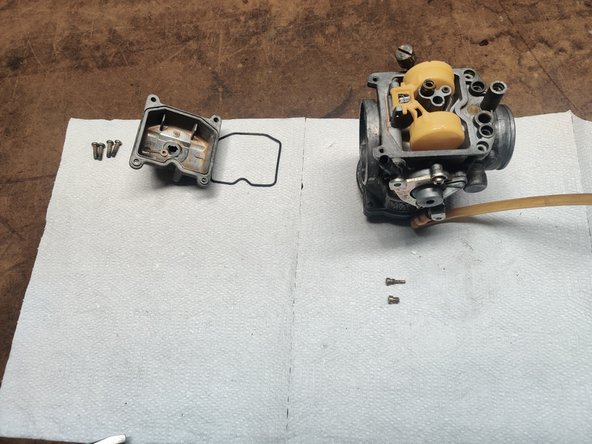
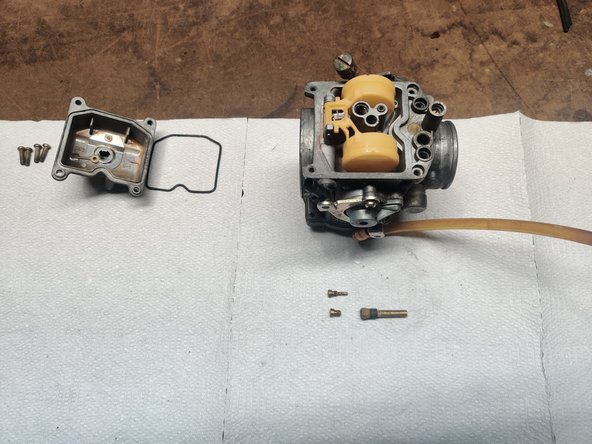
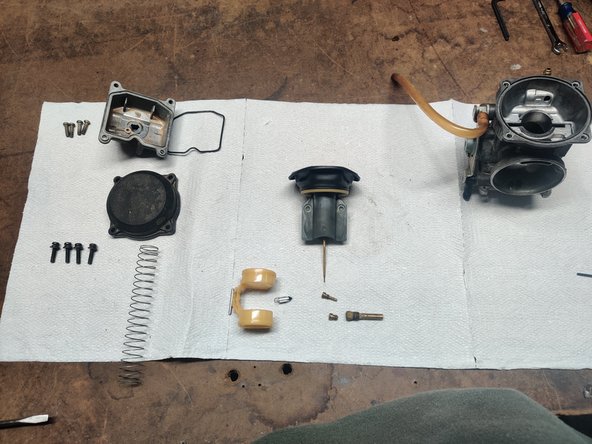
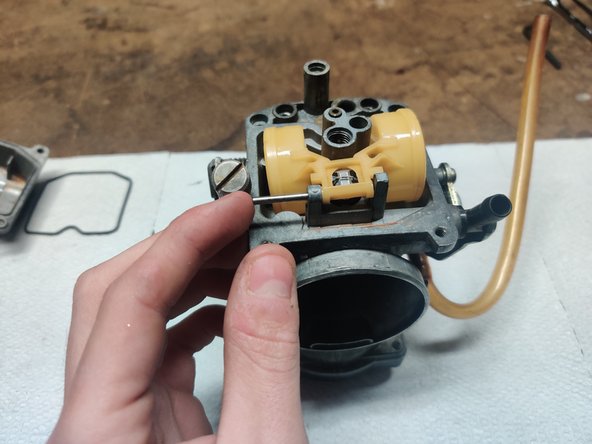
In step 11 don't over-tighten the pilot jet as it is made of brass and may strip easily.
필요한 것
-
-
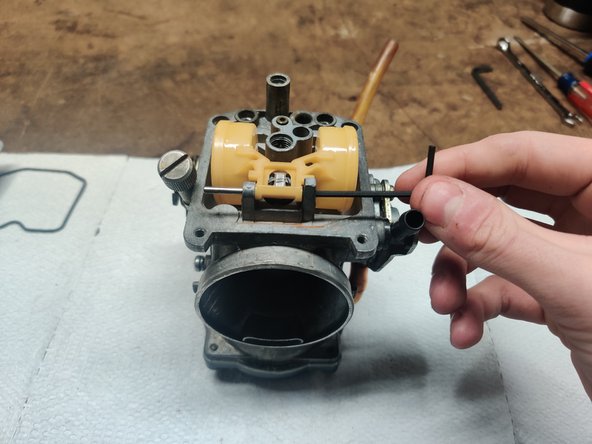
Use an 3 mm Allen wrench to loosen the drain screw on lower portion of bowl.
-
Remove old fuel left inside of bowl.
-
-


To reassemble your device, follow these instructions in reverse order.
To reassemble your device, follow these instructions in reverse order.
다른 한 분이 해당 안내서를 완성하였습니다.

팀

UMass Dartmouth, Team S1-G15, Riel Spring 2021 UMass Dartmouth, Team S1-G15, Riel Spring 2021 회원
UMASSD-RIEL-S21S1G15
1 회원
안내서 1개 작성하였습니다