소개
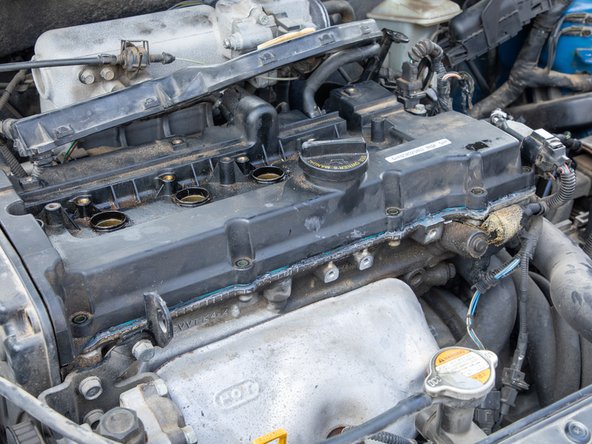
If your 2006 Kia Rio’s engine is leaking oil from the top of the engine, the valve cover gasket may need to be replaced. This guide will take you through the steps to remove the valve cover, replace the seal using a gasket and a gasket maker, and re-install the cover.
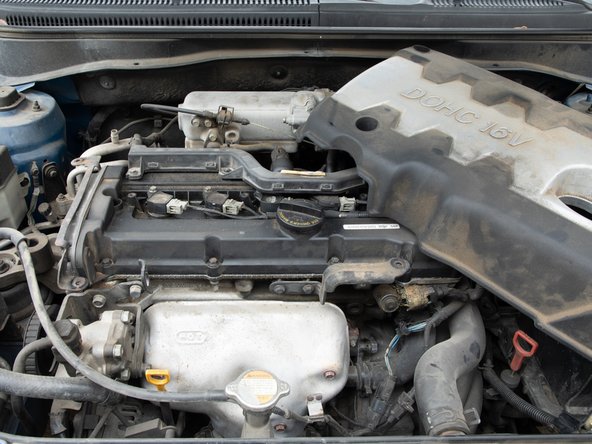
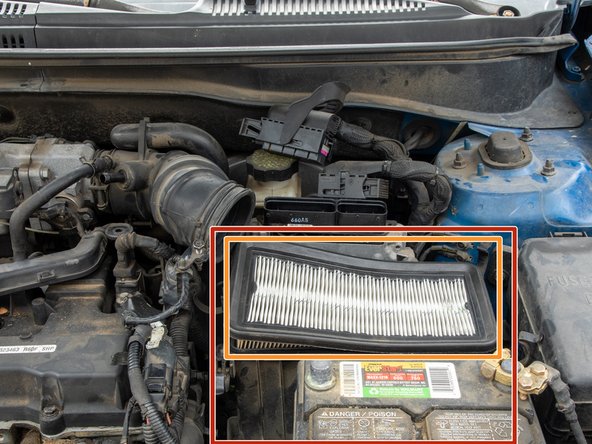
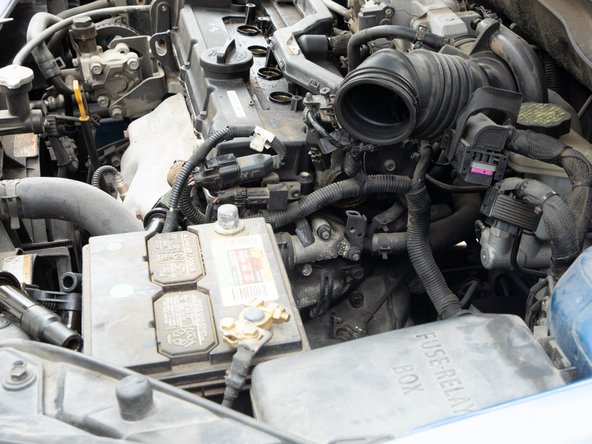
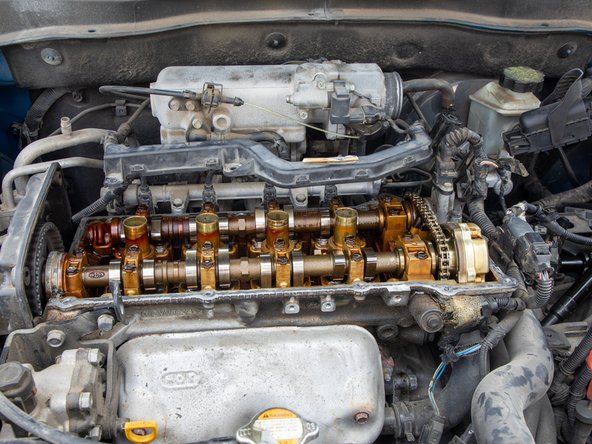
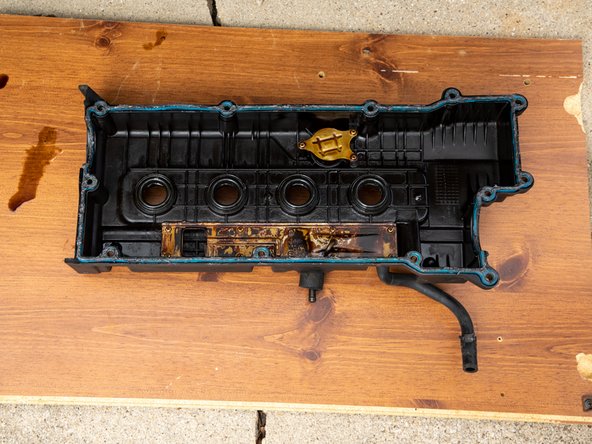
The valve cover provides access to the valves and timing mechanisms of your engine when removed. The valve cover gasket seals the cover and prevents oil from leaking out of the engine. The valve cover gasket is crucial to preventing oil leaks. If the gasket is damaged, these leaks can cause your engine’s performance to decrease, or even fail if left unchecked.
Warnings
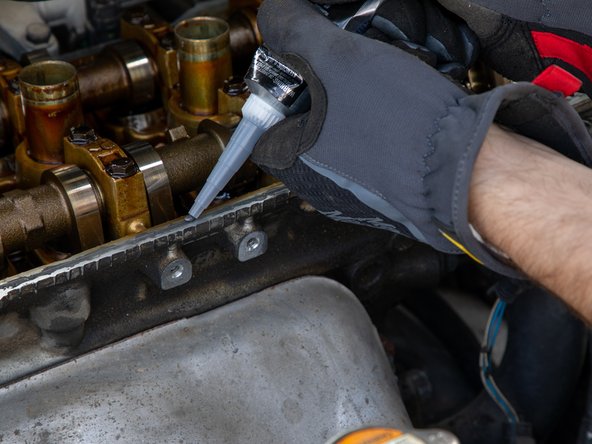
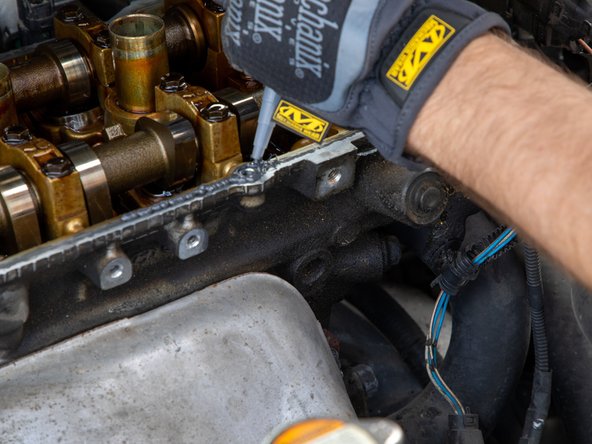
- Step 16 will have you apply Gasket Maker to the engine block. Use gloves and coverings when handling the Gasket Maker.
- Steps 15-18 will expose the inner mechanisms of the engine. Dust and other contaminants can damage these components. We cannot recommend leaving your engine exposed for long periods of time. Either be prepared to finish this project in a single sitting or take precautions to cover the exposed engine when not present.
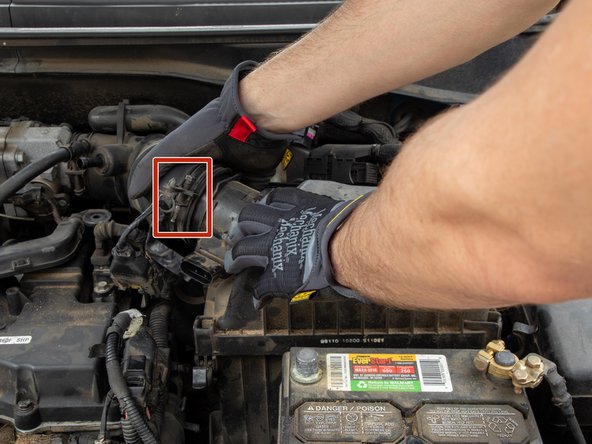
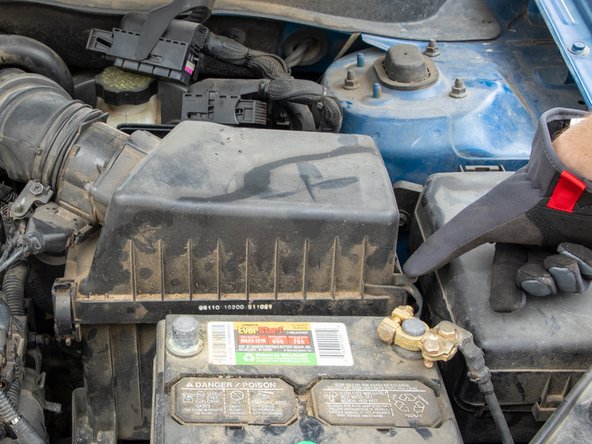
- As with all automobile work, power off the ignition, engage the parking brake, and disconnect the battery before starting.
필요한 것
-
-
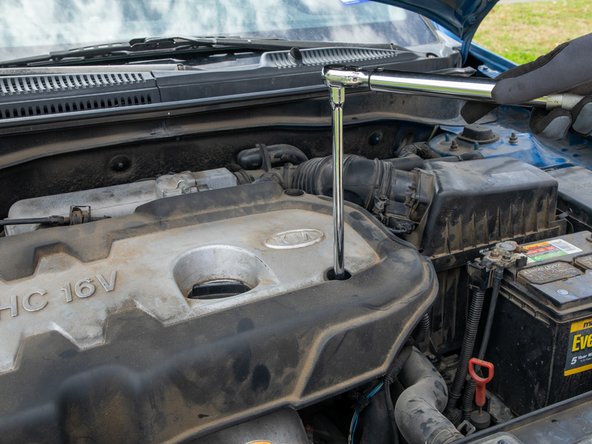
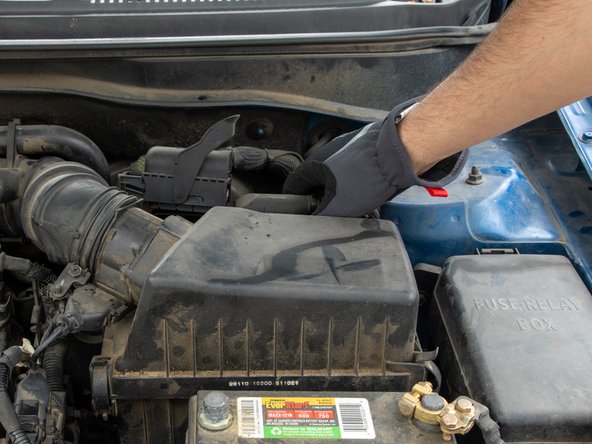
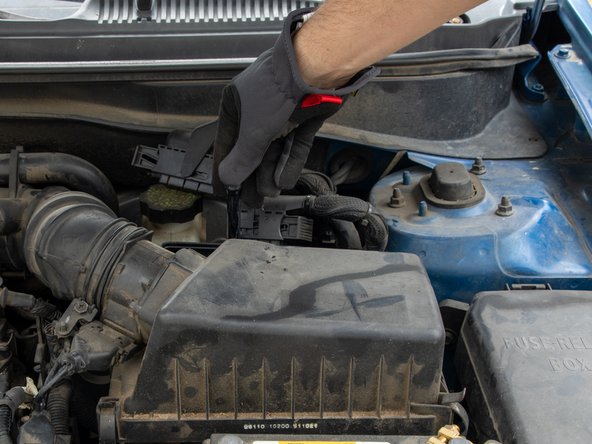
Open the car's hood using the latch under the steering wheel, next to the door.
-
-


To reassemble your device, follow these instructions in reverse order. Avoid running the engine for 12 hours to allow the seal to harden.
To reassemble your device, follow these instructions in reverse order. Avoid running the engine for 12 hours to allow the seal to harden.

팀

University of North Texas, Team S1-G29, Raign Spring 2021 University of North Texas, Team S1-G29, Raign Spring 2021 회원
UNT-RAIGN-S21S1G29
2 회원들
안내서 1개 작성하였습니다