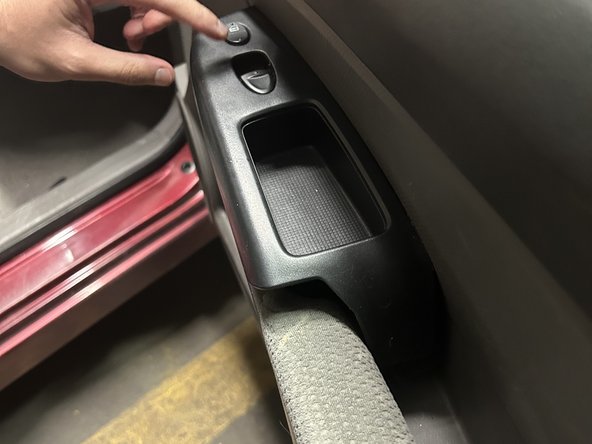
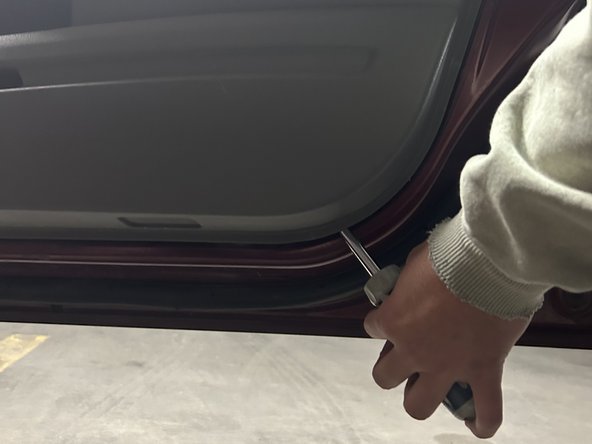
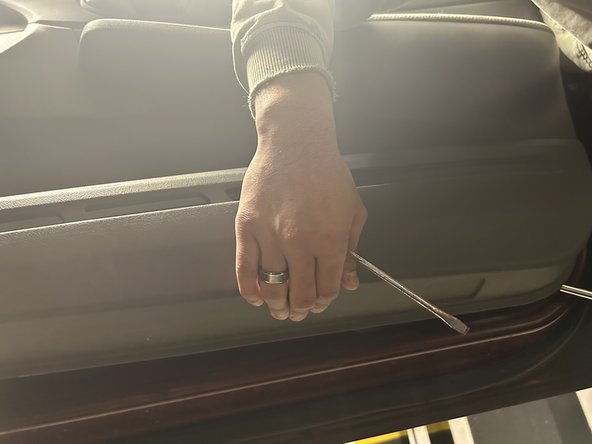
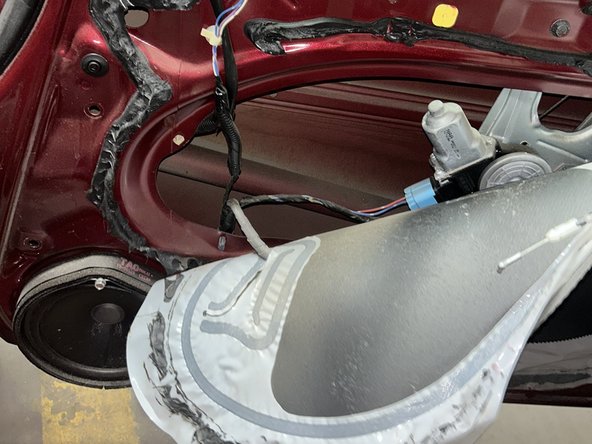
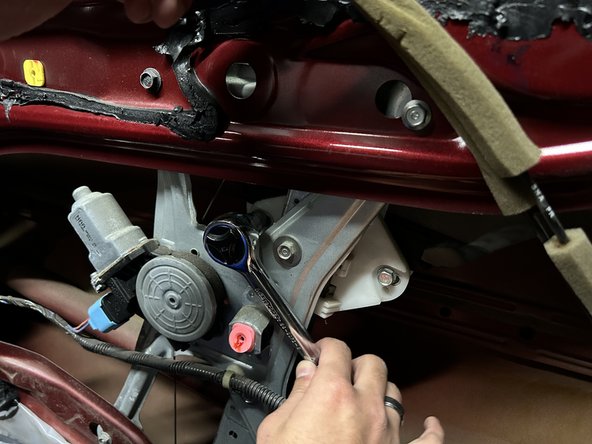
주요 콘텐츠로 건너뛰기

2009 Honda Civic Window Regulator Replacement

필요한 것

  1. 2009 Honda Civic Window Regulator Replacement, Window Regulator: 1 단계, 이미지 1/3 2009 Honda Civic Window Regulator Replacement, Window Regulator: 1 단계, 이미지 2/3 2009 Honda Civic Window Regulator Replacement, Window Regulator: 1 단계, 이미지 3/3
    • Park the vehicle on a level surface and turn off the ignition.

  2. 2009 Honda Civic Window Regulator Replacement: 2 단계, 이미지 1/3 2009 Honda Civic Window Regulator Replacement: 2 단계, 이미지 2/3 2009 Honda Civic Window Regulator Replacement: 2 단계, 이미지 3/3
    • Remove the Phillips screw located behind the door handle.

  3. 2009 Honda Civic Window Regulator Replacement: 3 단계, 이미지 1/2 2009 Honda Civic Window Regulator Replacement: 3 단계, 이미지 2/2
    • Place a prying tool in the small crevice at the centre of the window controller and pry upwards.

  4. 2009 Honda Civic Window Regulator Replacement: 4 단계, 이미지 1/2 2009 Honda Civic Window Regulator Replacement: 4 단계, 이미지 2/2
    • Disconnect the electrical connectors attached to the panel by pressing onto the tab.

  5. 2009 Honda Civic Window Regulator Replacement: 5 단계, 이미지 1/3 2009 Honda Civic Window Regulator Replacement: 5 단계, 이미지 2/3 2009 Honda Civic Window Regulator Replacement: 5 단계, 이미지 3/3
    • Use a prying tool to pry off the door panel.

  6. 2009 Honda Civic Window Regulator Replacement: 6 단계, 이미지 1/2 2009 Honda Civic Window Regulator Replacement: 6 단계, 이미지 2/2
    • Push downwards on the holder and pull the wire towards yourself.

  7. 2009 Honda Civic Window Regulator Replacement: 7 단계, 이미지 1/2 2009 Honda Civic Window Regulator Replacement: 7 단계, 이미지 2/2
    • Use a prying tool to remove the two black plugs on the left-hand side and right-hand side of the plastic liner.

  8. 2009 Honda Civic Window Regulator Replacement: 8 단계, 이미지 1/2 2009 Honda Civic Window Regulator Replacement: 8 단계, 이미지 2/2
    • Remove the connector by pushing onto the tab using a prying tool.

  9. 2009 Honda Civic Window Regulator Replacement: 9 단계, 이미지 1/2 2009 Honda Civic Window Regulator Replacement: 9 단계, 이미지 2/2
    • Gently remove the plastic liner.

  10. 2009 Honda Civic Window Regulator Replacement: 10 단계, 이미지 1/2 2009 Honda Civic Window Regulator Replacement: 10 단계, 이미지 2/2
    • Use a wrench to remove the two bolts located at the left-hand side and right-hand side.

  11. 2009 Honda Civic Window Regulator Replacement: 11 단계, 이미지 1/3 2009 Honda Civic Window Regulator Replacement: 11 단계, 이미지 2/3 2009 Honda Civic Window Regulator Replacement: 11 단계, 이미지 3/3
    • Use the wrench to unscrew the first bolt located at the top of the door in a counterclockwise motion.

    • Use the wrench to unscrew the second bolt located at the bottom of the door in a counterclockwise motion.

  12. 2009 Honda Civic Window Regulator Replacement: 12 단계, 이미지 1/2 2009 Honda Civic Window Regulator Replacement: 12 단계, 이미지 2/2
    • After removing all four bolts, use your hands to remove the window regulator.

결론

To reassemble your device, follow these instructions in reverse order.

다른 한 분이 해당 안내서를 완성하였습니다.

Usman Khan

회원 가입일: 01/18/23

406 평판

안내서 2개 작성하였습니다

York University, Team 1-13, O'Regan Winter 2024 York University, Team 1-13, O'Regan Winter 2024 회원

YORK-O'REGAN-W24S1G13

1 회원

안내서 2개 작성하였습니다

댓글 0개

댓글 쓰기

조회 통계:

24 시간 전: 2

7일 전: 14

30일 전: 46

전체 시간: 68