소개
This guide demonstrates how to replace the stereo unit of the 2009 Subaru Impreza WRX. It can be used to replace a broken unit.
필요한 것
-
-
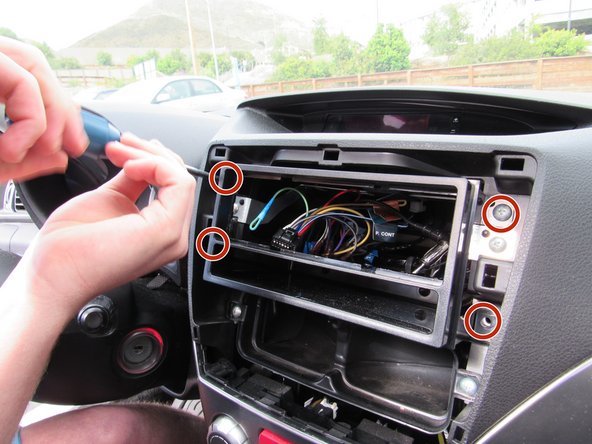
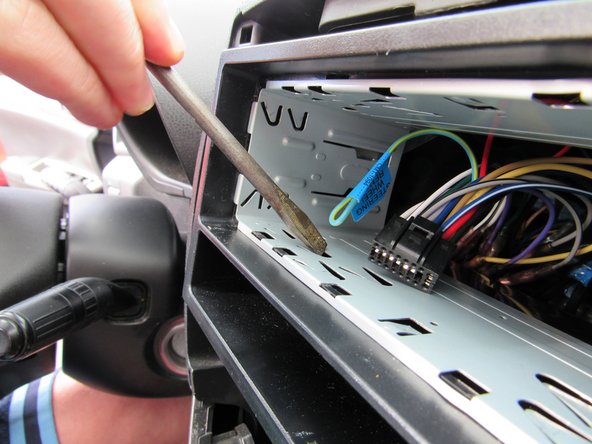
Insert a plastic trim removal tool or pry tool into the seam behind the trim surround, and twist lightly.
-
Use your hands to slowly pry off the rest of the trim surround.
-
-
-
-
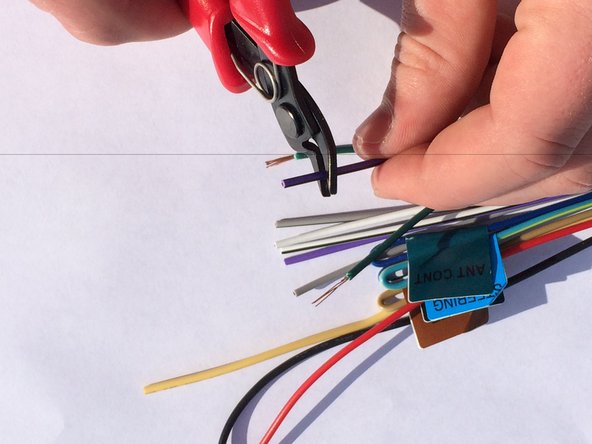
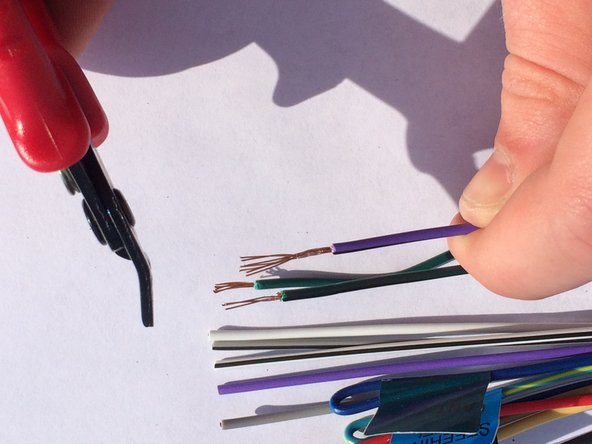
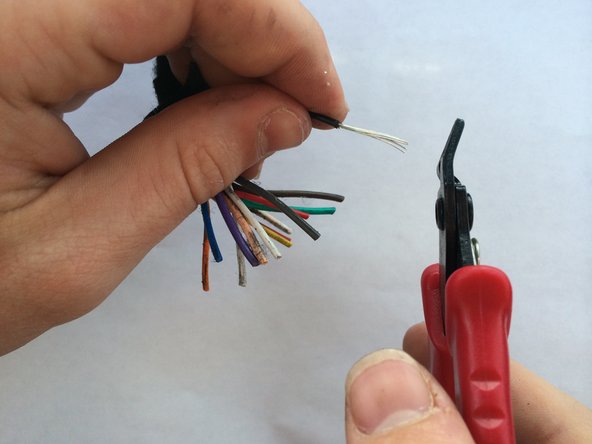
Strip each wire in the wiring harness necessary for installation.
-
Be careful while stripping the wires. They are extremely brittle and tend to rip easily.
-
Once both the OEM white wiring harness and the black aftermarket wiring harness are stripped, bring the two ends together to start comparing which wires need to be connected.
-
-
-
Connect the wires from the two wiring harnesses.
-
Crimp Caps, soldering, or wire butt connectors can be used for the connection. Please see related guides for instruction on each method.
-
Use the table to the left to match up correct wires. Wires not listed are not used in the installation and should either be uncut or taped with electrical tape at the ends.
-
-
-
Locate the aftermarket metal spacer.
-
Slide it into the mounting bracket.
-
Press the triangle tabs along each edge to form a solid connection.
-
Note: There may be a slight amount of movement after the tabs are already pressed. Is is unavoidable and most movement will be removed once the stereo is in place.
-
-
-
Once the cords are reconnected, slide the stereo back into the housing. It will click into place.
-
Note: Do not force the stereo into place. If it doesn't slid in smoothly, most likely the wiring is in the way and should be adjusted to prevent damage.
-
Snap the final molding back into place to complete the dash.
-


To reassemble your device, follow these instructions in reverse order.
To reassemble your device, follow these instructions in reverse order.
다른 5명이 해당 안내서를 완성하였습니다.
팀

Cal Poly, Team 8-3, Regan Spring 2015 Cal Poly, Team 8-3, Regan Spring 2015 회원
CPSU-REGAN-S15S8G3
5 회원들
안내서 5개 작성하였습니다
댓글 2개
OMG! Instead of cutting off the factory power/speaker harness plug, it's much better to obtain an aftermarket wiring harness. You'll be able to combine that to your new stereo's harness on your workbench or kitchen table instead of working in the cramped space in the car's dash, not to mention being able to quickly and easily reinstall the factory stereo if necessary (e.g., when you want to sell the car). For 2008-2014 (and some 2015) Impreza, WRX, STi, Forester, and Crosstrek models that had the non-navigation OEM stereo, you'll want a Metra 70-7552 or Scosche NN04B. Or if your steering wheel has audio controls that you would like to retain, search for similar aftermarket installation harnesses that include the additional SWC wires.
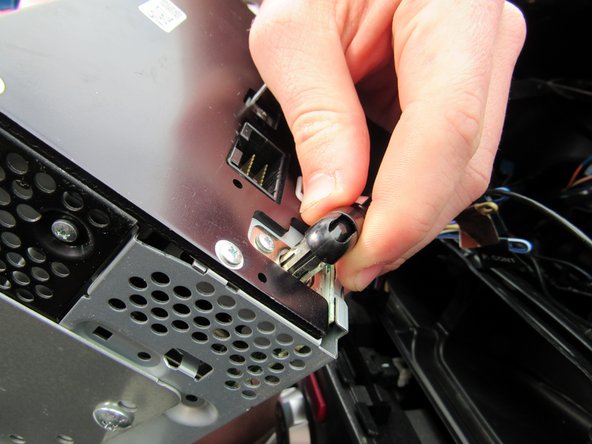
Can anyone please confirm what that little metal piece is on the back of the stereo in step 3? If I don’t plug that in my car won’t start. Is it a connection, or a ground? Seems like some anti theft device but no aftermarket stereos have them?
Thoughts?
Please halp