이 버전에는 잘못된 편집 사항이 있을 수 있습니다. 최신 확인된 스냅샷으로 전환하십시오.
필요한 것
-
이 단계는 번역되지 않았습니다. 번역을 도와주십시오
-
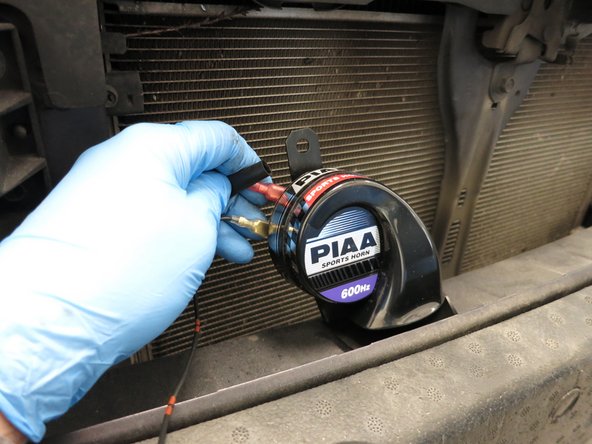
These are the [stock] horns you are looking for. One is located on the left-side of the radiator (when looking at the car), while the other one is next to the air intake / water tank.
-
-
이 단계는 번역되지 않았습니다. 번역을 도와주십시오
-
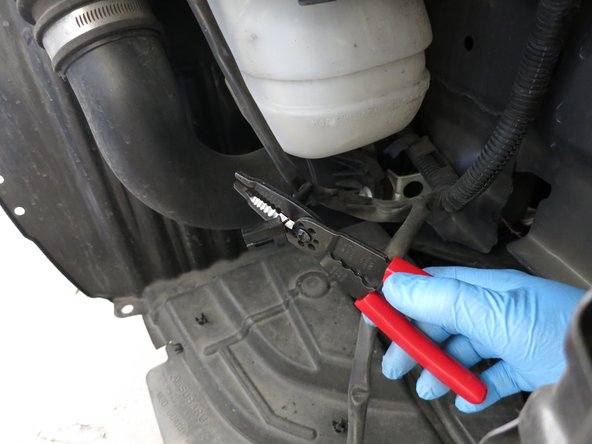
Unplug the power connector from the horn, and use a wire stripper to expose a bare portion of the wire. The "20 ga" hole seemed the best fit for this purpose.
-
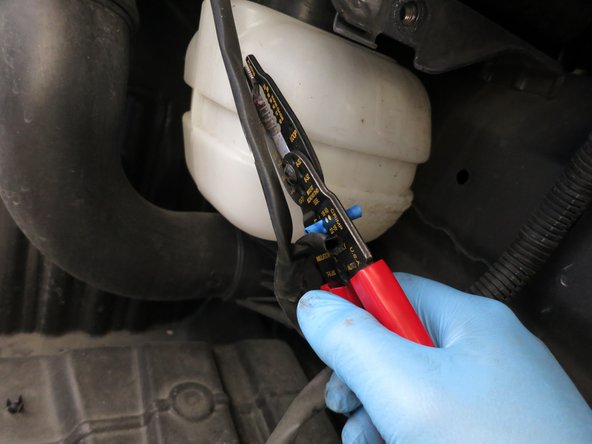
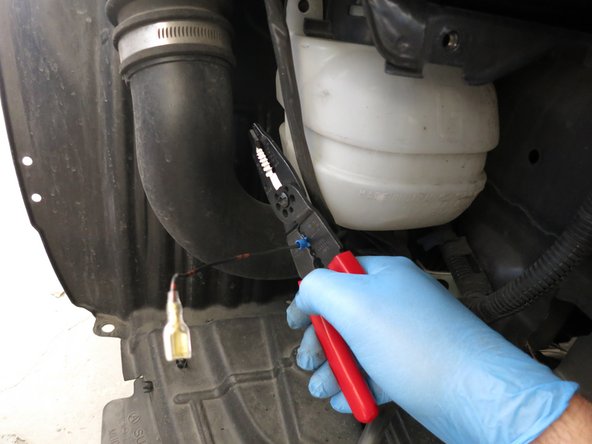
Snip about 4" of the ground cable wire (the 1/4" female spade connector side) and use a butt connector to attach it to the horn's power wire.
-
-
-
이 단계는 번역되지 않았습니다. 번역을 도와주십시오
-
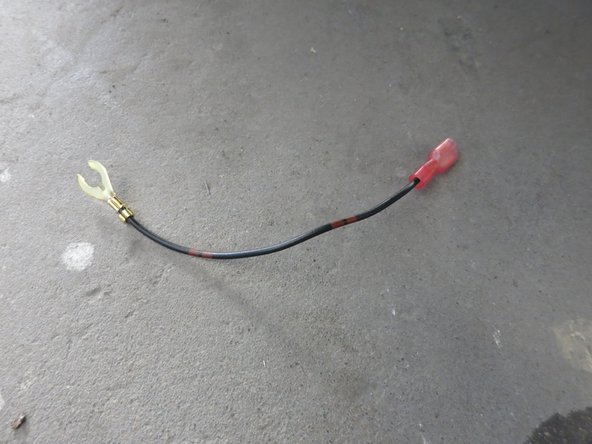
Now you should have a shortened ground cable with a bare wire on one end, and that half-loop connector on the other.
-
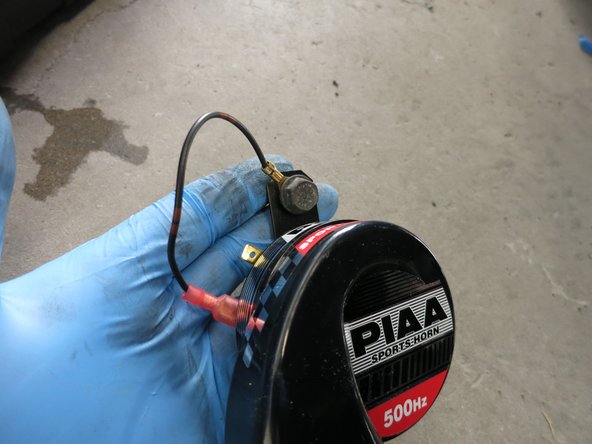
Attach another 1/4" female spade connector to the end of the ground cable, and plug it into the lower of the two male spade connectors on the PIAA horn.
-
-
이 단계는 번역되지 않았습니다. 번역을 도와주십시오
-
The factory bolt is a bit larger in diameter than the half-circle connector will allow -- unless it is expanded! So insert a needle-nose plier into the center for the connector and then spread it apart in order to accommodate the bolt.
-
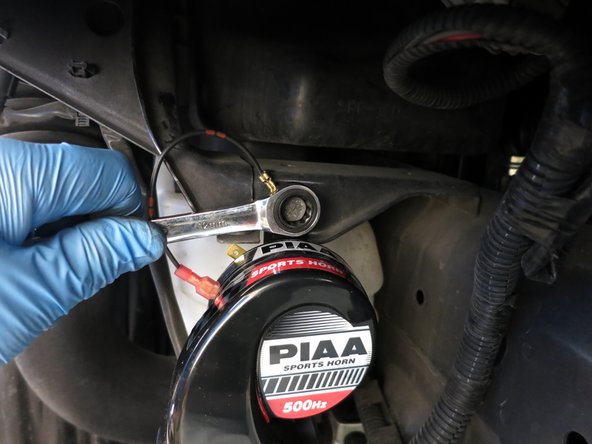
Route the bolt through the horn's mounting hole.
-
Screw the bolt / ground wire / horn assembly into the factory mounting hole.
-
-
이 단계는 번역되지 않았습니다. 번역을 도와주십시오
-
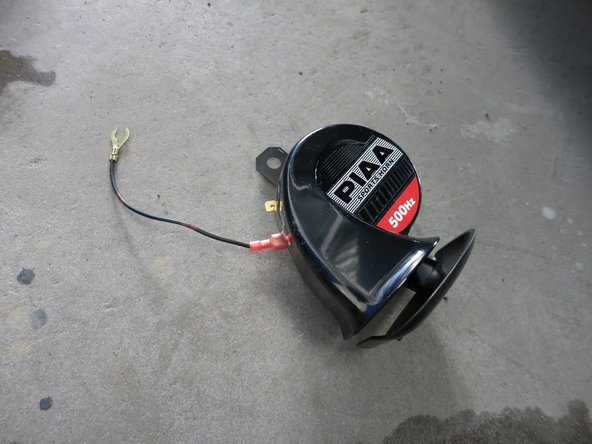
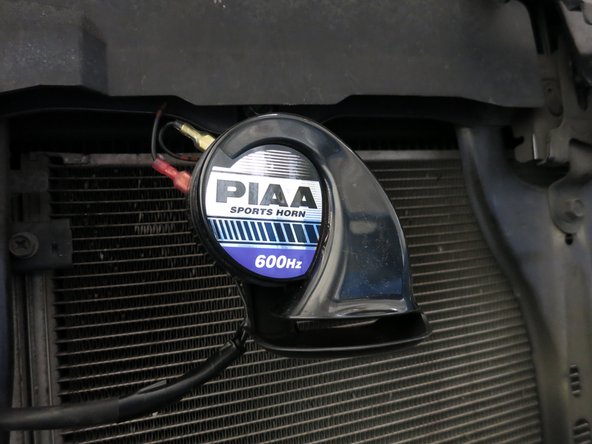
Plug in the DC power line into the top male connector of the horn. The final wiring / horn assembly can be seen in the first image.
-
Once you're done with the first horn, the second should be the same exact procedure -- so go get 'em!
-
-
이 단계는 번역되지 않았습니다. 번역을 도와주십시오
-
So that's it! Here's a before-and-after horn comparison, so you get an idea of the sound difference.
-
I don't believe the PIAAs are that much more loud, but they are definitely a nicer sounding setup than the stock honkers.
-


다른 2명이 해당 안내서를 완성하였습니다.
