소개
In this guide, you will learn how to replace the dual air intakes in your 2013 Infiniti G37. This will be a fairly moderate task that will take you a max of 30 minutes. Keep in mind you will need the following tools:
-10 mm ratchet with a short extension
-7 mm ratchet
-5 mm ratchet
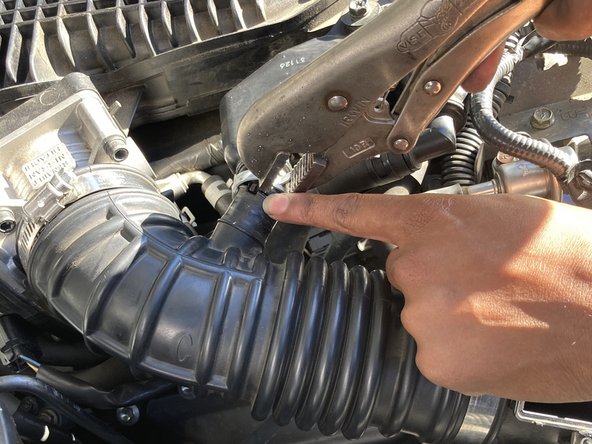
-vice-grips (pliers are also okay)
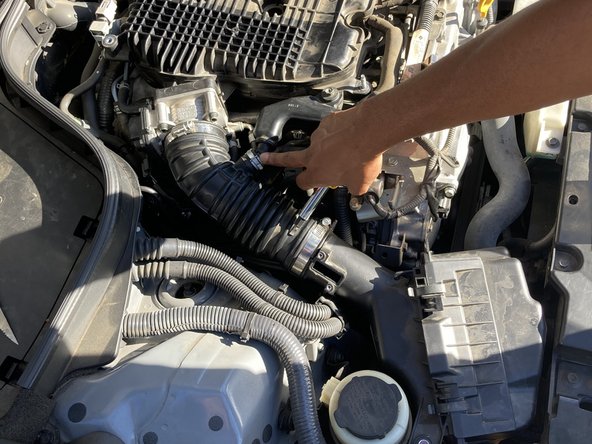
Finally, what makes this task moderate, in my opinion, is that the air intakes can range in many different combinations which cause the assembly of the new air intakes to be slightly different. For example, my air intakes did not come with a firewall, but some will as you get better quality set-ups.
필요한 것
-
-
Pull the hood latch located inside the car under your remote holder.
-
Outside the car, find the lever under the actual hood, and squeeze and lift the hood.
-
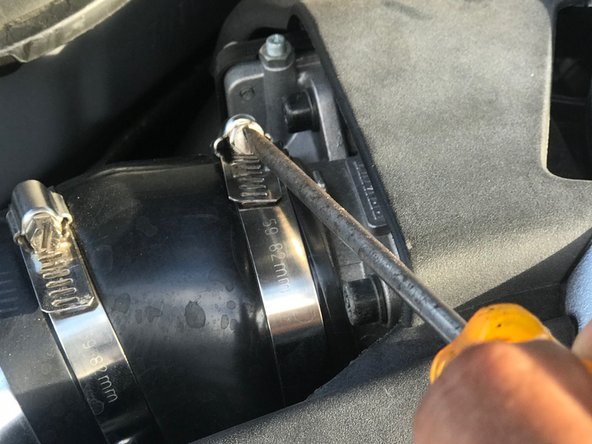
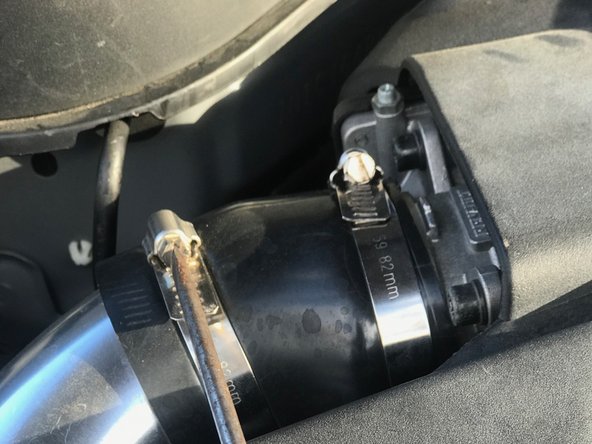
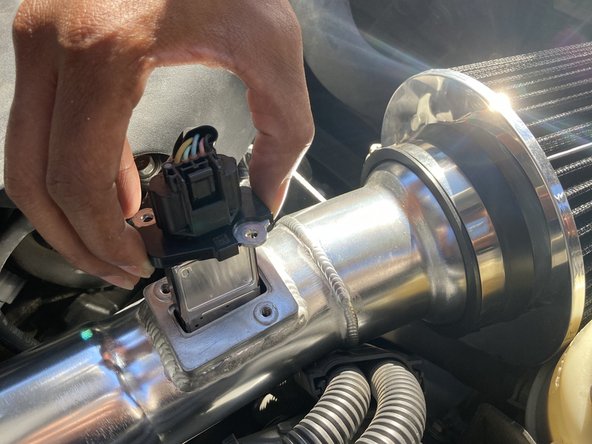
Unscrew the mass airflow filter box from the frame with a Phillips #1 screwdriver.
-
-


팀

University of Memphis, Team S1-G3, Bishop Fall 2020 University of Memphis, Team S1-G3, Bishop Fall 2020 회원
UM-BISHOP-F20S1G3
1 회원
안내서 1개 작성하였습니다