소개
Not only is it illegal to operate your vehicle with broken taillights, it is also unsafe. We understand that getting started on your vehicle can be quite intimidating, but with our guide, there will be no need to go to the mechanic. Changing your tail lights are easier than you think! The following steps show how to replace the tail light of your 2017 Honda Civic.
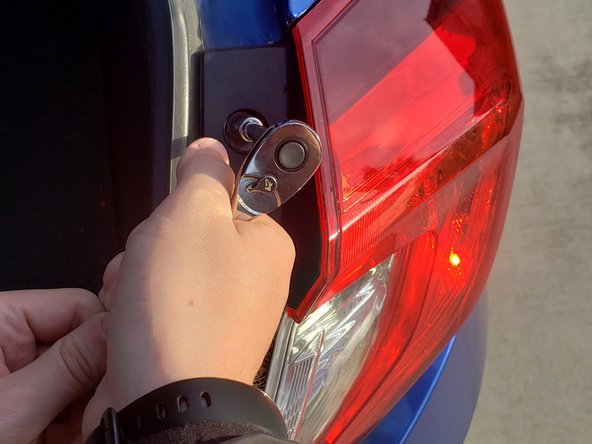
Before beginning this guide, be sure that your car is off and in park. It is also important to use gloves to avoid getting oils from your hands on the bulb which will damage the bulb and cause it to wear out faster or break.
필요한 것


To reassemble your device, follow these instructions in reverse order.
To reassemble your device, follow these instructions in reverse order.
다른 2명이 해당 안내서를 완성하였습니다.

팀
