이 안내서에는 최근 변경 사항이 더 있습니다. 최신 비검증 버전으로 전환하십시오.
소개
Today we are going to take apart the Panasonic version of the FZ-1 R.E.A.L 3DO Interactive Multiplayer home video game console. Originally released in 1993, the 3DO was known as an early adopter of CD-Drive games, and for the ability to display photos and play music.
필요한 것
-
-
Here we have the front view of the FZ-1 3DO.
-
Note the ports on the back of the unit. The FZ-1 comes with RF, S-Video, and Composite Outputs, as well as a expansion port on the back of the unit.
-
A larger 2nd expansion slot can be found on the right side of the unit.
-
-
-
Flip the unit over, so that the bottom side of the case is facing up towards you, exposing the four screws casing screws.
-
Remove the four #2 Phillips Screws from the casing.
-
After the screws are removed, flip the unit back over while holding the top and bottom pieces of the case together.
-
-
-
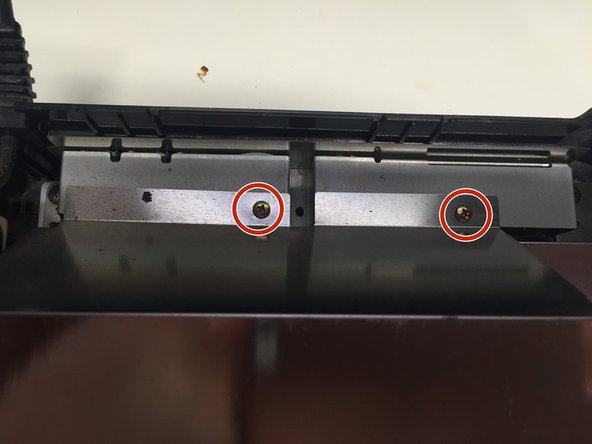
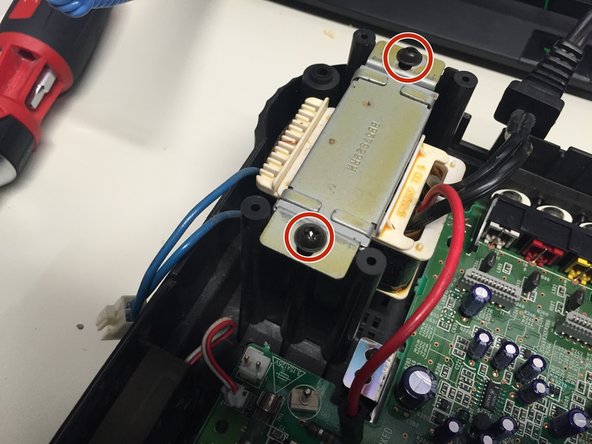
Remove the 2 #1 Phillips Screws from the back of the Disc Drive Shield.
-
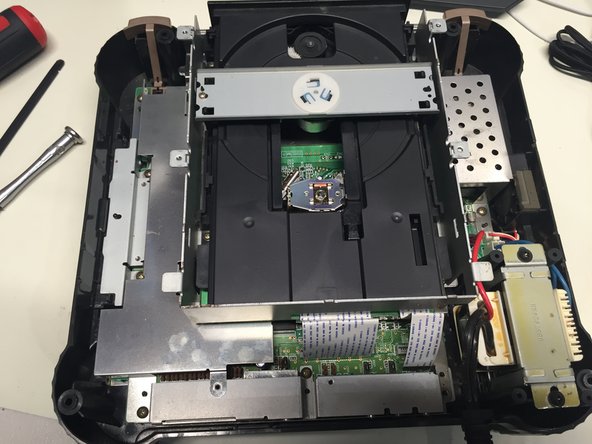
Using a Spudger, carefully pry up the four metal tabs to remove the disc drive cover.
-
Remove the 4 #2 Phillips Screws.
-
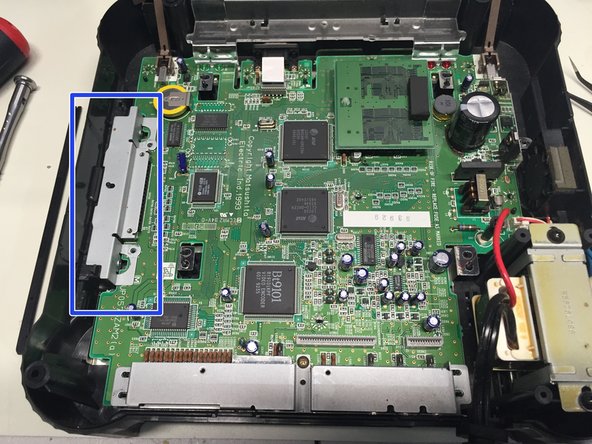
Remove the disc drive shield, and the two bars you just unscrewed.
-
-
-
-
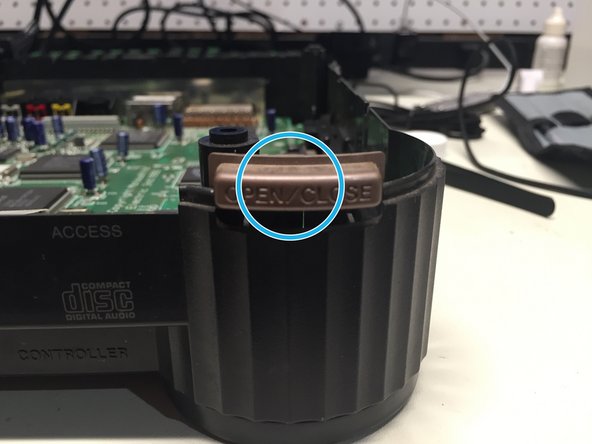
Remove the metal shield at the bottom of the case. Mission complete!
-


To reassemble your device, follow these instructions in reverse order.
To reassemble your device, follow these instructions in reverse order.
다른 6명이 해당 안내서를 완성하였습니다.

팀

댓글 2개
Can you tell me what size the screws are? I need to order a replacement set for my FZ-1
I thought I couldn't fix this old appliance in my house. Until I came across this site! Thank you. :)