소개
In this guide I will show you how to setup Klipper screen on a Big Tree Tech PiTFT50 screen.
-
-
You need to set the OS to boot to console
-
sudo raspi-config
-
1 System Options > S5 Boot / Auto Login > B1 Console. Then reboot
-
Download and install KlipperScreen
-
cd ~/KlipperScreen
-
./scripts/KlipperScreen-install.sh
-
When the install is finished reboot the RPI. This will take some time to install so feel free to get yourself a cold beverage and relax for a little bit.
-
-
-
-
If you used the latest version of Mainsail(v7.0) skip this next command.
-
Regardless if you used the latest version or not run
-
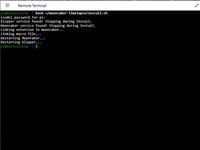
bash ~/moonraker-timelapse/install.sh
-
Make sure printer.cfg calls the timelapse config
-
[include timelapse.cfg]
-
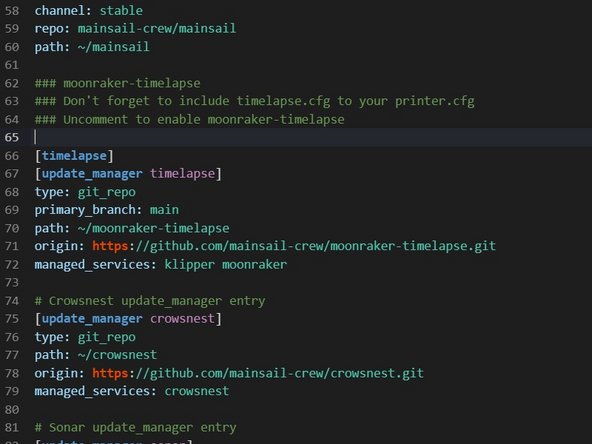
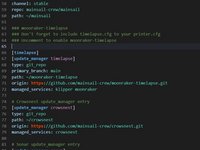
Make sure the [timelapse] section is uncommented in moonraker.conf
-