소개
This guide will show you how to remove the back panel of an Asus K200MA laptop.
필요한 것
-
-
With the opening facing you, flip the laptop over and remove the following screws from the back panel:
-
Six 4mm Phillips screws using a Phillips #0 screwdriver.
-
One 12mm Phillips screw in the center using a Phillips #0 screwdriver.
 FixBot에 문의하기
-
-
-
Using a plastic spudger, remove the two rubber stoppers closest to the hinge to reveal the screws underneath.
-
-
-
-
Remove the following screws:
-
Two 4mm Phillips screws using a Phillips #0 screwdriver.
-
-
-
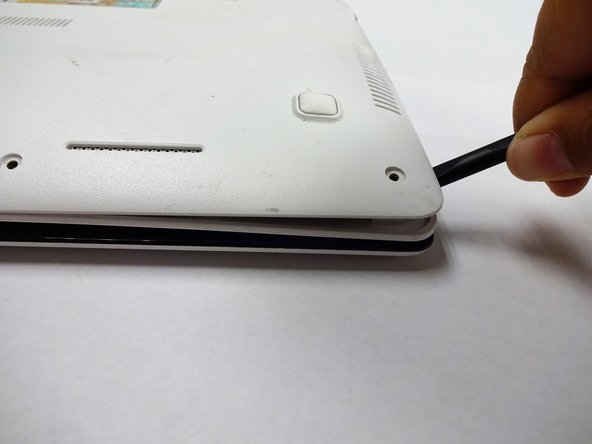
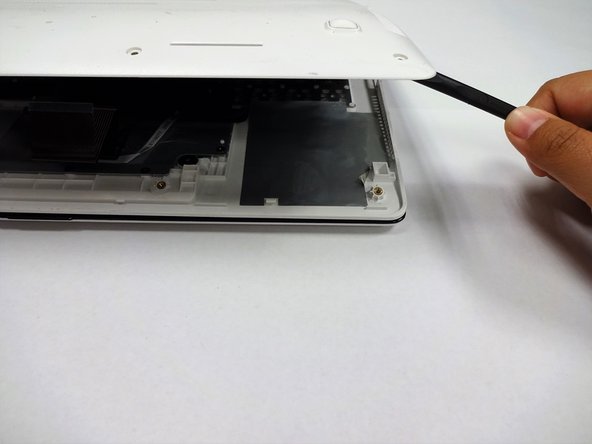
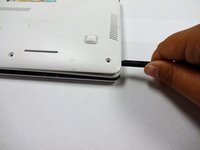
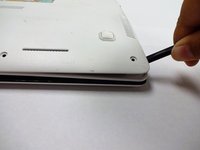
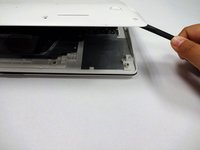
Using a plastic spudger (and a fair amount of force), pry the back panel up from the keyboard to separate.
-


To reassemble your device, follow these instructions in reverse order.
팀

CSU Fullerton, Team S2-G5, Bruce Fall 2018 CSU Fullerton, Team S2-G5, Bruce Fall 2018 회원
CSUF-BRUCE-F18S2G5
4 회원들
안내서 7개를 작성함