주요 콘텐츠로 건너뛰기
수리 커뮤니티 가입 - 계정 만들기

ASUS Q536F Fan Replacement

필요한 것

  1. ASUS Q536F Fan Replacement, Back Panel: 1 단계, 이미지 2개 중 1개 ASUS Q536F Fan Replacement, Back Panel: 1 단계, 이미지 2개 중 2개
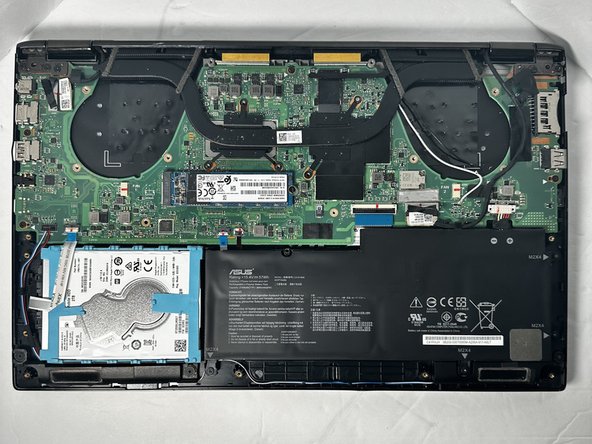
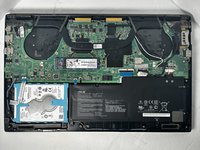
    • Remove ten 2 mm screws using a Phillips #0 screwdriver.

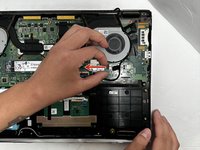
    • Remove the screw in the center using a T4 Torx screwdriver.

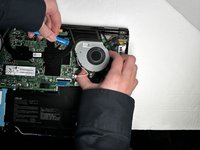
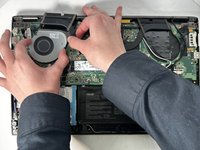
    • Use an iFixit opening tool to pry open the back panel.

    • It's normal to hear some cracking, but proceed with caution.

  2. ASUS Q536F Fan Replacement, Fan: 2 단계, 이미지 2개 중 1개 ASUS Q536F Fan Replacement, Fan: 2 단계, 이미지 2개 중 2개
    • Use a Phillips #0 screwdriver to remove the six 2 mm fan screws.

    • Use a Phillips #0 screwdriver to remove the five 2 mm heatsink screws.

    • Warped Screw

    • Heatsink shown has warped screw, so unable to remove

  3. ASUS Q536F Fan Replacement: 3 단계, 이미지 1개 중 1개
    이 단계에 사용된 도구:
    Tweezers
    $4.99
    • Disconnect white and black antennae cables.

    • Using tweezers for this would be helpful.

  4. ASUS Q536F Fan Replacement: 4 단계, 이미지 2개 중 1개 ASUS Q536F Fan Replacement: 4 단계, 이미지 2개 중 2개
    • Disconnect fan cables pulling outwards as shown.

  5. ASUS Q536F Fan Replacement: 5 단계, 이미지 3개 중 1개 ASUS Q536F Fan Replacement: 5 단계, 이미지 3개 중 2개 ASUS Q536F Fan Replacement: 5 단계, 이미지 3개 중 3개
    • Carefully lift heatsink upward using a Ifixit opening tool or Fingers pull fan out from under the heat sink.

    • The fan can be removed without removing the heatsink, although it may be easier to remove.

결론

To reassemble your device, follow these instructions in reverse order.

작성자

4다른 기여자 명과 함께

Adra Ledward

회원 가입일: 09/07/23

557 평판

안내서 5개를 작성함

Gateway, Team 88-8, Gonzalez Fall 2023 Gateway, Team 88-8, Gonzalez Fall 2023 회원

GCC-GONZALEZ-F23S88G8

5 회원들

안내서 6개를 작성함

0가이드 댓글

댓글 쓰기

조회 통계:

지난 24시간: 5

지난 7일: 14

지난 30일: 34

전체 시간: 366