주요 콘텐츠로 건너뛰기

ASUS ROG G750JW-RS72-CB RAM Replacement

필요한 것

  1. ASUS ROG G750JW-RS72-CB RAM Replacement, Battery: 1 단계, 이미지 1/1
    • Make sure you completely power down the computer before beginning this process.

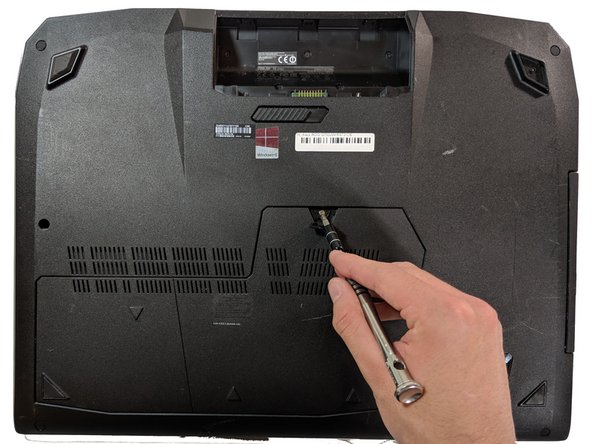
    • With your finger, push this slide to the right. The battery should pop out of place.

  2. ASUS ROG G750JW-RS72-CB RAM Replacement: 2 단계, 이미지 1/1
    • Pull the battery out of its place gently.

  3. ASUS ROG G750JW-RS72-CB RAM Replacement, RAM: 3 단계, 이미지 1/2 ASUS ROG G750JW-RS72-CB RAM Replacement, RAM: 3 단계, 이미지 2/2
    • Open flap in center and underneath you will find a screw, remove the 5.2mm screw with a Phillips #0 screwdriver.

  4. ASUS ROG G750JW-RS72-CB RAM Replacement: 4 단계, 이미지 1/2 ASUS ROG G750JW-RS72-CB RAM Replacement: 4 단계, 이미지 2/2
    • Once the screw is out, pull on the plastic tab to pull off the plastic cover.

  5. ASUS ROG G750JW-RS72-CB RAM Replacement: 5 단계, 이미지 1/1
    • This exposes two hard drive caddies.

    • This also exposes two RAM slots.

  6. ASUS ROG G750JW-RS72-CB RAM Replacement: 6 단계, 이미지 1/1
    • Push the metal tabs outward that are located on both sides of the top ram.

    • Remove the RAM from the slot.

    • Repeat with bottom RAM

  7. ASUS ROG G750JW-RS72-CB RAM Replacement: 7 단계, 이미지 1/2 ASUS ROG G750JW-RS72-CB RAM Replacement: 7 단계, 이미지 2/2
    • Align new RAM's key with the slot.

    • Place RAM in slot at a 45 degree angle downward, until the teeth are hidden inside of the socket itself.

    • Push down on RAM until a clicking sound is heard, meaning it is in place.

    • Repeat with top RAM

결론

To reassemble your device, follow Steps 1-4 in reverse order.

다른 한 분이 해당 안내서를 완성하였습니다.

Ellie Moran

회원 가입일: 01/22/18

142 평판

안내서 1개 작성함

Cal Poly, Team S11-G5, Banghart Winter 2018 Cal Poly, Team S11-G5, Banghart Winter 2018 회원

CPSU-BANGHART-W18S11G5

4 회원들

안내서 5개 작성하였습니다

댓글 한 개

What about replacing the two internal RAM Modules?

Latiron London - 답글

댓글 쓰기

조회 통계:

24 시간 전: 0

7일 전: 3

30일 전: 17

전체 시간: 1,229