소개
In this guide, we will show you how to access and remove the battery of the ASUS Transformer Book Flip TP500LA. This guide will assist you in replacing your dysfunctional battery with a new one.
필요한 것
-
-
Remove the ten 10 mm Phillips #0 screws found on the computer's back case.
 FixBot에 문의하기
-
-
이 단계에 사용된 도구:Heavy-Duty Spudger$4.99
-
Slide a heavy-duty spudger between the back case and the computer.
-
Slowly work around the edges to undo the clips to fully separate the back case from the computer.
-
Gently lift off the back case.
-
-
-
이 단계에 사용된 도구:Heavy-Duty Spudger$4.99
-
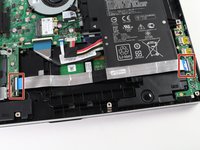
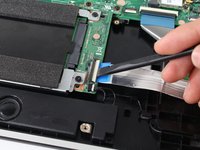
Slide a heavy-duty spudger into the ZIF connector and gently flip up the retaining flap to open the connector.
-
Pull the blue tab to remove the ribbon.
-
-
-
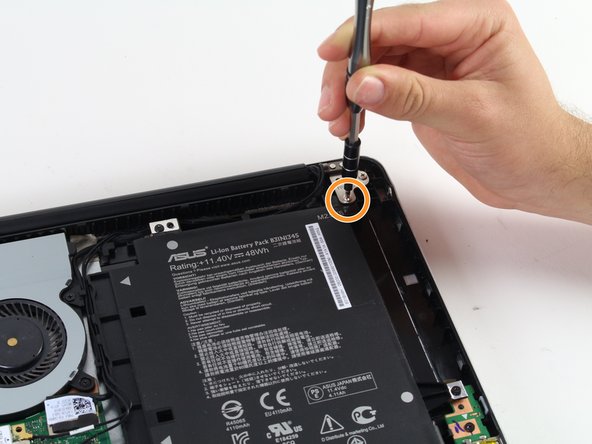
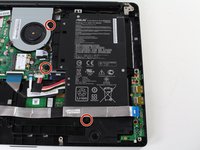
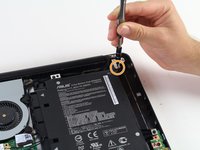
Remove the three 5 mm Phillips #0 screws.
-
Remove the single 6 mm Phillips #0 screw.
-
-
-
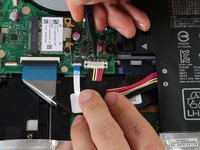
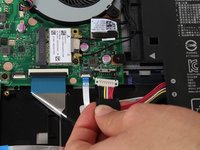
Use the heavy-duty spudger to pry the white 8-pin connector away from the motherboard.
-
Gently pull the connector away from the motherboard.
-
-
-
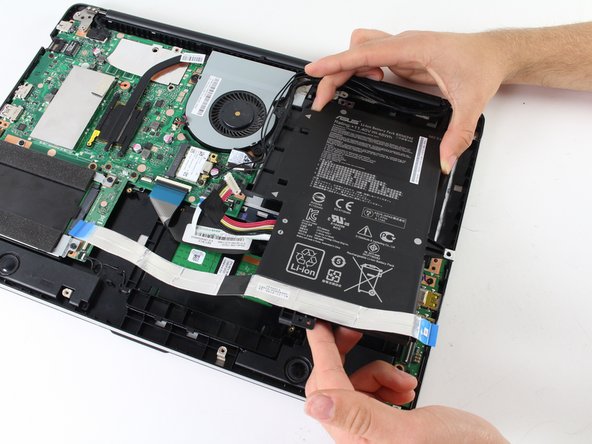
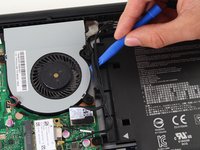
Use the blue plastic opening tool to loosen and remove the three black wires from the battery.
-
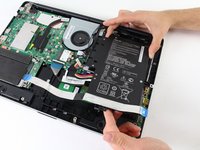
Slide the battery out from the computer to remove.
-






To reassemble your device, follow these instructions in reverse order.
다른 16명이 해당 안내서를 완성하였습니다.

팀

Cal Poly, Team S13-G5, Forte Spring 2017 Cal Poly, Team S13-G5, Forte Spring 2017 회원
CPSU-FORTE-S17S13G5
3 회원들
안내서 6개를 작성함
