주요 콘텐츠로 건너뛰기

ASUS U52F-BBG6 Keyboard Replacement

필요한 것

  1. ASUS U52F-BBG6 Keyboard Replacement, Back Cover: 1 단계, 이미지 1/2 ASUS U52F-BBG6 Keyboard Replacement, Back Cover: 1 단계, 이미지 2/2
    • Flip the laptop over to the back.

    • Slide the right latch to unlock, then simultaneously slide the left latch outward while pulling the battery out.

  2. ASUS U52F-BBG6 Keyboard Replacement: 2 단계, 이미지 1/3 ASUS U52F-BBG6 Keyboard Replacement: 2 단계, 이미지 2/3 ASUS U52F-BBG6 Keyboard Replacement: 2 단계, 이미지 3/3
    • Unscrew all twelve 3mm Phillips screws with the J1 screwdriver.

    • Unscrew two 3mm Phillips screws on the black panel using the PH0 screwdriver.

    • Lift the black panel upward by inserting your fingernail in the space provided.

  3. ASUS U52F-BBG6 Keyboard Replacement: 3 단계, 이미지 1/3 ASUS U52F-BBG6 Keyboard Replacement: 3 단계, 이미지 2/3 ASUS U52F-BBG6 Keyboard Replacement: 3 단계, 이미지 3/3
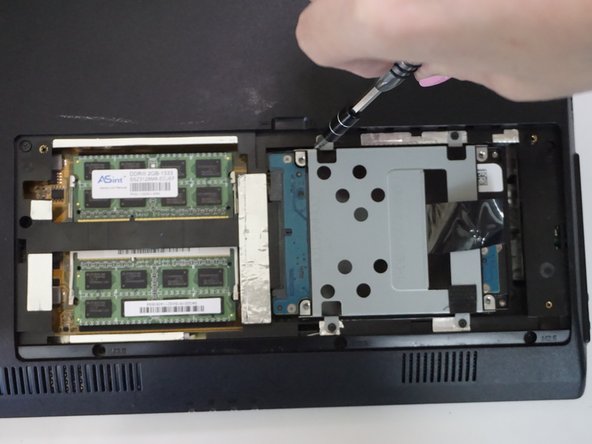
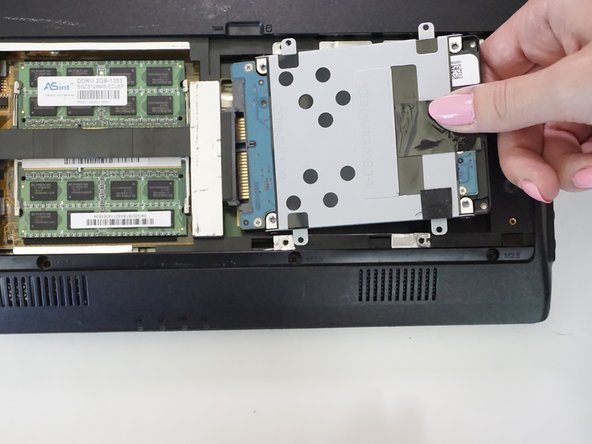
    • In the RAM and hard drive compartment, unscrew the four 3mm Phillips screws using the J1 screwdriver.

    • Gently pull out the hard drive.

  4. ASUS U52F-BBG6 Keyboard Replacement: 4 단계, 이미지 1/2 ASUS U52F-BBG6 Keyboard Replacement: 4 단계, 이미지 2/2
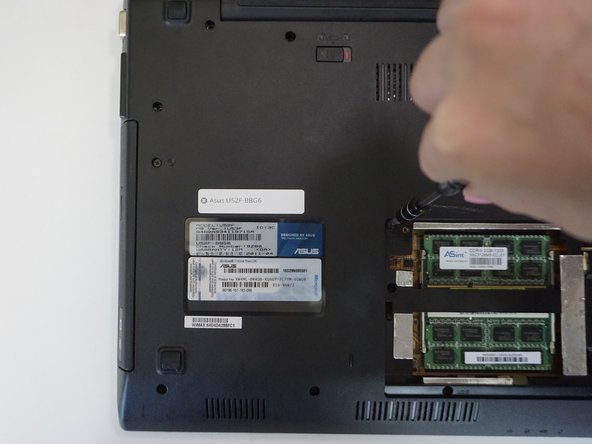
    • Unscrew six 3mm Phillips screws in the RAM and hard drive compartment with the J1 screwdriver.

  5. ASUS U52F-BBG6 Keyboard Replacement: 5 단계, 이미지 1/1
    • Pull the CD drive outward with your left hand.

  6. ASUS U52F-BBG6 Keyboard Replacement: 6 단계, 이미지 1/2 ASUS U52F-BBG6 Keyboard Replacement: 6 단계, 이미지 2/2
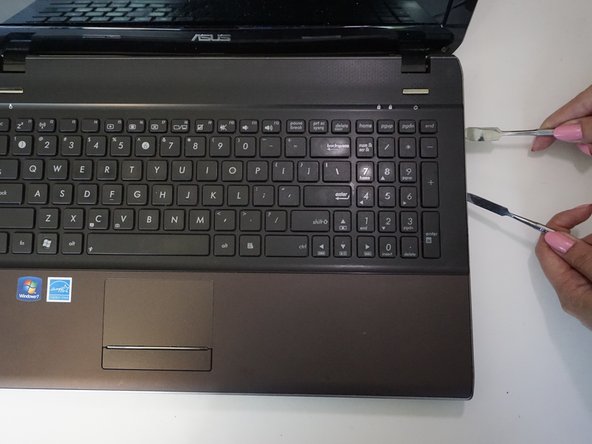
    • Insert and gently twist the flat metal spudger between the keyboard assembly and the bottom plastic cover so that a small seam is opened.

    • Put in the metal spudger in the seam to hold its place while twisting and levering the flat metal spudger along the whole keyboard.

    • Be careful not to hit any of the internals with the metal spudger. The regular black nylon spudger should be used whenever possible, especially around batteries or sensitive internal components.

    • You will need add a lot of pressure to open the laptop. Expect to hear snaps as the clips holding the two pieces are released.

    • Slowly pry off the back

  7. ASUS U52F-BBG6 Keyboard Replacement, Keyboard: 7 단계, 이미지 1/2 ASUS U52F-BBG6 Keyboard Replacement, Keyboard: 7 단계, 이미지 2/2
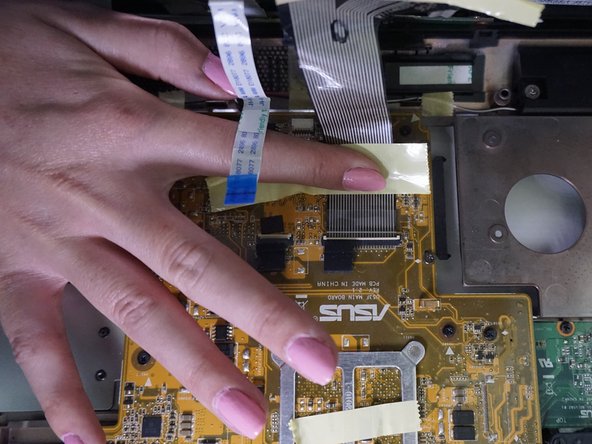
    • Unlatch the clip attaching the white flattened flexible cord with a blue tip to the circuit board with your thumb.

    • Pull out the white flattened cord.

  8. ASUS U52F-BBG6 Keyboard Replacement: 8 단계, 이미지 1/1
    • Pull back yellow tape attaching the metal colored flexible flattened cord to the circuit board.

    • Lift up the latch at the end of the cord.

    • Pull out the cord to release the keyboard.

결론

To reassemble your device, follow these instructions in reverse order.

다른 한 분이 해당 안내서를 완성하였습니다.

Ashley DeHuff

회원 가입일: 09/15/16

852 평판

안내서 8개 작성하였습니다

CSU Fullerton, Team 1-3, Bruce Fall 2016 CSU Fullerton, Team 1-3, Bruce Fall 2016 회원

CSUF-BRUCE-F16S1G3

4 회원들

안내서 9개 작성하였습니다

댓글 한 개

How do you remove the keyboard from the palm rest is what I'd like to know...what a goofy design

love4talent - 답글

댓글 쓰기

조회 통계:

24 시간 전: 1

7일 전: 6

30일 전: 10

전체 시간: 767