이 버전에는 잘못된 편집 사항이 있을 수 있습니다. 최신 확인된 스냅샷으로 전환하십시오.
필요한 것
-
이 단계는 번역되지 않았습니다. 번역을 도와주십시오
-
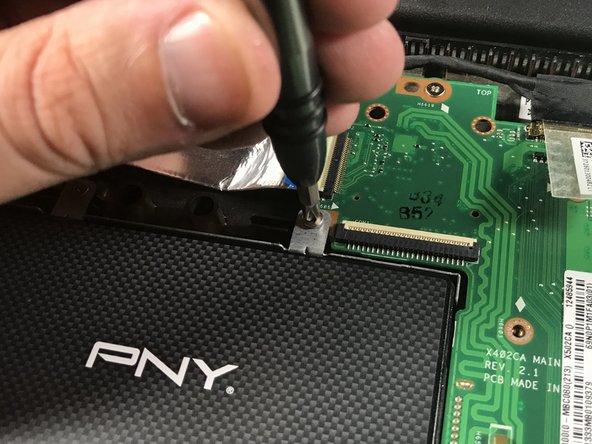
Use the Phillips #00 screwdriver to remove the seven 90mm screws.
-
Use the Phillips #00 screwdriver to remove the four 50mm screws.
-
-
이 단계는 번역되지 않았습니다. 번역을 도와주십시오
-
Next, use the plastic opening tool to carefully pop off the keyboard cover panel.
-
-
이 단계는 번역되지 않았습니다. 번역을 도와주십시오
-
Lift palm rest and unplug keyboard cable and touchpad cable using tweezers. After these two cables have been unplugged you can remove the keyboard cover panel.
-
-
-
이 단계는 번역되지 않았습니다. 번역을 도와주십시오
-
Remove the four 5mm screws that attach the hard drive bracket using the Phillips #0 screwdriver.
-
-
이 단계는 번역되지 않았습니다. 번역을 도와주십시오
-
Remove the four 5mm Phillips #0 screws attaching the bracket to the hard drive.
-


다른 한 분이 해당 안내서를 완성하였습니다.
팀

UMass Dartmouth, Team S5-G6, Gulbrandsen Fall 2018 UMass Dartmouth, Team S5-G6, Gulbrandsen Fall 2018 회원
UMASSD-GULBRANDSEN-F18S5G6
3 회원들
안내서 5개 작성하였습니다