이 안내서에는 최근 변경 사항이 더 있습니다. 최신 비검증 버전으로 전환하십시오.
소개
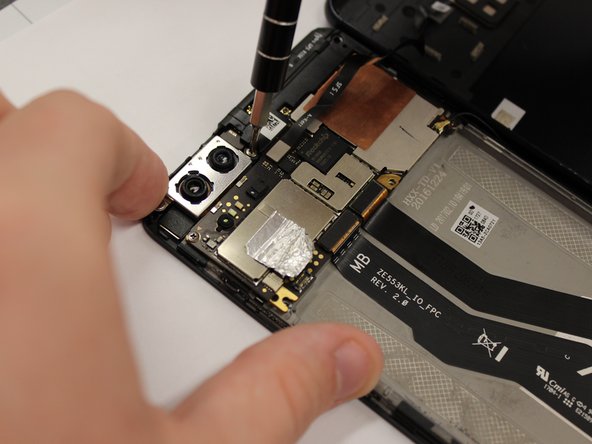
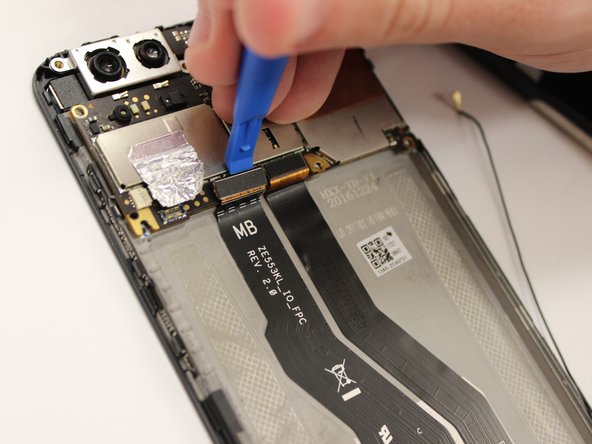
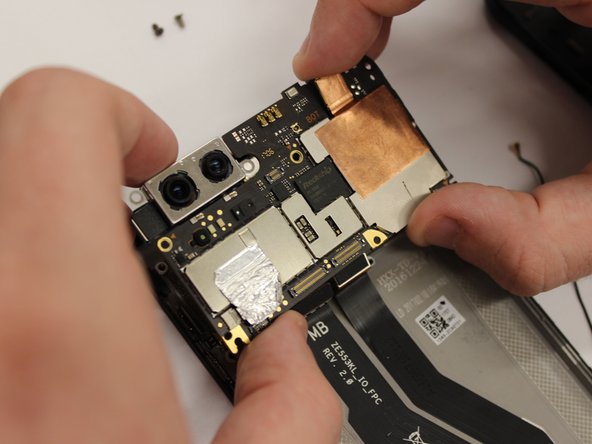
This guide will demonstrate how to replace the back camera of a Zenfone 3. This may be necessary if the camera no longer shows a picture or shows a distorted picture. For this guide, you will need the tweezers, Torx T2 screwdriver, a prying tool, and the Phillips #00 screwdriver.
필요한 것
-
-
-
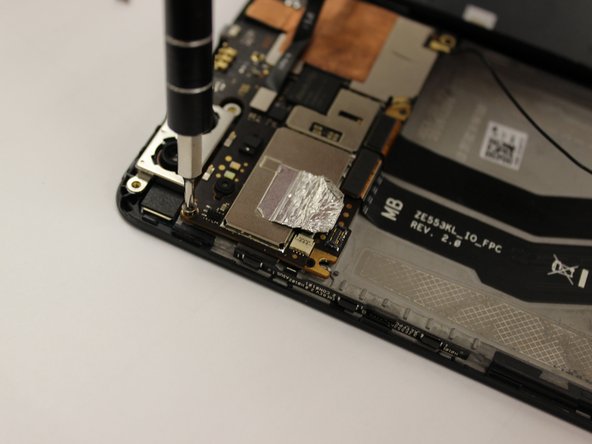
Remove the 3 mm screws, using the Phillips #00 screwdriver, from the black plastic piece at the top on the right side.
-


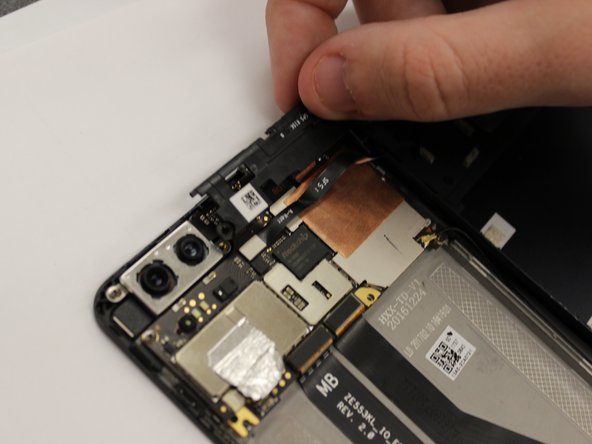


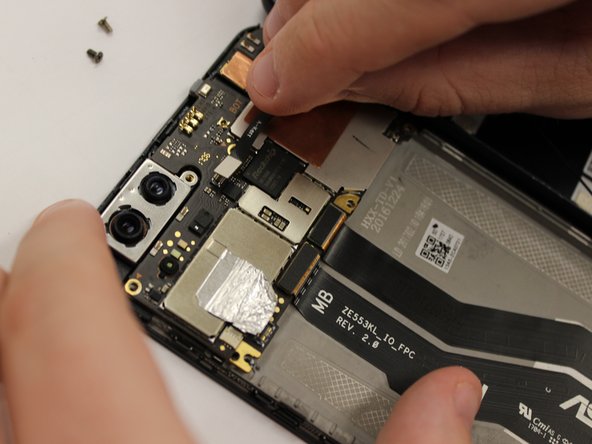


To reassemble your device, follow these instructions in reverse order.
To reassemble your device, follow these instructions in reverse order.

팀

University of Alabama, Team S2-G7, Bedsole Fall 2018 University of Alabama, Team S2-G7, Bedsole Fall 2018 회원
UA-BEDSOLE-F18S2G7
4 회원들
안내서 10개 작성하였습니다