소개
If you are unable to hear anything during hands free calling, the internal speaker may need to be replaced. This guide will teach you how to disassemble your AT&T CL4940 corded answering system, and how to replace the speaker used for hands free calling. This is a fairly simple process, and it can be accomplished with minimal technical expertise.
필요한 것
-
-
Remove the phone line and the power cord from the back of the device.
-
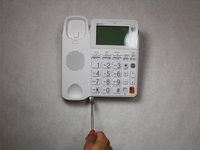
Remove the phone cable from the side of the device.
-
-
-
-
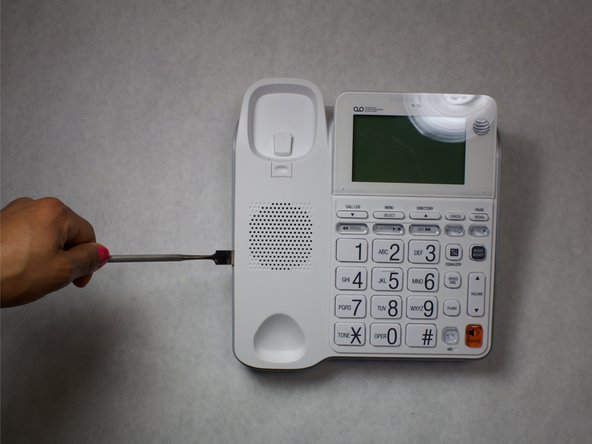
Starting from the bottom of the device, (using a metal spudger) separate the top (white) plastic piece from the bottom (gray) plastic piece.
-
Work your way across the bottom of the device, then to each side, and finally to the top.
-
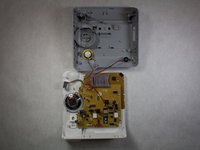
The top and bottom pieces should separate, and the internals of the device will now be accessible.
-


To reassemble your device, follow these instructions in reverse order.
팀

IUPUI, Team 2-2, Harley Spring 2016 IUPUI, Team 2-2, Harley Spring 2016 회원
IUPUI-HARLEY-S16S2G2
4 회원들
안내서 8개를 작성함