소개
This is a step-by-step guide to replace the front camera lens of your Abask J05 dashcam.
The camera lens is a 170° wide angle design. Its function is to capture video footage while the owner is driving in order to provide reliable evidence in cases such as car crashes. If your device's recordings are obscured, distorted, or blank, the camera lens may be in need of replacement. Before replacing any components of your device, be sure to check the troubleshooting guide, as there may be reasons your camera isn't functioning that don't require replacement.
필요한 것
-
-
Gently press on the SD card with a fingernail until it clicks.
-
Release, then remove the card.
-
-
-
-
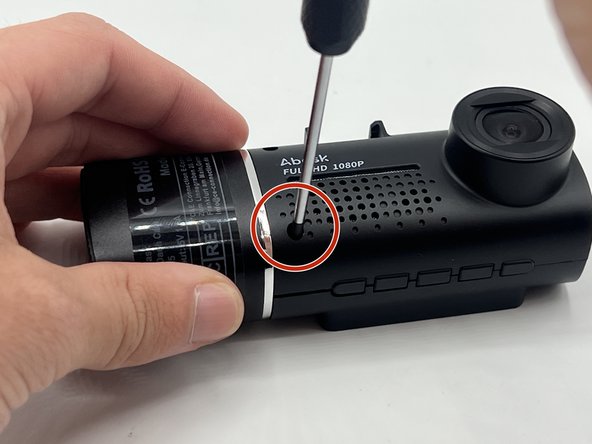
Remove the two 7 mm screws on the side of the motherboard with a Phillips #00 screwdriver.
-
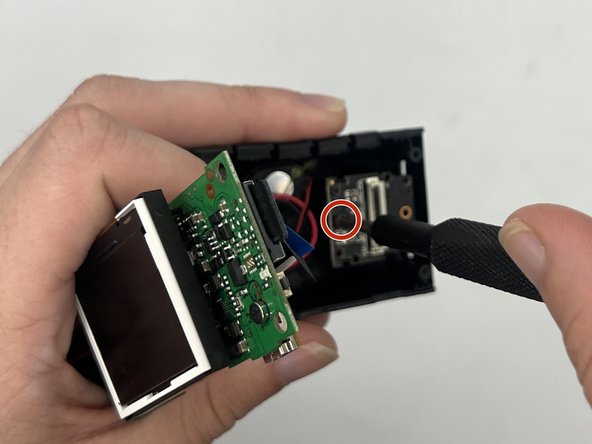
Slowly pull up on each corner of the motherboard, stopping when the corner pops loose of the anchor.
-
Repeat the process with each corner before slowly pulling up on the board to detach the glue on the underside.
-


To reassemble your device, follow these instructions in reverse order. (Note: When doing the steps in reverse order, do not do Step 5. Instead, place the front face of the device back on the main body before lining up the endcap, ensuring proper orientation with the SD card slot, and push in until you hear all four snap joints snap into place.)
To reassemble your device, follow these instructions in reverse order. (Note: When doing the steps in reverse order, do not do Step 5. Instead, place the front face of the device back on the main body before lining up the endcap, ensuring proper orientation with the SD card slot, and push in until you hear all four snap joints snap into place.)
다른 2명이 해당 안내서를 완성하였습니다.

팀

University of North Texas, Team 2-2, Harold Fall 2023 University of North Texas, Team 2-2, Harold Fall 2023 회원
UNT-HAROLD-F23S2G2
4 회원들
안내서 5개 작성하였습니다