이 안내서에는 최근 변경 사항이 더 있습니다. 최신 비검증 버전으로 전환하십시오.
소개
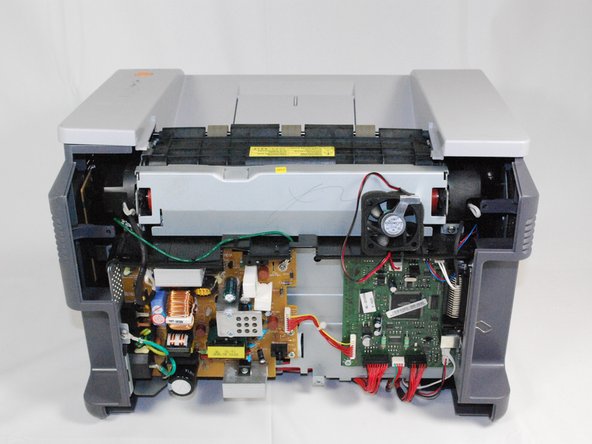
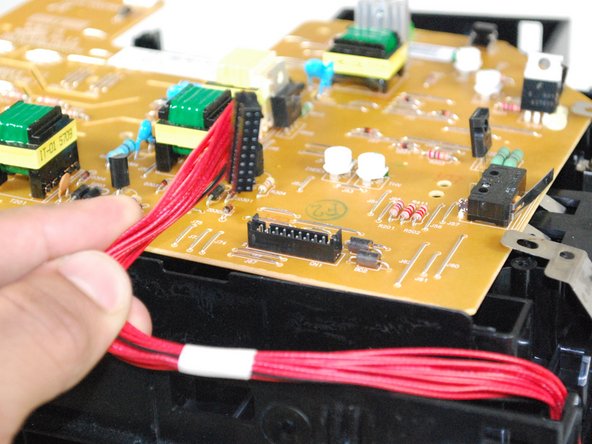
This guide will require you to disassemble the rear and side panels of the printer in order to access the circuit board.
필요한 것
-
-
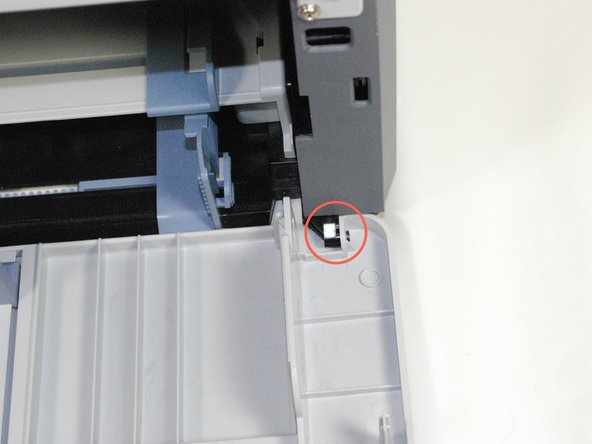
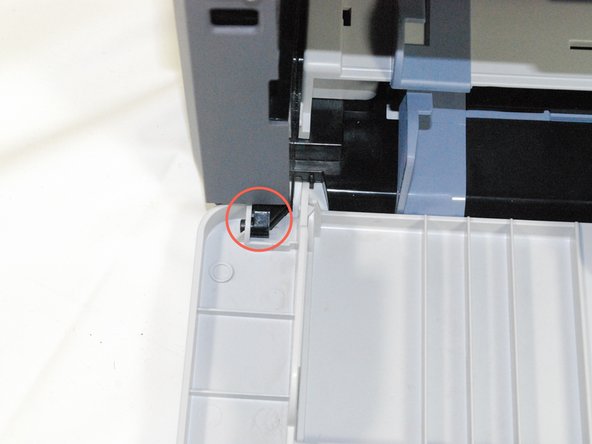
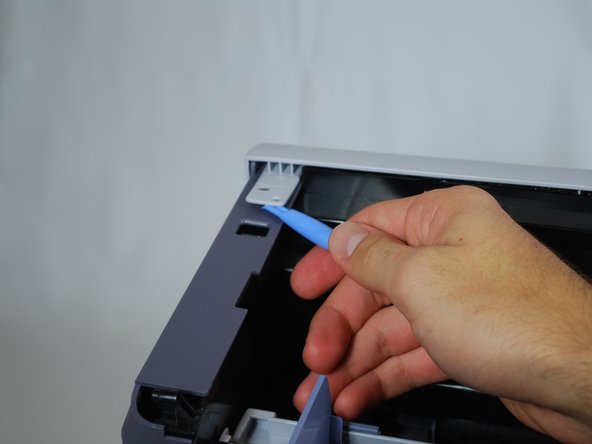
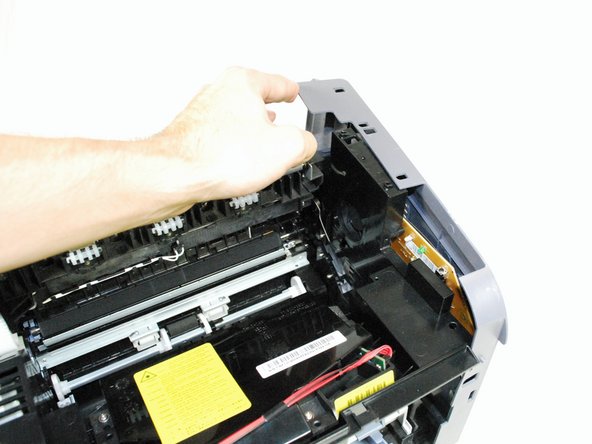
Remove the top hinged panel by taking out the pins at the bottom of this panel.
-
-
-
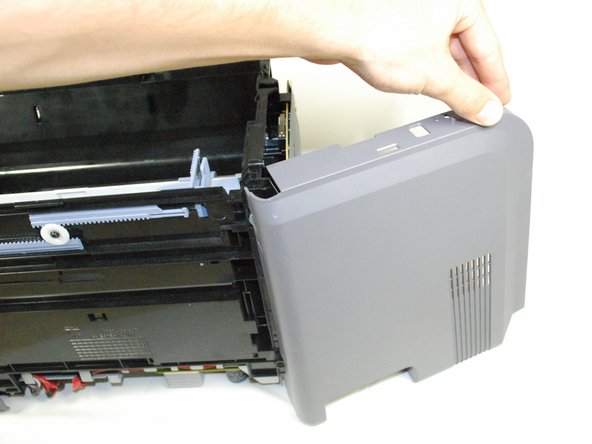
Remove the front panel by gently freeing the holes on the panel from the pegs attached to the main printer body one at a time. Make sure to remove the entire front panel, not just the flap on the paper tray.
-
-


To reassemble your device, follow these instructions in reverse order.
To reassemble your device, follow these instructions in reverse order.
다른 3명이 해당 안내서를 완성하였습니다.

팀

Cal Poly, Team 17-18, Regan Fall 2011 Cal Poly, Team 17-18, Regan Fall 2011 회원
CPSU-REGAN-F11S17G18
4 회원들
안내서 12개 작성하였습니다