이 버전에는 잘못된 편집 사항이 있을 수 있습니다. 최신 확인된 스냅샷으로 전환하십시오.
필요한 것
-
이 단계는 번역되지 않았습니다. 번역을 도와주십시오
-
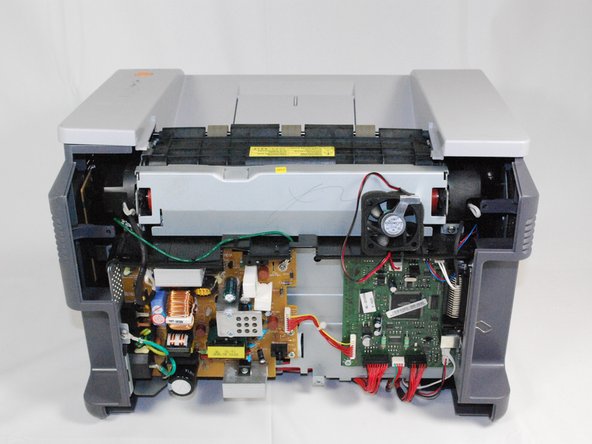
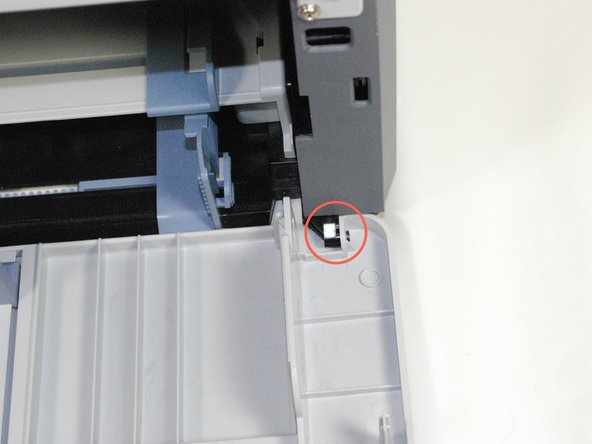
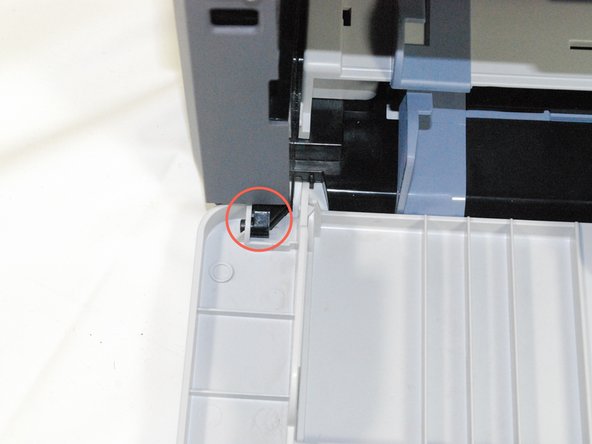
Remove the top hinged panel by taking out the pins at the bottom of this panel.
-
-
이 단계는 번역되지 않았습니다. 번역을 도와주십시오
-
Using a Phillips #2 screwdriver, remove the four screws on the back of the printer.
-
-
이 단계는 번역되지 않았습니다. 번역을 도와주십시오
-
Gently lift the top panel while simultaneously pulling off the back panel.
-
-
이 단계는 번역되지 않았습니다. 번역을 도와주십시오
-
Remove the front panel by gently freeing the holes on the panel from the pegs attached to the main printer body one at a time. Make sure to remove the entire front panel, not just the flap on the paper tray.
-
-
-
이 단계는 번역되지 않았습니다. 번역을 도와주십시오
-
Using a Phillips #2 screwdriver, remove the two 1" screws on the front face of the printer.
-
-
이 단계는 번역되지 않았습니다. 번역을 도와주십시오
-
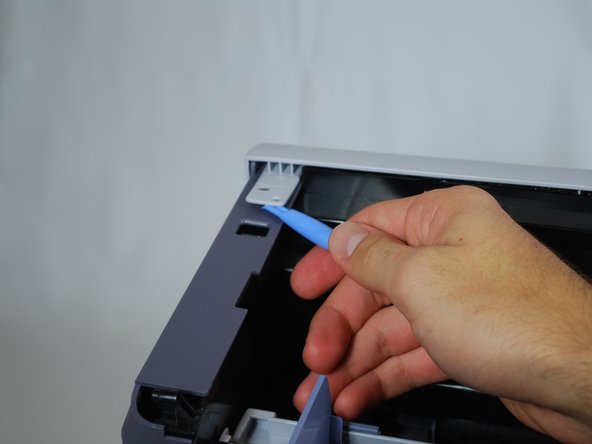
Using a plastic opening tool, gently lift one side of the top panel from its peg.
-
Repeat the process for the other side.
-
Lift the top panel from the front to remove it entirely.
-
-
이 단계는 번역되지 않았습니다. 번역을 도와주십시오
-
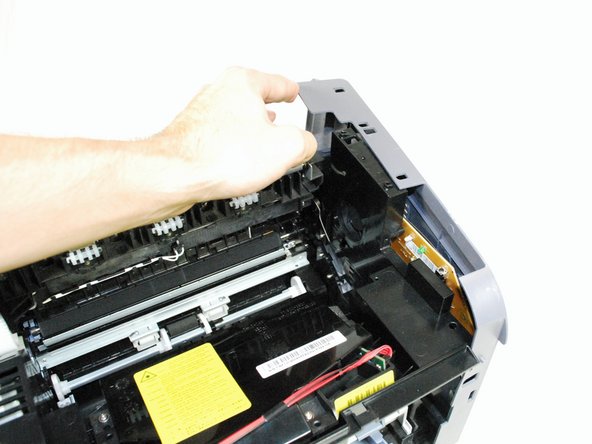
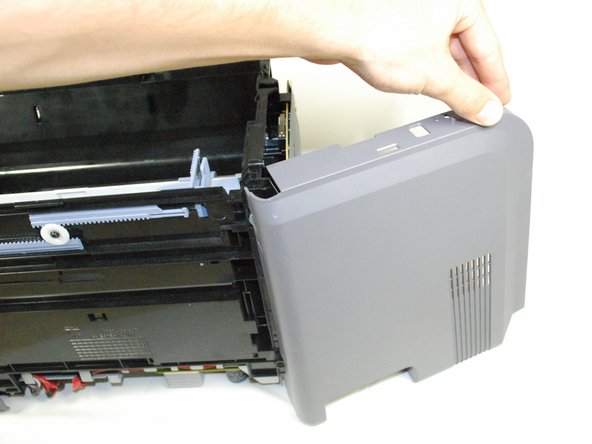
Lift the right panel up from the raised stops.
-
Rotate the panel gently as indicated in the picture to remove the panel entirely.
-
-
이 단계는 번역되지 않았습니다. 번역을 도와주십시오
-
Using a Phillips #2 screwdriver, remove the four 1" screws attaching the gray plate to the printer.
-
Remove the plastic cover by sliding it carefully under the silver hinges on the right.
-
-
이 단계는 번역되지 않았습니다. 번역을 도와주십시오
-
Using a Phillips #2 screwdriver, remove the 1" screw attaching the circuit board to the printer.
-
-
이 단계는 번역되지 않았습니다. 번역을 도와주십시오
-
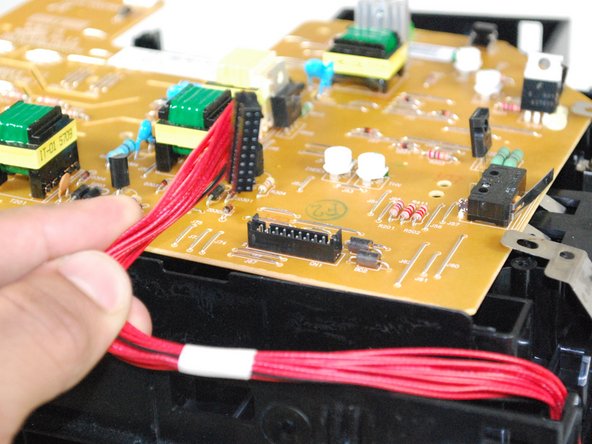
Turn over the circuit board to access main wiring.
-
Unplug the wiring from the circuit board gently.
-


다른 3명이 해당 안내서를 완성하였습니다.

팀

Cal Poly, Team 17-18, Regan Fall 2011 Cal Poly, Team 17-18, Regan Fall 2011 회원
CPSU-REGAN-F11S17G18
4 회원들
안내서 12개 작성하였습니다