이 버전에는 잘못된 편집 사항이 있을 수 있습니다. 최신 확인된 스냅샷으로 전환하십시오.
필요한 것
-
이 단계는 번역되지 않았습니다. 번역을 도와주십시오
-
Grab the hinge cover with both hands on either side of the stand.
-
Squeeze inwards with your thumbs and fingers and lift up to remove the hinge cover.
-
-
-
이 단계는 번역되지 않았습니다. 번역을 도와주십시오
-
Remove the four 12.1 mm Phillips #2 screws that hold the stand to the monitor.
-
Lift up to detach the stand.
-
-
이 단계는 번역되지 않았습니다. 번역을 도와주십시오
-
Remove the five 9.5 mm Phillips #2 screws located around the perimeter of the monitor.
-
-
이 단계는 번역되지 않았습니다. 번역을 도와주십시오
-
Starting at the corner of the monitor, wedge the small plastic opening tool between the back cover and the display bezel.
-
Tilt the plastic opening tool up to separate the back cover from the display bezel.
-
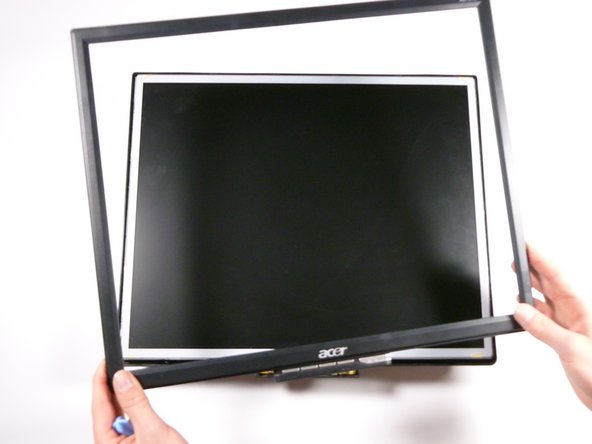
Continue around the perimeter of the monitor until the display bezel comes off.
-
-
이 단계는 번역되지 않았습니다. 번역을 도와주십시오
-
Grab the corners of the monitor and jiggle them upwards to detach the back cover from the inside of the monitor.
-
Lift the back cover up.
-


팀

Cal Poly, Team 20-26, Maness Fall 2011 Cal Poly, Team 20-26, Maness Fall 2011 회원
CPSU-MANESS-F11S20G26
4 회원들
안내서 14개 작성하였습니다