주요 콘텐츠로 건너뛰기

Acer Aspire 3 A315-58-350L Screen Replacement

필요한 것

  1. Acer Aspire 3 A315-58-350L Screen Replacement, Lower Case: 1 단계, 이미지 1/2 Acer Aspire 3 A315-58-350L Screen Replacement, Lower Case: 1 단계, 이미지 2/2
    • Remove the eleven 7 mm Phillips screws that secure the lower case.

  2. Acer Aspire 3 A315-58-350L Screen Replacement: 2 단계, 이미지 1/3 Acer Aspire 3 A315-58-350L Screen Replacement: 2 단계, 이미지 2/3 Acer Aspire 3 A315-58-350L Screen Replacement: 2 단계, 이미지 3/3
    • Insert an opening tool into the seam between the lower case and chassis.

    • Pry along the perimeter until the lower case releases.

    • Lift off the lower case.

  3. Acer Aspire 3 A315-58-350L Screen Replacement, Wi-Fi Card: 3 단계, 이미지 1/3 Acer Aspire 3 A315-58-350L Screen Replacement, Wi-Fi Card: 3 단계, 이미지 2/3 Acer Aspire 3 A315-58-350L Screen Replacement, Wi-Fi Card: 3 단계, 이미지 3/3
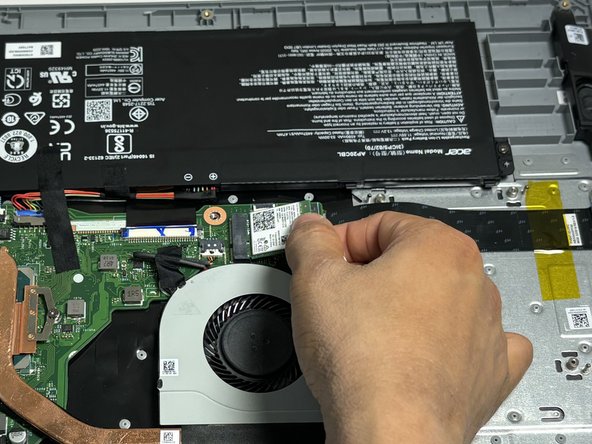
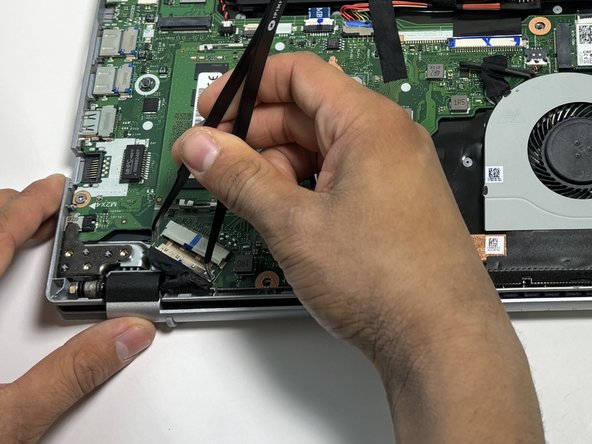
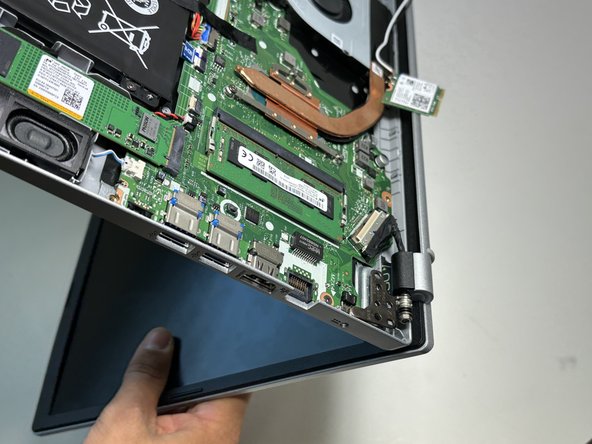
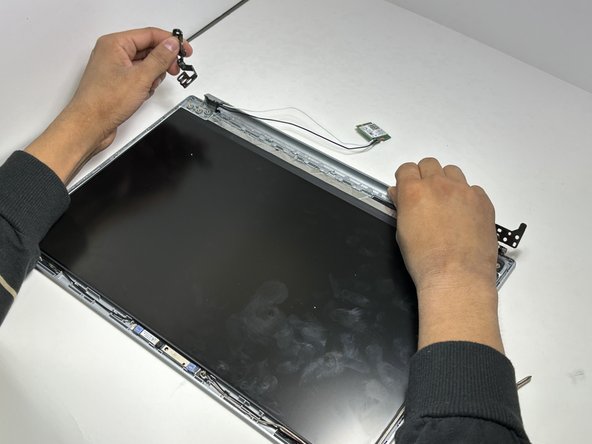
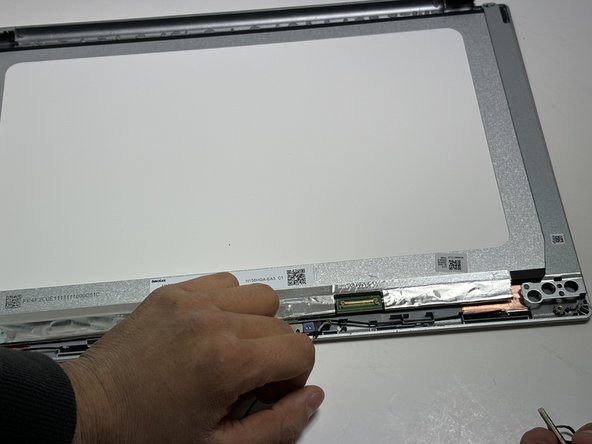
    • Use an opening tool to lift and disconnect the Wi-Fi card antenna cables.

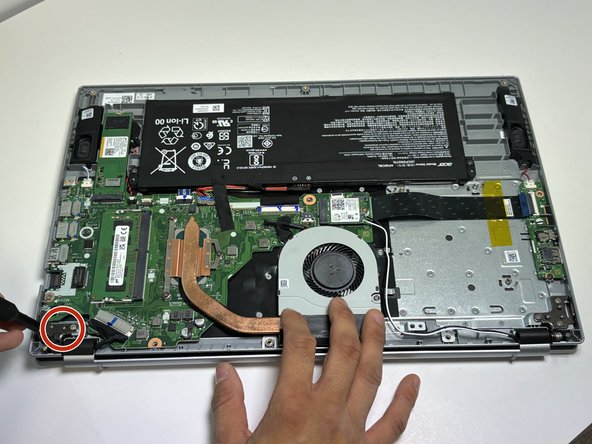
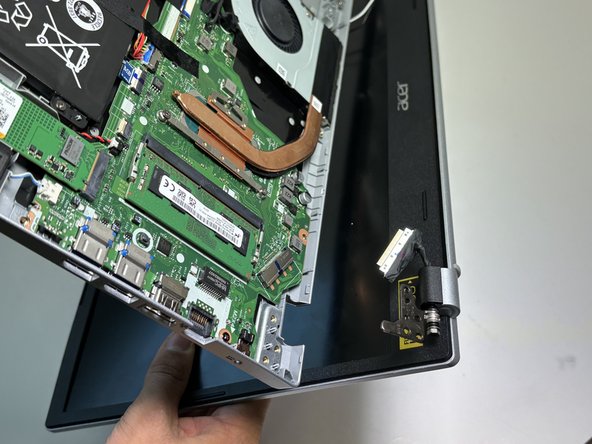
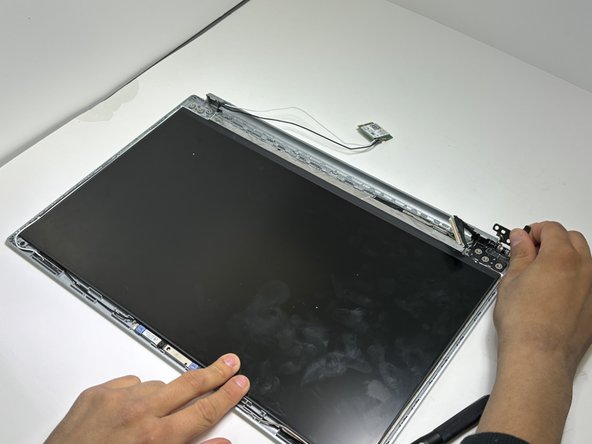
    • Remove the single 2 mm Phillips screw that secures the Wi-Fi card.

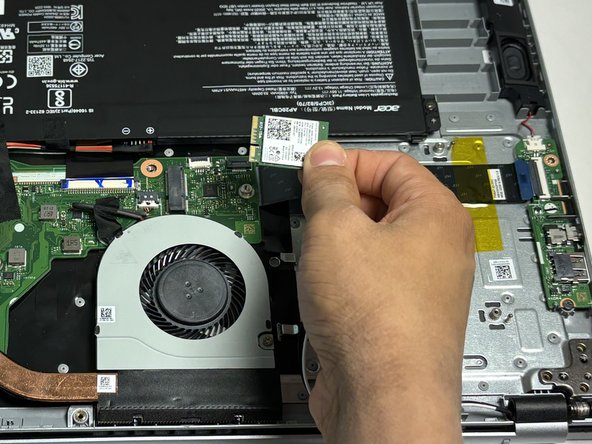
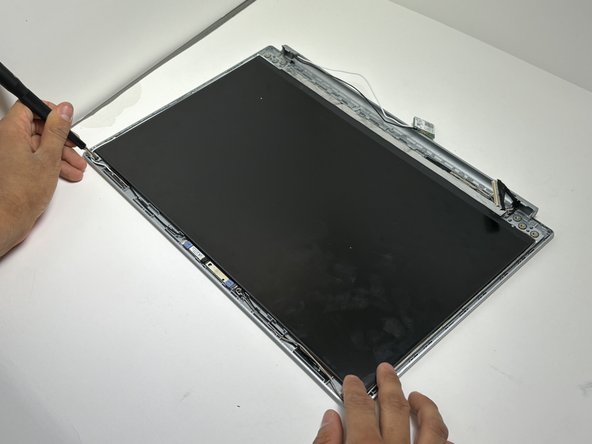
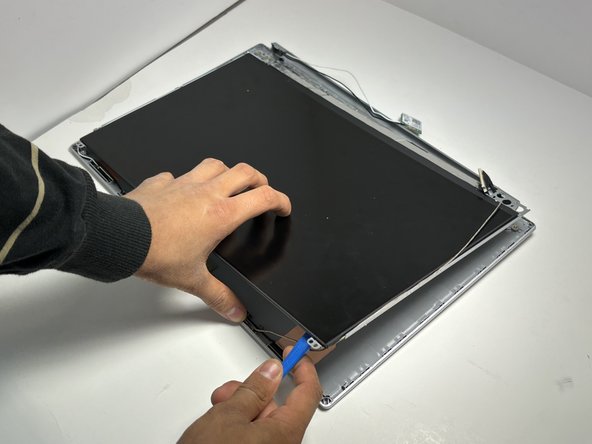
    • Pull the Wi-Fi card directly out of its socket.

  4. Acer Aspire 3 A315-58-350L Screen Replacement, Screen: 4 단계, 이미지 1/2 Acer Aspire 3 A315-58-350L Screen Replacement, Screen: 4 단계, 이미지 2/2
    • Remove the six 4 mm Phillips screws that secure the hinges.

    • There are three screws securing each bracket.

  5. Acer Aspire 3 A315-58-350L Screen Replacement: 5 단계, 이미지 1/2 Acer Aspire 3 A315-58-350L Screen Replacement: 5 단계, 이미지 2/2
    • Use tweezers to grab both ends of the display connector.

    • Pull the connector directly out of its socket.

  6. Acer Aspire 3 A315-58-350L Screen Replacement: 6 단계, 이미지 1/3 Acer Aspire 3 A315-58-350L Screen Replacement: 6 단계, 이미지 2/3 Acer Aspire 3 A315-58-350L Screen Replacement: 6 단계, 이미지 3/3
    • Lift the laptop and gently separate the display assembly from the lower chassis.

  7. Acer Aspire 3 A315-58-350L Screen Replacement: 7 단계, 이미지 1/3 Acer Aspire 3 A315-58-350L Screen Replacement: 7 단계, 이미지 2/3 Acer Aspire 3 A315-58-350L Screen Replacement: 7 단계, 이미지 3/3
    • Insert an opening tool between the bezel and display

    • Pry around the entire perimeter of the screen until the bezel releases.

    • Pull the bezel away from the hinges to remove it.

  8. Acer Aspire 3 A315-58-350L Screen Replacement: 8 단계, 이미지 1/3 Acer Aspire 3 A315-58-350L Screen Replacement: 8 단계, 이미지 2/3 Acer Aspire 3 A315-58-350L Screen Replacement: 8 단계, 이미지 3/3
    • Remove the six 3 mm Phillips screws that secure the two hinges.

    • There are three screws that secure each hinge.

  9. Acer Aspire 3 A315-58-350L Screen Replacement: 9 단계, 이미지 1/3 Acer Aspire 3 A315-58-350L Screen Replacement: 9 단계, 이미지 2/3 Acer Aspire 3 A315-58-350L Screen Replacement: 9 단계, 이미지 3/3
    • Remove the two 3 mm Phillips screws on the bottom left and right corner of the screen.

    • Use an opening tool to separate the display from the display assembly.

  10. Acer Aspire 3 A315-58-350L Screen Replacement: 10 단계, 이미지 1/3 Acer Aspire 3 A315-58-350L Screen Replacement: 10 단계, 이미지 2/3 Acer Aspire 3 A315-58-350L Screen Replacement: 10 단계, 이미지 3/3
    • Use the tweezers to lift brass display connector hinge.

    • Pull the display connector directly out of its socket.

    • Remove the display.

결론

To reassemble your device, follow these instructions in reverse order.

Evan Sandoval

회원 가입일: 09/11/23

861 평판

안내서 7개 작성하였습니다

Austin Community College, Team 9-1, Watkins Spring 2024 Austin Community College, Team 9-1, Watkins Spring 2024 회원

AUSTINCC-WATKINS-S24S9G1

4 회원들

안내서 9개 작성하였습니다

댓글 0개

댓글 쓰기

조회 통계:

24 시간 전: 0

7일 전: 0

30일 전: 24

전체 시간: 56