소개
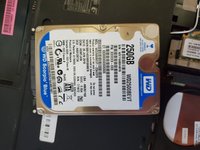
Is your Acer Aspire 5336-2524 laptop running slower than it used to? Has it stopped working all together? The hard drive probably needs to be replaced and this guide will provide step by step instructions on how to do it.
The computer’s hard drive is where all of your data is stored, from documents to videos, it all ends up on the hard drive. Without a working hard drive the computer will not even turn on because it has nowhere to store and access data.
Before beginning to remove the hard drive ensure that the laptop is powered off and the battery has been removed as shown in step 1. This will ensure that the hard drives are not damaged upon removal and replacement and that you will not be injured by possible shock. Also ensure that the hard drive caddy has been disconnected from the laptop before installation of the new hard drive so that it can be properly mounted.
필요한 것
-
-
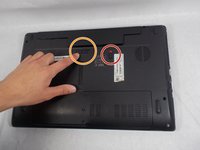
Flip over the laptop.
-
Make sure the battery lock is pushed down so the red part is exposed.
-
Push the switch all the way to the side and that will push the battery up.
-
Remove the battery.
-
-
-
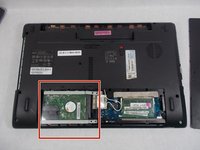
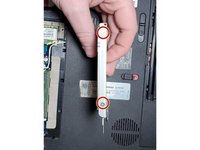
Remove the two M2.5x8 screws with a Phillips #0 screwdriver.
-
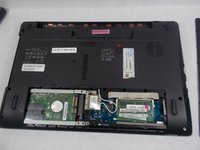
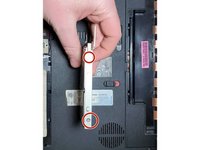
Use the plastic iFixit opening tool to pry open the lower door.
-
-


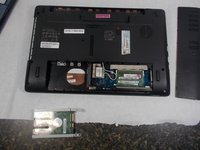


To reassemble your device, follow these instructions in reverse order.
To reassemble your device, follow these instructions in reverse order.
다른 3명이 해당 안내서를 완성하였습니다.
팀

UMass Dartmouth, Team S1-G4, Valliere Fall 2019 UMass Dartmouth, Team S1-G4, Valliere Fall 2019 회원
UMASSD-VALLIERE-F19S1G4
3 회원들
안내서 4개를 작성함