주요 콘텐츠로 건너뛰기

Acer Aspire E3-111-C0WA RAM Replacement

필요한 것

  1. Acer Aspire E3-111-C0WA RAM Replacement, Battery: 1 단계, 이미지 1/2 Acer Aspire E3-111-C0WA RAM Replacement, Battery: 1 단계, 이미지 2/2
    • Remove the 13 indicated screws (6.2 mm) using a Phillips #1 screwdriver.

  2. Acer Aspire E3-111-C0WA RAM Replacement: 2 단계, 이미지 1/3 Acer Aspire E3-111-C0WA RAM Replacement: 2 단계, 이미지 2/3 Acer Aspire E3-111-C0WA RAM Replacement: 2 단계, 이미지 3/3
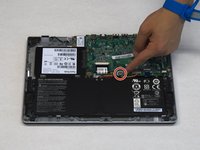
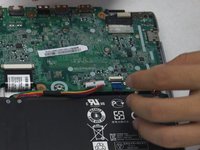
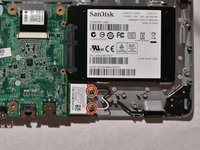
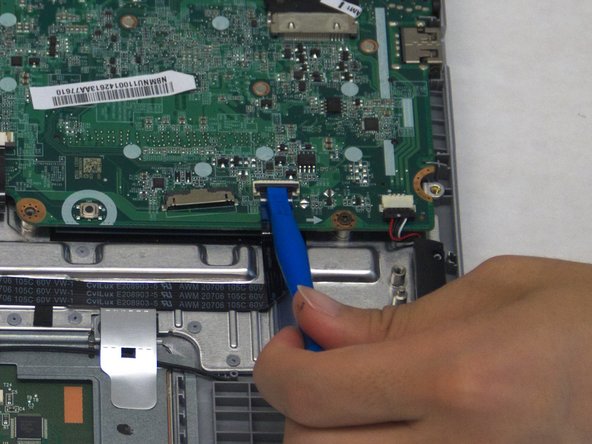
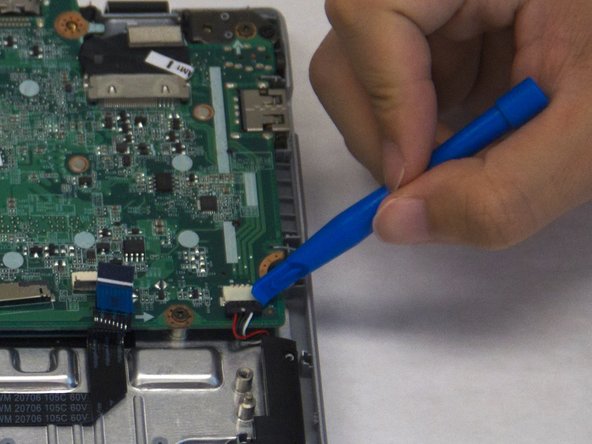
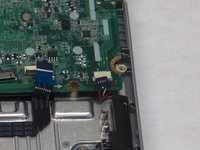
    • Insert your plastic opening tool between the bottom case and the rest of the laptop.

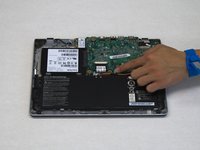
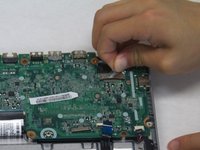
    • Using the plastic opening tool as a lever, apply downward pressure on the tool to lift the bottom up.

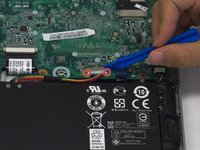
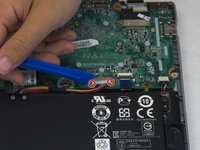
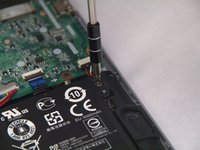
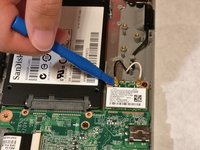
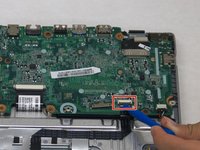
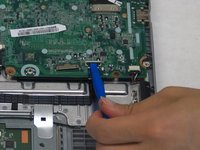
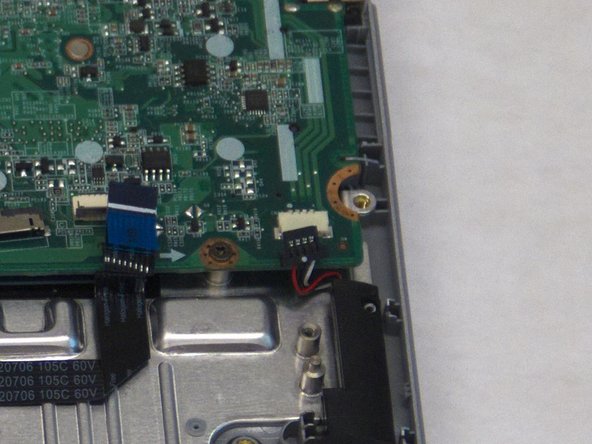
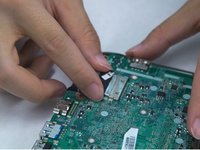
    • Make your way around the case with the tool, every so often applying downward pressure to lift the bottom up.

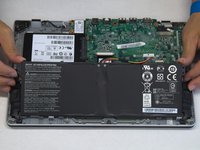
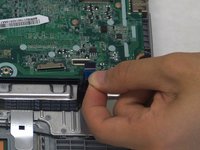
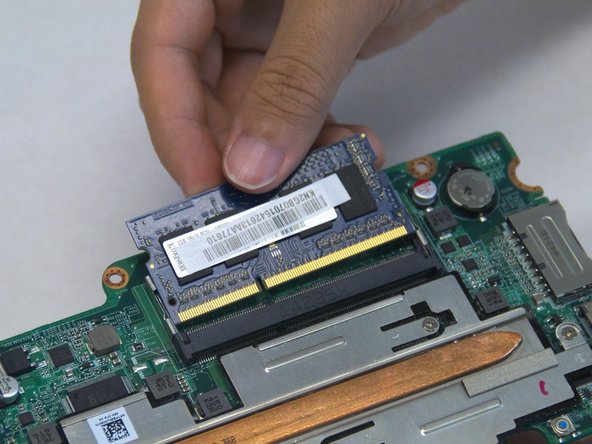
    • Lift the bottom off the laptop.

  3. Acer Aspire E3-111-C0WA RAM Replacement: 3 단계, 이미지 1/2 Acer Aspire E3-111-C0WA RAM Replacement: 3 단계, 이미지 2/2
    이 단계에 사용된 도구:
    Anti-Static Wrist Strap
    $7.95
    구매
    • Make sure you have properly grounded yourself to avoid potentially damaging any internal components by wearing the anti-static wrist strap and attaching the clip end to metal.

    • Press and hold the battery discharge button on the motherboard for 5 seconds to drain the battery.

  4. Acer Aspire E3-111-C0WA RAM Replacement: 4 단계, 이미지 1/3 Acer Aspire E3-111-C0WA RAM Replacement: 4 단계, 이미지 2/3 Acer Aspire E3-111-C0WA RAM Replacement: 4 단계, 이미지 3/3
    • Dislodge the battery's connector to the motherboard by using the plastic opening tool as a lever on the two small plastic tabs that stick out on either side of the connector.

  5. Acer Aspire E3-111-C0WA RAM Replacement: 5 단계, 이미지 1/2 Acer Aspire E3-111-C0WA RAM Replacement: 5 단계, 이미지 2/2
    • Unscrew the two 6.2 mm Phillips #1 head screws on either side of the battery as indicated.

  6. Acer Aspire E3-111-C0WA RAM Replacement: 6 단계, 이미지 1/2 Acer Aspire E3-111-C0WA RAM Replacement: 6 단계, 이미지 2/2
    • Lift the battery up and off the rest of the laptop.

  7. Acer Aspire E3-111-C0WA RAM Replacement, Wireless Card: 7 단계, 이미지 1/2 Acer Aspire E3-111-C0WA RAM Replacement, Wireless Card: 7 단계, 이미지 2/2
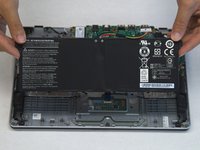
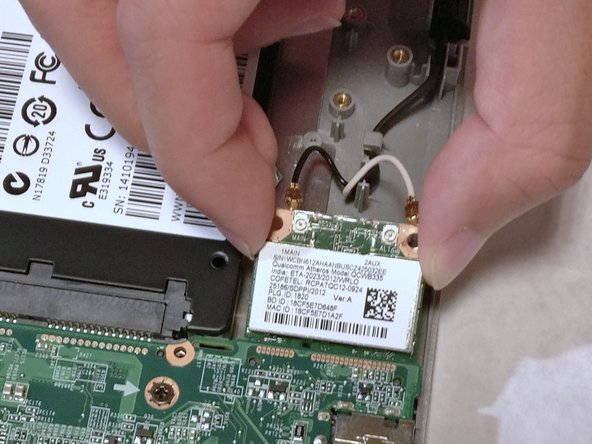
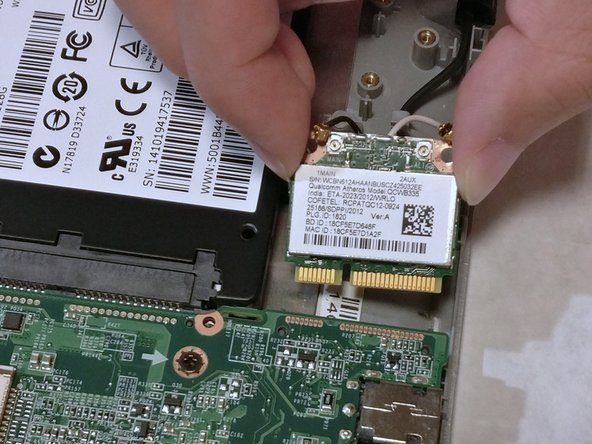
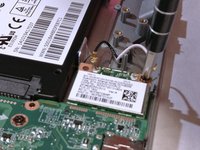
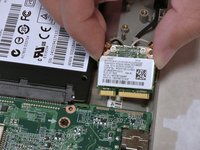
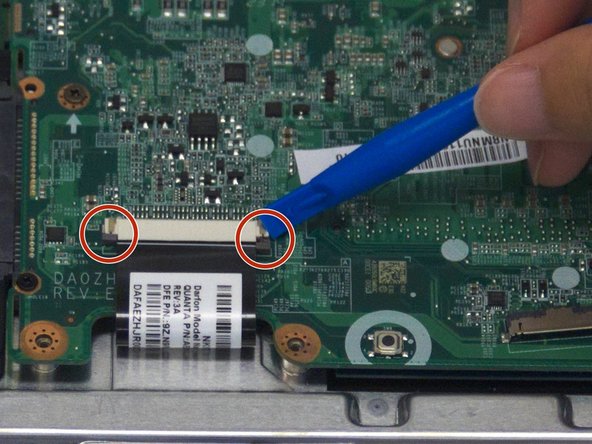
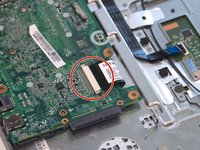
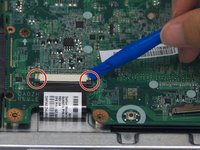
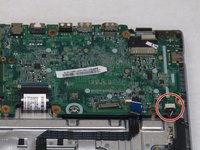
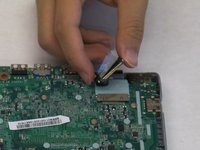
    • Remove the two antenna cables from the wireless card. These should snap lightly out of place when lifted upwards.

  8. Acer Aspire E3-111-C0WA RAM Replacement: 8 단계, 이미지 1/3 Acer Aspire E3-111-C0WA RAM Replacement: 8 단계, 이미지 2/3 Acer Aspire E3-111-C0WA RAM Replacement: 8 단계, 이미지 3/3
    • Remove the 6.2mm #1 Phillips head screw attaching the wireless card to the case.

    • Pull the wireless card horizontally away from the motherboard to remove it from the connector.

  9. Acer Aspire E3-111-C0WA RAM Replacement, Hard Drive: 9 단계, 이미지 1/2 Acer Aspire E3-111-C0WA RAM Replacement, Hard Drive: 9 단계, 이미지 2/2
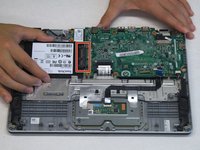
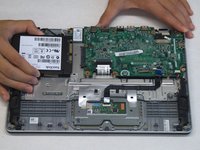
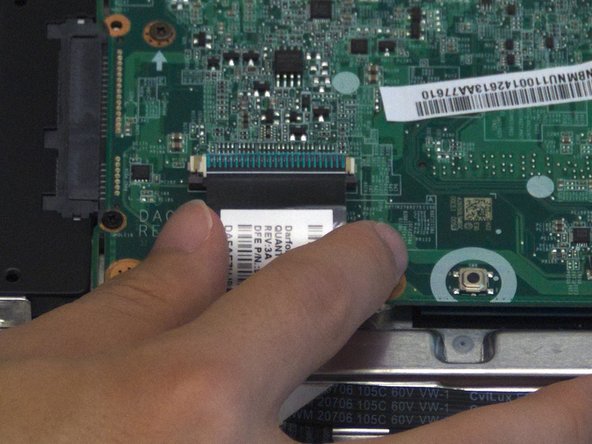
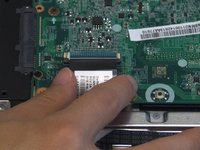
    • Holding the laptop in place, slide the hard drive horizontally out from the SATA connector.

  10. Acer Aspire E3-111-C0WA RAM Replacement, RAM: 10 단계, 이미지 1/3 Acer Aspire E3-111-C0WA RAM Replacement, RAM: 10 단계, 이미지 2/3 Acer Aspire E3-111-C0WA RAM Replacement, RAM: 10 단계, 이미지 3/3
    • Lightly pry upwards on the black plastic tab to release the touchpad cable, then gently pull the cable from the connector.

  11. Acer Aspire E3-111-C0WA RAM Replacement: 11 단계, 이미지 1/3 Acer Aspire E3-111-C0WA RAM Replacement: 11 단계, 이미지 2/3 Acer Aspire E3-111-C0WA RAM Replacement: 11 단계, 이미지 3/3
    • Find the keyboard cable. Pull the two gray plastic tabs outwards to release the ribbon. Gently pull the cable from the connector.

  12. Acer Aspire E3-111-C0WA RAM Replacement: 12 단계, 이미지 1/3 Acer Aspire E3-111-C0WA RAM Replacement: 12 단계, 이미지 2/3 Acer Aspire E3-111-C0WA RAM Replacement: 12 단계, 이미지 3/3
    • Pull down gently on the black speaker cable connector to disconnect it from the motherboard.

  13. Acer Aspire E3-111-C0WA RAM Replacement: 13 단계, 이미지 1/3 Acer Aspire E3-111-C0WA RAM Replacement: 13 단계, 이미지 2/3 Acer Aspire E3-111-C0WA RAM Replacement: 13 단계, 이미지 3/3
    • Peel up the tape adhering the display cable to the connector on the motherboard.

    • Slide the display cable horizontally out of the connector to remove it from the motherboard.

  14. Acer Aspire E3-111-C0WA RAM Replacement: 14 단계, 이미지 1/3 Acer Aspire E3-111-C0WA RAM Replacement: 14 단계, 이미지 2/3 Acer Aspire E3-111-C0WA RAM Replacement: 14 단계, 이미지 3/3
    • Unscrew the four 6.2mm Phillips #1 screws attaching the motherboard to the case.

    • With all the screws and cables detached, lift the motherboard directly upwards out of the case.

  15. Acer Aspire E3-111-C0WA RAM Replacement: 15 단계, 이미지 1/3 Acer Aspire E3-111-C0WA RAM Replacement: 15 단계, 이미지 2/3 Acer Aspire E3-111-C0WA RAM Replacement: 15 단계, 이미지 3/3
    • Flip over the motherboard after removing it from the case.

    • Apply pressure outward on the metal tabs on either side of the RAM stick to release them from the notches on the stick.

    • The RAM stick may be under some tension and potentially fly out of the socket if not held in place as the tabs are released.

    • After the tabs have been released, slide the RAM out of the slot.

결론

To reassemble your device, follow these instructions in reverse order.

다른 2명이 해당 안내서를 완성하였습니다.

Jonathan Chandler

회원 가입일: 10/17/17

503 평판

안내서 4개 작성하였습니다

UC Santa Barbara, Team S1-G2, Weedon Fall 2017 UC Santa Barbara, Team S1-G2, Weedon Fall 2017 회원

UCSB-WEEDON-F17S1G2

5 회원들

안내서 5개 작성하였습니다

댓글 한 개

Thank you for this very well done step by step guide! I updated the RAM in this computer with no issues because of your procedure. FYI - I am a fellow Gaucho graduate way back from the Class of 1981.

Brian Satow - 답글

댓글 쓰기

조회 통계:

24 시간 전: 2

7일 전: 4

30일 전: 8

전체 시간: 968