주요 콘텐츠로 건너뛰기

Acer Aspire ES1-111M-C7DE Screen Replacement

필요한 것

  1. Acer Aspire ES1-111M-C7DE Screen Replacement, Screen: 1 단계, 이미지 3개 중 1개 Acer Aspire ES1-111M-C7DE Screen Replacement, Screen: 1 단계, 이미지 3개 중 2개 Acer Aspire ES1-111M-C7DE Screen Replacement, Screen: 1 단계, 이미지 3개 중 3개
    • Open the laptop screen to the farthest back position

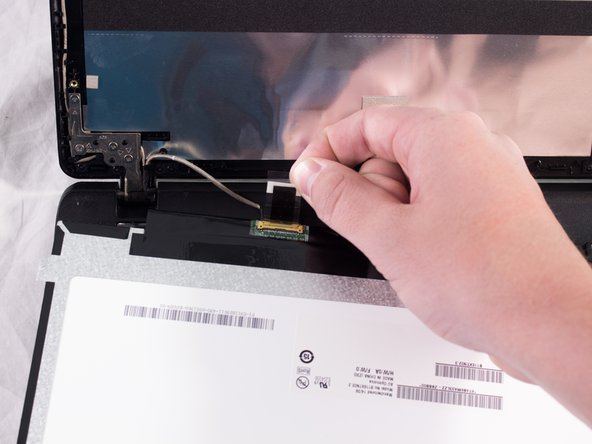
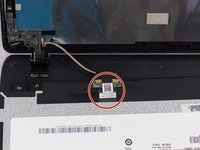
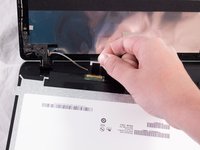
    • Using the plastic opening tool, pry off the screen border and completely remove it.

  2. Acer Aspire ES1-111M-C7DE Screen Replacement: 2 단계, 이미지 2개 중 1개 Acer Aspire ES1-111M-C7DE Screen Replacement: 2 단계, 이미지 2개 중 2개
    • •Using the JIS #1 screwdriver, remove the 4 3mmscrews from each corner of the screen

  3. Acer Aspire ES1-111M-C7DE Screen Replacement: 3 단계, 이미지 1개 중 1개
    • Remove the screen and turn it face down

  4. Acer Aspire ES1-111M-C7DE Screen Replacement: 4 단계, 이미지 2개 중 1개 Acer Aspire ES1-111M-C7DE Screen Replacement: 4 단계, 이미지 2개 중 2개
    • Carefully pull back the tape on the connector until the connector is fully revealed

  5. Acer Aspire ES1-111M-C7DE Screen Replacement: 5 단계, 이미지 1개 중 1개
    • Carefully remove the connector from the old screen and connect it to your new, compatible screen

결론

To reassemble your device, follow these instructions in reverse order starting from Step 3.

다른 2명이 해당 안내서를 완성하였습니다.

작성자

2다른 기여자 명과 함께

Timothy Carney

회원 가입일: 09/25/17

135 평판

안내서 1개를 작성함

USF Tampa, Team S3-G1, Cannon Fall 2017 USF Tampa, Team S3-G1, Cannon Fall 2017 회원

USFT-CANNON-F17S3G1

4 회원들

안내서 6개를 작성함

댓글 0개

댓글 쓰기

조회 통계:

지난 24시간: 0

지난 7일: 0

지난 30일: 4

전체 시간: 408