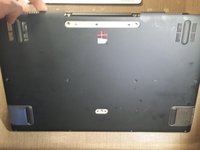
주요 콘텐츠로 건너뛰기

Acer Aspire R7 Display Assembly Replacement

필요한 것

  1. Acer Aspire R7 Display Assembly Replacement, Lower Case: 1 단계, 이미지 1/3 Acer Aspire R7 Display Assembly Replacement, Lower Case: 1 단계, 이미지 2/3 Acer Aspire R7 Display Assembly Replacement, Lower Case: 1 단계, 이미지 3/3
    • Remove all 10 of the lower case screws with a T9 torx screwdriver.

    • The front row screws are shorter then the middle and back row screws.

  2. Acer Aspire R7 Display Assembly Replacement: 2 단계, 이미지 1/3 Acer Aspire R7 Display Assembly Replacement: 2 단계, 이미지 2/3 Acer Aspire R7 Display Assembly Replacement: 2 단계, 이미지 3/3
    • Remove the long middle rubber piece with a plastic spludger or small flat head screwdriver.

    • Remove the 2 torx screws.

    • The screws are the same size as the top and middle row screws.

  3. Acer Aspire R7 Display Assembly Replacement: 3 단계, 이미지 1/3 Acer Aspire R7 Display Assembly Replacement: 3 단계, 이미지 2/3 Acer Aspire R7 Display Assembly Replacement: 3 단계, 이미지 3/3
    • Remove the small middle rubber piece with a plastic spludger or small flat head screwdriver.

    • Unscrew the torx screw. It is the same size as the bottom front row screws.

  4. Acer Aspire R7 Display Assembly Replacement: 4 단계, 이미지 1/3 Acer Aspire R7 Display Assembly Replacement: 4 단계, 이미지 2/3 Acer Aspire R7 Display Assembly Replacement: 4 단계, 이미지 3/3
    • Lift up the lower case from the computer.

  5. Acer Aspire R7 Display Assembly Replacement, Disconnect and Remove the Battery: 5 단계, 이미지 1/2 Acer Aspire R7 Display Assembly Replacement, Disconnect and Remove the Battery: 5 단계, 이미지 2/2
    • Disconnect the battery connector from the motherboard.

  6. Acer Aspire R7 Display Assembly Replacement: 6 단계, 이미지 1/2 Acer Aspire R7 Display Assembly Replacement: 6 단계, 이미지 2/2
    • Remove the two battery screws.

  7. Acer Aspire R7 Display Assembly Replacement: 7 단계, 이미지 1/2 Acer Aspire R7 Display Assembly Replacement: 7 단계, 이미지 2/2
    • Remove the battery by lifting it up carfully.

  8. Acer Aspire R7 Display Assembly Replacement, Hard Drive Removal: 8 단계, 이미지 1/2 Acer Aspire R7 Display Assembly Replacement, Hard Drive Removal: 8 단계, 이미지 2/2
    • Remove the 2 top screws on the hard drive.

  9. Acer Aspire R7 Display Assembly Replacement: 9 단계, 이미지 1/2 Acer Aspire R7 Display Assembly Replacement: 9 단계, 이미지 2/2
    • Remove the hard drive by slightly lifting it up on the left side and slightly pulling it to the left carefully untill it pops out.

  10. Acer Aspire R7 Display Assembly Replacement, WiFi Card Removal: 10 단계, 이미지 1/2 Acer Aspire R7 Display Assembly Replacement, WiFi Card Removal: 10 단계, 이미지 2/2
    • Disconnect the black and white WiFi antenna wires.

  11. Acer Aspire R7 Display Assembly Replacement: 11 단계, 이미지 1/3 Acer Aspire R7 Display Assembly Replacement: 11 단계, 이미지 2/3 Acer Aspire R7 Display Assembly Replacement: 11 단계, 이미지 3/3
    • Unscrew the screw holding down the WiFi card.

    • Remove the WiFi card.

  12. Acer Aspire R7 Display Assembly Replacement, Disconnecting Motherboard Connections: 12 단계, 이미지 1/3 Acer Aspire R7 Display Assembly Replacement, Disconnecting Motherboard Connections: 12 단계, 이미지 2/3 Acer Aspire R7 Display Assembly Replacement, Disconnecting Motherboard Connections: 12 단계, 이미지 3/3
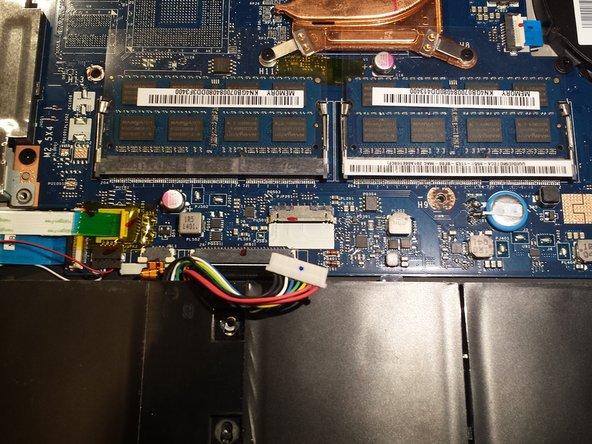
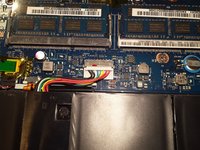
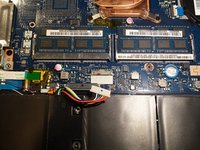
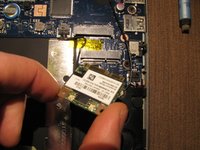
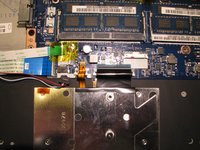
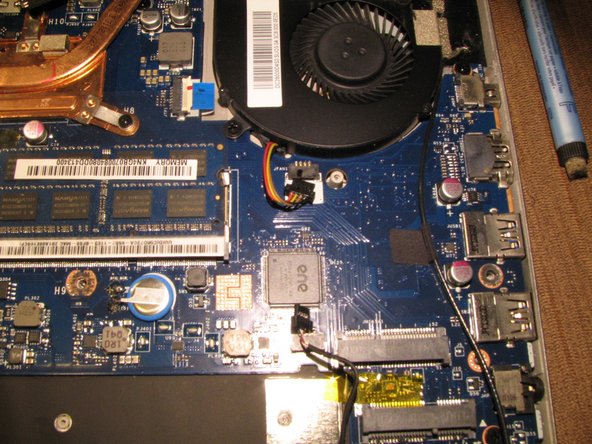
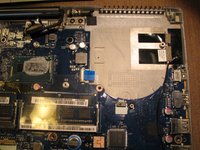
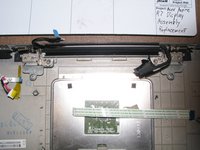
    • Disconnect the two keyboard ribbon cables

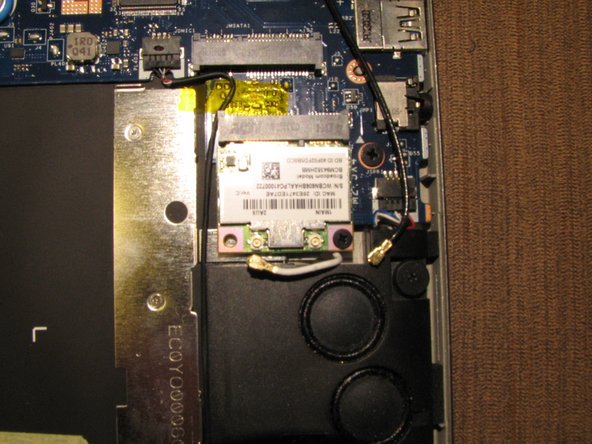
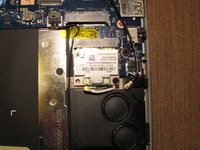
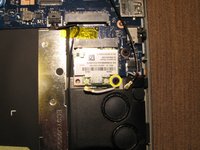
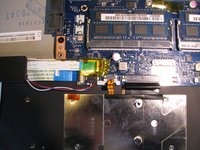
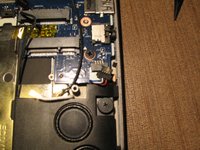
    • Disconnect the left speaker wire.

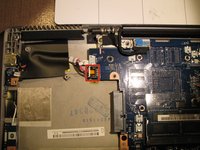
    • Disconnect the front lights ribbon cable.

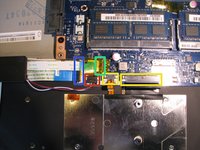
    • Disconnect the I/O board ribbon cable.

  13. Acer Aspire R7 Display Assembly Replacement: 13 단계, 이미지 1/2 Acer Aspire R7 Display Assembly Replacement: 13 단계, 이미지 2/2
    • Disconnect the DC jack cable.

  14. Acer Aspire R7 Display Assembly Replacement: 14 단계, 이미지 1/2 Acer Aspire R7 Display Assembly Replacement: 14 단계, 이미지 2/2
    • Disconnect the two display cables.

  15. Acer Aspire R7 Display Assembly Replacement: 15 단계, 이미지 1/2 Acer Aspire R7 Display Assembly Replacement: 15 단계, 이미지 2/2
    • Disconnect the heat sink fan wire.

    • Disconnect the microphone wire.

  16. Acer Aspire R7 Display Assembly Replacement: 16 단계, 이미지 1/2 Acer Aspire R7 Display Assembly Replacement: 16 단계, 이미지 2/2
    • Disconnect the right speaker wire.

  17. Acer Aspire R7 Display Assembly Replacement, CPU Heat Sink and Fan Removal: 17 단계, 이미지 1/3 Acer Aspire R7 Display Assembly Replacement, CPU Heat Sink and Fan Removal: 17 단계, 이미지 2/3 Acer Aspire R7 Display Assembly Replacement, CPU Heat Sink and Fan Removal: 17 단계, 이미지 3/3
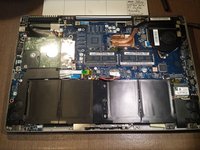
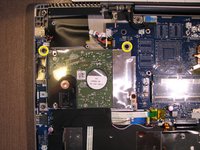
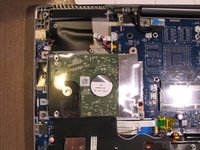
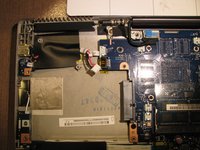
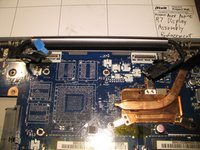
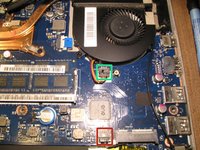
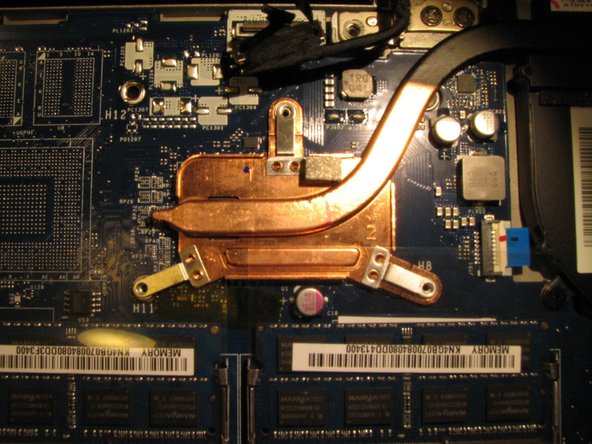
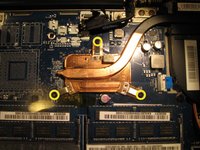
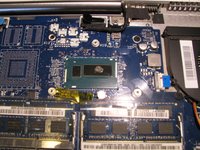
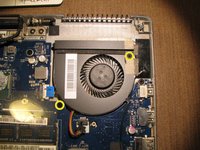
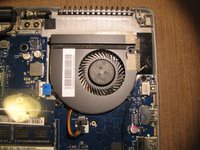
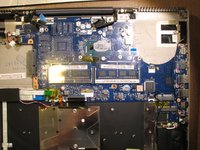
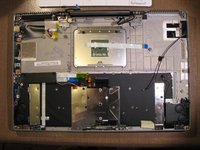
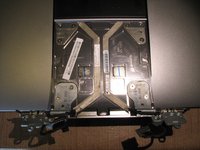
    • Remove the 3 heat sink screws.

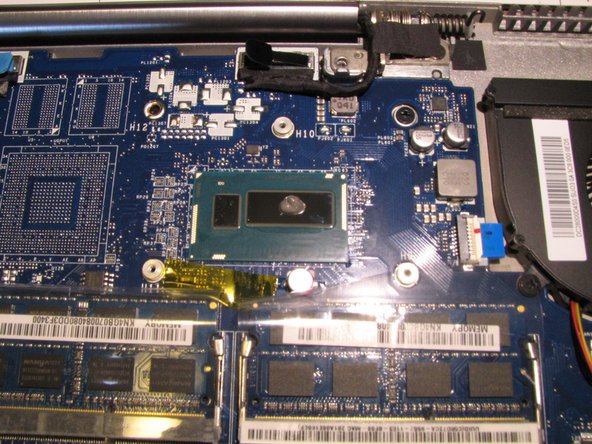
    • Lift up the heat sink from the motherboard and remove it.

    • When reinstalling the heat sink during reassembly, make sure to clean off the old thermal paste from the CPU and heat sink with Artic Silver ArtiClean. Then put a grain of rice sized amount of new Artic Silver thermal paste on the CPU so it won't overheat. See 3rd picture.

  18. Acer Aspire R7 Display Assembly Replacement: 18 단계, 이미지 1/3 Acer Aspire R7 Display Assembly Replacement: 18 단계, 이미지 2/3 Acer Aspire R7 Display Assembly Replacement: 18 단계, 이미지 3/3
    • Remove the 2 heat sink fan screws.

    • Remove the heat sink fan.

  19. Acer Aspire R7 Display Assembly Replacement: 19 단계, 이미지 1/2 Acer Aspire R7 Display Assembly Replacement: 19 단계, 이미지 2/2
    • Disconnect the trackpad ribbon cable.

  20. Acer Aspire R7 Display Assembly Replacement, Motherboard Removal: 20 단계, 이미지 1/2 Acer Aspire R7 Display Assembly Replacement, Motherboard Removal: 20 단계, 이미지 2/2
    • Remove the 3 motherboard screws.

    • Remove the motherboard by lifting it up very carefully as the power button ribbon cable is still connected to the left under side of the motherboard. See step 21.

  21. Acer Aspire R7 Display Assembly Replacement: 21 단계, 이미지 1/2 Acer Aspire R7 Display Assembly Replacement: 21 단계, 이미지 2/2
    • Remove the power button ribbon cable from the motherboard.

  22. Acer Aspire R7 Display Assembly Replacement, Display Assembly Removal: 22 단계, 이미지 1/2 Acer Aspire R7 Display Assembly Replacement, Display Assembly Removal: 22 단계, 이미지 2/2
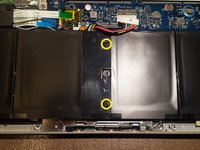
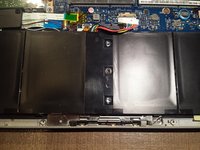
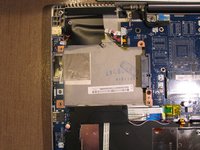
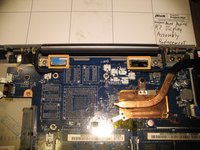
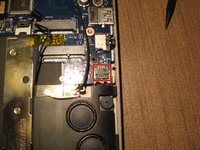
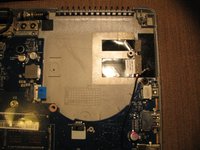
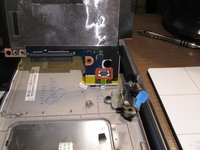
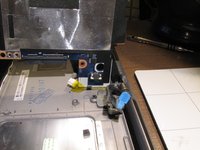
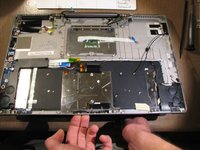
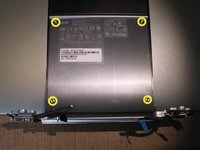
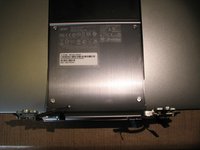
    • Remove the 4 silver hinge screws.

    • Remove the 2 black hinge screws.

    • The black screws are shorter then the silver screws.

  23. Acer Aspire R7 Display Assembly Replacement: 23 단계, 이미지 1/3 Acer Aspire R7 Display Assembly Replacement: 23 단계, 이미지 2/3 Acer Aspire R7 Display Assembly Replacement: 23 단계, 이미지 3/3
    • Carefully open the laptop and the hinges will pop off the frame.

  24. Acer Aspire R7 Display Assembly Replacement: 24 단계, 이미지 1/3 Acer Aspire R7 Display Assembly Replacement: 24 단계, 이미지 2/3 Acer Aspire R7 Display Assembly Replacement: 24 단계, 이미지 3/3
    • Optional Step

    • Remove the 4 T9 torx screws from the display assembly where the model number and serial numbers stickers are located and swap that panel to the replacement display assembly. Completing this step allows for your computer to retain its original identification information.

  25. Acer Aspire R7 Display Assembly Replacement: 25 단계, 이미지 1/1
    • Congradulations! You've completed this guide! :)

결론

To reassemble your device, follow these instructions in reverse order.

다른 9명이 해당 안내서를 완성하였습니다.

computeripodrepair

회원 가입일: 01/15/11

601 평판

안내서 1개 작성함

Everything iPod Everything iPod 회원

Community

62 회원들

안내서 3개 작성하였습니다

댓글 5개

Where do you get a new display?

GoofyBall - 답글

I ordered the display on eBay.

computeripodrepair -

Horrible guide. None of this is necessary to replace the screen. The actual steps necessary to replace the screen are not listed...

Blue Raja - 답글

This is just a teardown. Nobody sells the entire display assembly with shell, and the steps to go over replacing the actual display panel are completely absent.

Black Forest Ham - 답글

Although correct this doesn't help and should probably be taken down. As mentioned by others you can't buy the entire screen section, you can only buy the LCD part. Replacing the LCD requires removing the glass and having to glue it back on which is probably beyond most people's capability. This article is therefore misleading.

Mike Short - 답글

댓글 쓰기

조회 통계:

24 시간 전: 1

7일 전: 4

30일 전: 13

전체 시간: 10,499