이 버전에는 잘못된 편집 사항이 있을 수 있습니다. 최신 확인된 스냅샷으로 전환하십시오.
필요한 것
-
이 단계는 번역되지 않았습니다. 번역을 도와주십시오
-
Remove the 12 5mm Phillips #00 screws.
-
Use a plastic opening tool to gently pry open the back panel.
-
Gently lift up the back panel, exposing the internals of the laptop.
-
-
이 단계는 번역되지 않았습니다. 번역을 도와주십시오
-
Remove the motherboard connector cables by gently lifting the black latch that clamps them in place with a spudger or simply pull the connector from the port.
-
-
이 단계는 번역되지 않았습니다. 번역을 도와주십시오
-
Remove the 5 5mm PH0 screws holding the motherboard in place.
-
Gently remove the motherboard from the chassis.
-
-
-
이 단계는 번역되지 않았습니다. 번역을 도와주십시오
-
Gently remove the speakers. Note that the wire connecting them may be lightly glued down. If so, gently pry up.
-
-
이 단계는 번역되지 않았습니다. 번역을 도와주십시오
-
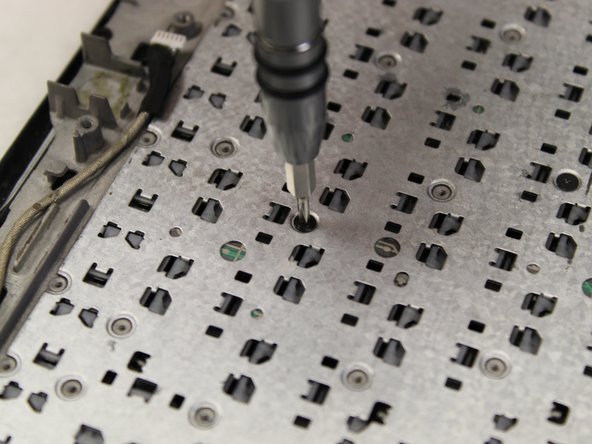
The 30 1mm PH000 screws holding the keyboard in place will be distributed all over the back.
-
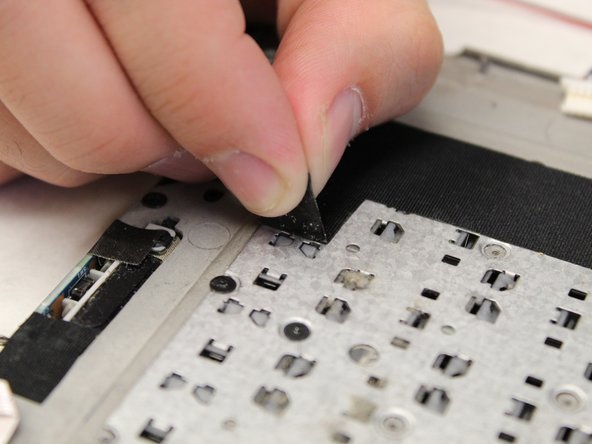
You will need to gently pry up the black tape to expose the remaining screws.
-


다른 한 분이 해당 안내서를 완성하였습니다.
팀

Washington State, Team S1-G4, Hope Fall 2018 Washington State, Team S1-G4, Hope Fall 2018 회원
WSU-HOPE-F18S1G4
3 회원들
안내서 6개 작성하였습니다