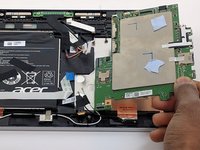
주요 콘텐츠로 건너뛰기

Acer Aspire Switch 10 SW5-011-18R3 Motherboard Replacement

필요한 것

  1. Acer Aspire Switch 10 SW5-011-18R3 Motherboard Replacement, Motherboard: 1 단계, 이미지 3개 중 1개 Acer Aspire Switch 10 SW5-011-18R3 Motherboard Replacement, Motherboard: 1 단계, 이미지 3개 중 2개 Acer Aspire Switch 10 SW5-011-18R3 Motherboard Replacement, Motherboard: 1 단계, 이미지 3개 중 3개
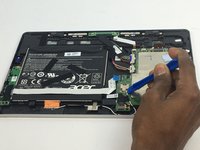
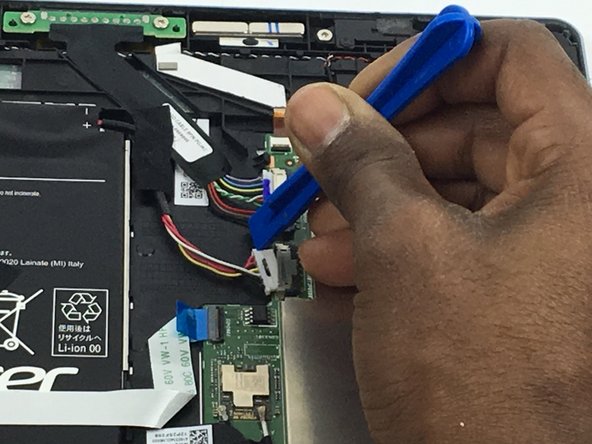
    • Wedge your plastic opening tool into the crevice between the volume button and casing to create space.

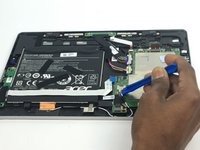
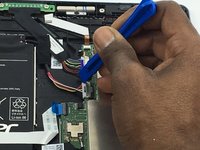
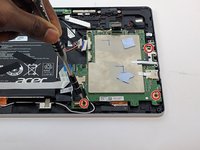
    • Slide the plastic opening tool along this crevice to pry apart the backing of the tablet.

  2. Acer Aspire Switch 10 SW5-011-18R3 Motherboard Replacement: 2 단계, 이미지 3개 중 1개 Acer Aspire Switch 10 SW5-011-18R3 Motherboard Replacement: 2 단계, 이미지 3개 중 2개 Acer Aspire Switch 10 SW5-011-18R3 Motherboard Replacement: 2 단계, 이미지 3개 중 3개
    • There are four zero insertion force connectors that need to be removed.

    • Use your plastic opening tool to flip up the black clips that secure the ribbon cables to the motherboard.

    • Once the clips are flipped up, the ribbon cables will be safe to remove.

  3. Acer Aspire Switch 10 SW5-011-18R3 Motherboard Replacement: 3 단계, 이미지 3개 중 1개 Acer Aspire Switch 10 SW5-011-18R3 Motherboard Replacement: 3 단계, 이미지 3개 중 2개 Acer Aspire Switch 10 SW5-011-18R3 Motherboard Replacement: 3 단계, 이미지 3개 중 3개
    • Use your plastic opening tool to pry up and lift the antenna cables from the motherboard.

    • The connectors are delicate so use a gentle touch when prying them.

  4. Acer Aspire Switch 10 SW5-011-18R3 Motherboard Replacement: 4 단계, 이미지 3개 중 1개 Acer Aspire Switch 10 SW5-011-18R3 Motherboard Replacement: 4 단계, 이미지 3개 중 2개 Acer Aspire Switch 10 SW5-011-18R3 Motherboard Replacement: 4 단계, 이미지 3개 중 3개
    • To remove the four bundle cable connectors, push against the edges of the connector to loosen it up.

    • Pull the cable away from the connector.

  5. Acer Aspire Switch 10 SW5-011-18R3 Motherboard Replacement: 5 단계, 이미지 2개 중 1개 Acer Aspire Switch 10 SW5-011-18R3 Motherboard Replacement: 5 단계, 이미지 2개 중 2개
    • Use your screwdriver with the Phillips PH000 attachment to remove the three 4mm screws.

    • Remove the motherboard from the tablet.

결론

To reassemble your device, follow these instructions in reverse order.

다른 9명이 해당 안내서를 완성하였습니다.

작성자

2다른 기여자 명과 함께

Max Francois

회원 가입일: 09/28/16

684 평판

안내서 2개를 작성함

USF Tampa, Team 3-4, Passmore Fall 2016 USF Tampa, Team 3-4, Passmore Fall 2016 회원

USFT-PASSMORE-F16S3G4

4 회원들

안내서 4개를 작성함

0가이드 댓글

댓글 쓰기

조회 통계:

지난 24시간: 1

지난 7일: 1

지난 30일: 17

전체 시간: 7,825