주요 콘텐츠로 건너뛰기

Acer Aspire Switch 10 SW5-012-18MY Power Light Replacement

필요한 것

  1. Acer Aspire Switch 10 SW5-012-18MY Power Light Replacement, Power Light: 1 단계, 이미지 1/2 Acer Aspire Switch 10 SW5-012-18MY Power Light Replacement, Power Light: 1 단계, 이미지 2/2
    • Remove the tablet from the keyboard.

    • You will not be needing the keyboard for this guide.

  2. Acer Aspire Switch 10 SW5-012-18MY Power Light Replacement: 2 단계, 이미지 1/3 Acer Aspire Switch 10 SW5-012-18MY Power Light Replacement: 2 단계, 이미지 2/3 Acer Aspire Switch 10 SW5-012-18MY Power Light Replacement: 2 단계, 이미지 3/3
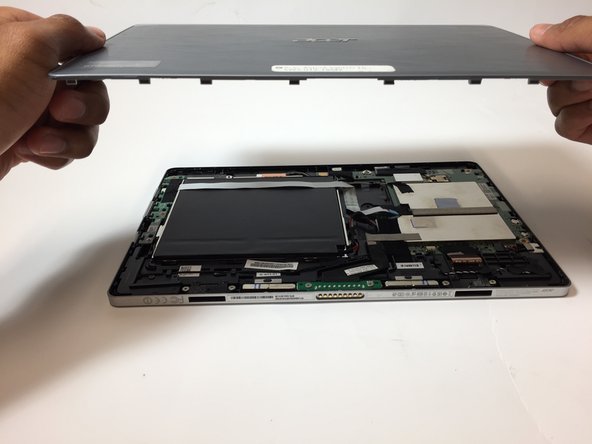
    • Use the opening tool to open the back cover. The opening tool should fit under the cover if you place it above the power button, as shown in the pictures.

    • Lift this side of the back cover once the opening tool is inside the device, as shown in the third picture.

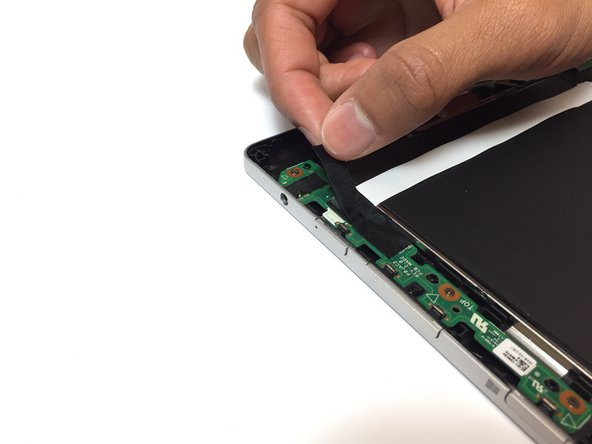
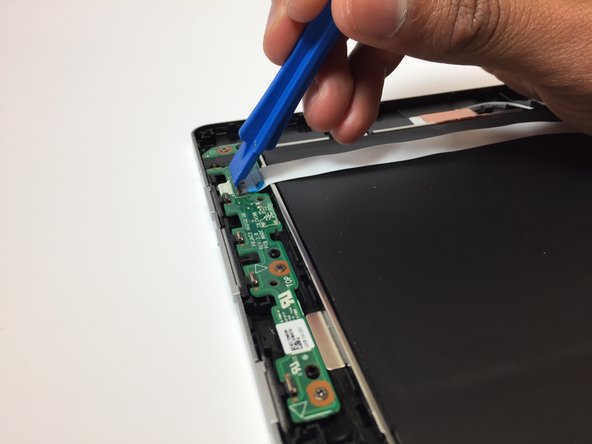
    • Use the opening tool and your hands to gradually work around the edges of the cover.

  3. Acer Aspire Switch 10 SW5-012-18MY Power Light Replacement: 3 단계, 이미지 1/2 Acer Aspire Switch 10 SW5-012-18MY Power Light Replacement: 3 단계, 이미지 2/2
    • Lift the back cover off of the device with your hands.

    • You will need to use some force to pull off the back cover.

  4. Acer Aspire Switch 10 SW5-012-18MY Power Light Replacement: 4 단계, 이미지 1/2 Acer Aspire Switch 10 SW5-012-18MY Power Light Replacement: 4 단계, 이미지 2/2
    • Remove the piece of black, thin tape that is attached to the circuit board closest to the power button.

  5. Acer Aspire Switch 10 SW5-012-18MY Power Light Replacement: 5 단계, 이미지 1/3 Acer Aspire Switch 10 SW5-012-18MY Power Light Replacement: 5 단계, 이미지 2/3 Acer Aspire Switch 10 SW5-012-18MY Power Light Replacement: 5 단계, 이미지 3/3
    • Use the opening tool to lift the black ZIF connector holding the ribbon cable in place.

    • Pull out the ribbon cable from the circuit board. This cable should have the word "Audio" on it.

  6. Acer Aspire Switch 10 SW5-012-18MY Power Light Replacement: 6 단계, 이미지 1/3 Acer Aspire Switch 10 SW5-012-18MY Power Light Replacement: 6 단계, 이미지 2/3 Acer Aspire Switch 10 SW5-012-18MY Power Light Replacement: 6 단계, 이미지 3/3
    • Use the screwdriver to remove the 3, 3 mm screws on the circuit board.

  7. Acer Aspire Switch 10 SW5-012-18MY Power Light Replacement: 7 단계, 이미지 1/2 Acer Aspire Switch 10 SW5-012-18MY Power Light Replacement: 7 단계, 이미지 2/2
    • Carefully remove the circuit board from the device. The power light is located on this board.

    • The power light is attached to this circuit board you have just removed. To replace the power light on this piece, please go to the page How To Solder and Desolder Connections.

결론

To reassemble your device, follow these instructions in reverse order.

Grecia Corrada

회원 가입일: 03/19/18

1,134 평판

안내서 6개 작성하였습니다

Baylor, Team S3-G3, Williams Spring 2018 Baylor, Team S3-G3, Williams Spring 2018 회원

BU-WILLIAMS-S18S3G3

3 회원들

안내서 6개 작성하였습니다

댓글 0개

댓글 쓰기

조회 통계:

24 시간 전: 0

7일 전: 1

30일 전: 2

전체 시간: 360