주요 콘텐츠로 건너뛰기

이 버전에는 잘못된 편집 사항이 있을 수 있습니다. 최신 확인된 스냅샷으로 전환하십시오.

필요한 것

  1. 이 단계는 번역되지 않았습니다. 번역을 도와주십시오

    : 1 단계, 이미지 1/2 : 1 단계, 이미지 2/2
    • Remove the thirteen 6.0mm screws on the back panel using your Phillips #1 screwdriver.

  2. 이 단계는 번역되지 않았습니다. 번역을 도와주십시오

    : 2 단계, 이미지 1/2 : 2 단계, 이미지 2/2
    • Pry the back panel open with the plastic opening tool.

  3. 이 단계는 번역되지 않았습니다. 번역을 도와주십시오

    : 3 단계, 이미지 1/1
    • Remove the two 6.0mm screws securing the battery with your Phillips #1 screwdriver.

  4. 이 단계는 번역되지 않았습니다. 번역을 도와주십시오

    : 4 단계, 이미지 1/2 : 4 단계, 이미지 2/2
    • Carefully pull out the battery wire connected to the battery port.

  5. 이 단계는 번역되지 않았습니다. 번역을 도와주십시오

    : 5 단계, 이미지 1/1
    • Slowly lift the battery to remove it from the Chromebook.

  6. 이 단계는 번역되지 않았습니다. 번역을 도와주십시오

    : 6 단계, 이미지 1/3 : 6 단계, 이미지 2/3 : 6 단계, 이미지 3/3
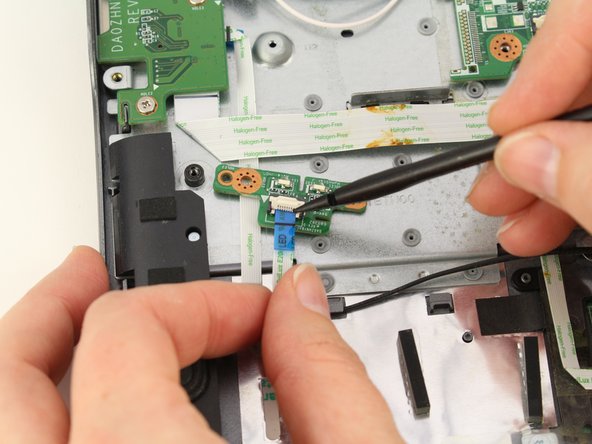
    • Use the Phillips #1 screwdriver to remove the two 3.1mm screws from the LED PCB.

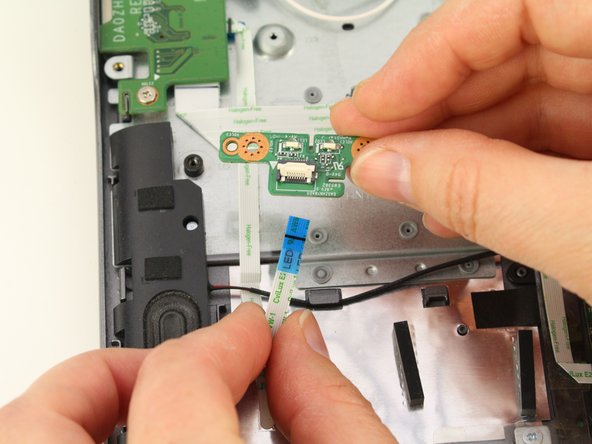
    • Lift the LED PCB up with your fingers and flip it over revealing the ZIF connector.

    • The LED PCB is still tethered to the daughterboard via a ribbon cable so be sure not to yank it out or it could cause damage to the cable or its connectors.

  7. 이 단계는 번역되지 않았습니다. 번역을 도와주십시오

    : 7 단계, 이미지 1/3 : 7 단계, 이미지 2/3 : 7 단계, 이미지 3/3
    • Set the LED PCB down and use your spudger to flip up the white bar of the ZIF connector.

    • Pull the ribbon cable out with your fingers.

결승점

Sarah Westberg

회원 가입일: 03/11/19

23,242 평판

안내서 70개 작성하였습니다

iFixit iFixit 회원

Staff

135 회원들

안내서 17,199개 작성하였습니다

댓글 0개

댓글 쓰기

조회 통계:

24 시간 전: 2

7일 전: 6

30일 전: 8

전체 시간: 238