이 버전에는 잘못된 편집 사항이 있을 수 있습니다. 최신 확인된 스냅샷으로 전환하십시오.
필요한 것
-
이 단계는 번역되지 않았습니다. 번역을 도와주십시오
-
Remove the thirteen 6.0mm screws on the back panel using your Phillips #1 screwdriver.
-
-
이 단계는 번역되지 않았습니다. 번역을 도와주십시오
-
Remove the two 6.0mm screws securing the battery with your Phillips #1 screwdriver.
-
-
-
이 단계는 번역되지 않았습니다. 번역을 도와주십시오
-
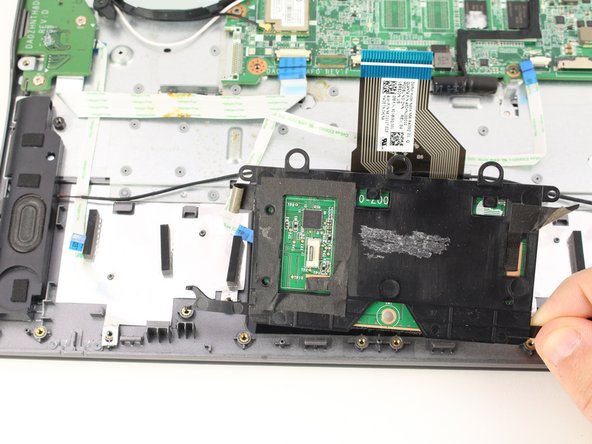
Using a spudger, pry up the locking bar of the ZIF connector on the trackpad and remove the ribbon cable.
-
-
이 단계는 번역되지 않았습니다. 번역을 도와주십시오
-
Peel off the clear plastic covering the screws.
-
Remove the five grey 2.5 mm screws securing the trackpad with a Phillips #1 screwdriver.
-
Remove another four silver 2.9mm Phillips #1 screws from the silver bracket atop the trackpad with your driver.
-
-
이 단계는 번역되지 않았습니다. 번역을 도와주십시오
-
Lift up the silver bracket.
-
Remove the trackpad by lifting it up from the case.
-


다른 한 분이 해당 안내서를 완성하였습니다.

