소개
If your Acer Chromebook (Spin 511 C741L N20Q8) screen is turning off, has dead pixels, or will not display anything, the screen may be broken or defective. In order to display images again, the display assembly may need to be replaced.
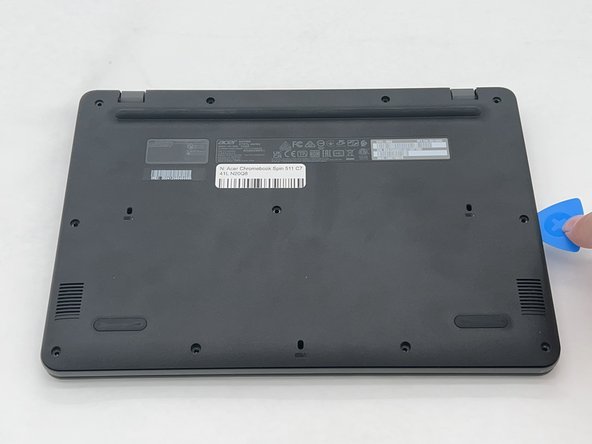
Before beginning, ensure that the device is powered off and disconnected from any external sources. Then, follow these steps to replace your display assembly.
필요한 것
-
-
Remove the eleven 2.4 mm screws securing the back plate and internals of the Chromebook using a Phillips #1 screwdriver.
-
-
-
Remove the six 2.4 mm screws from the hinges using a Phillips #1 screwdriver.
-
-


To reassemble your device, follow these instructions in reverse order.
다른 2명이 해당 안내서를 완성하였습니다.

팀

University of North Texas, Team 4-3, Harold Fall 2024 University of North Texas, Team 4-3, Harold Fall 2024 회원
UNT-HAROLD-F24S4G3
4 회원들
안내서 5개를 작성함