소개
Replace the motherboard in a Acer Iconia A1-810.
필요한 것
-
-
Remove the back cover by lifting with a plastic opening tool, below the camera button slot.
-
-
-
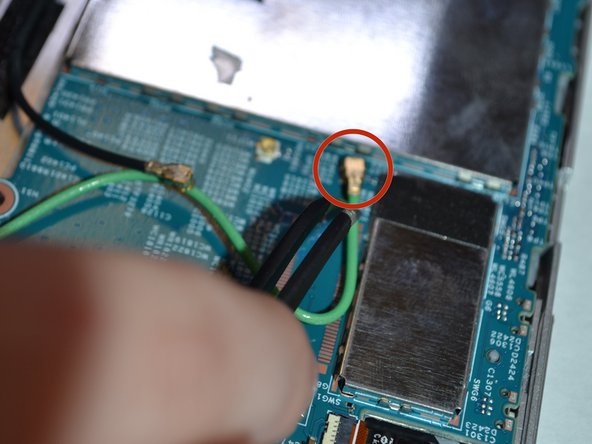
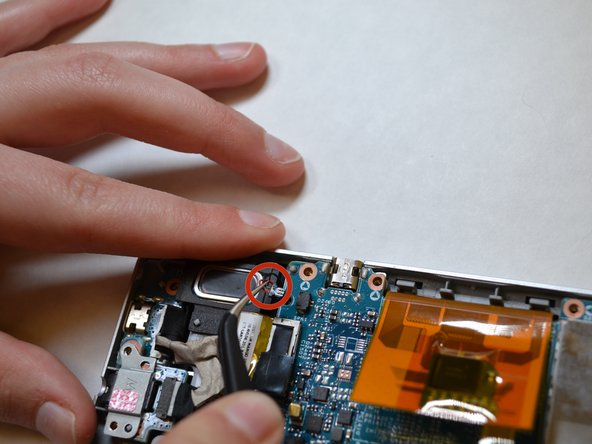
Pinch the sides of the white resistor to safely remove it without damaging it or yourself.
This is a white connector, and it is easy to get fingernails to both ends to pull it out of the metal socket.
-
-
-
-
Remove battery from adhesive.
There is a clear plastic tab to pull (being used in the photo), which lifts the battery in one, and unsticks it from the 2 or 3 sticky pads.
Berapaan Harga Batrenya Gan
-
-
-
Use a Phillips #000 screwdriver to remove the screws around the perimeter of the motherboard.
A No 0 cross point screwdriver worked perfectly well for these. There was a small black Acer sticker covering the one at the top right. All circled screws are the same length. In my case there was a small retaining plate between the two screws either side of the HDMI port (top left). The two screws in the rectangle at the left were significantly longer.
-
-
-
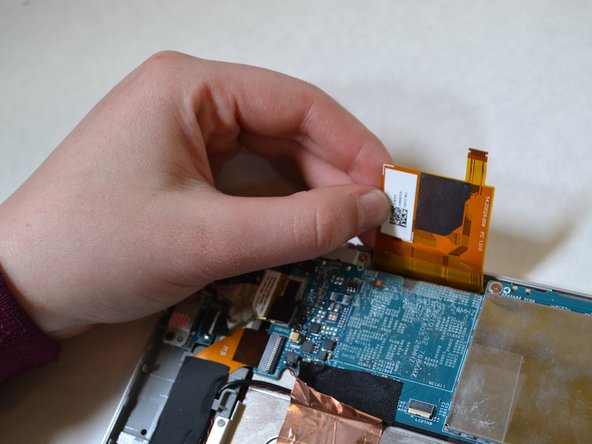
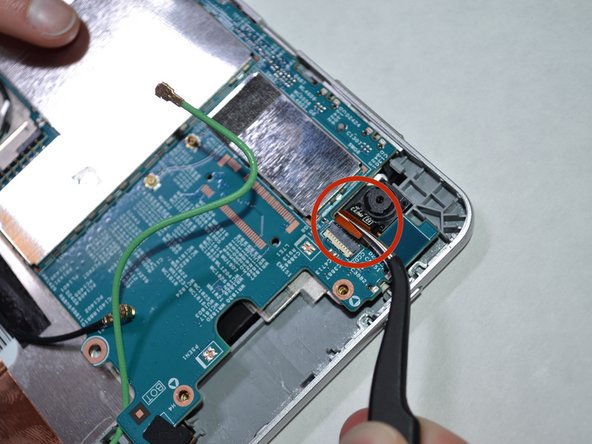
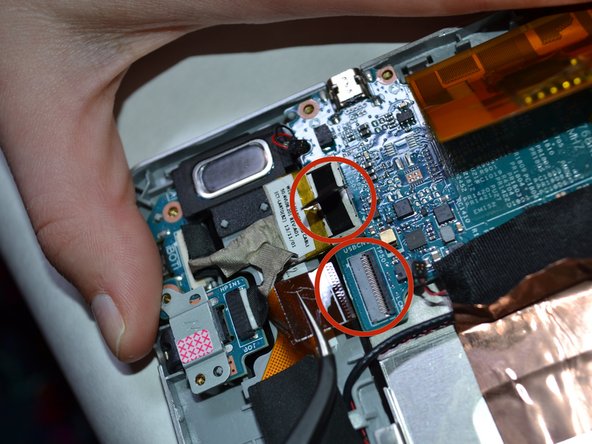
Disconnect the resistor attached to the orange tab by sliding the tail out.
-
Pry open the orange tab near the top left corner.
Disconnecting this was fiddly. It was even more fiddly to replace. The dark grey part of the connector on the board stays in place, and you need to slide the tail inside it. The orange tab was taped down at one edge.
-
To reassemble your device, follow these instructions in reverse order.
To reassemble your device, follow these instructions in reverse order.
다른 7명이 해당 안내서를 완성하였습니다.
댓글 8개
Can you replace the mini USB charger port without replacing entire motherboard and losing data?
Thanks for the guide!
own Acer tablet A1-811 that if i switch on it wouldnwouldn't come up and it will just be making noise.. Please what will probably be the problem
Please what is the way forward






I found my thumbnail worked better, and starting near one of the corners. The picture shows the tool inserted where it could easily damage the SD card mechanism.
James Dellar - 답글