이 버전에는 잘못된 편집 사항이 있을 수 있습니다. 최신 확인된 스냅샷으로 전환하십시오.
필요한 것
-
이 단계는 번역되지 않았습니다. 번역을 도와주십시오
-
Open media port cover at the top of the tablet.
-
Use the Phillips #00 screwdriver to remove the 1 mm screw.
-
-
이 단계는 번역되지 않았습니다. 번역을 도와주십시오
-
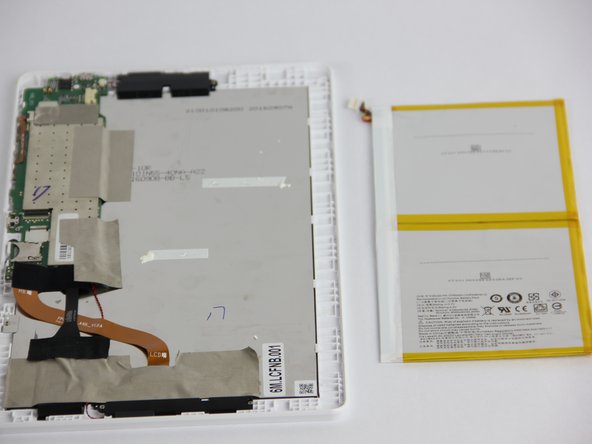
Try to remove the battery by pulling on the blue tabs.
-
If unsuccessful, use the black plastic spudger to gently break the glue bonds underneath and pull up to remove the battery.
-
-
-
이 단계는 번역되지 않았습니다. 번역을 도와주십시오
-
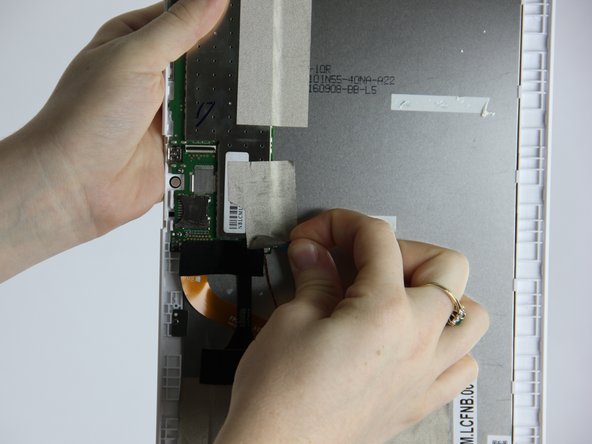
Starting with the 2 large connections use the plastic opening tool to gently pry on the connections and pop them out.
-
Now, disconnect the two smaller black and red cords from the motherboard.
-
-
이 단계는 번역되지 않았습니다. 번역을 도와주십시오
-
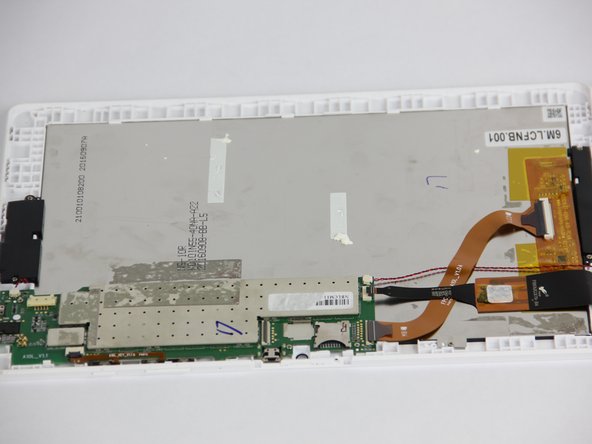
Scrape away the small square sticker to reveal one small screw. Use the Phillips #00 screwdriver to remove the screw.
-
Using the same screwdriver remove the other three screws on the motherboard.
-
-
이 단계는 번역되지 않았습니다. 번역을 도와주십시오
-
Using the small plastic tool, carefully pry the motherboard out of the device.
-
-
이 단계는 번역되지 않았습니다. 번역을 도와주십시오
-
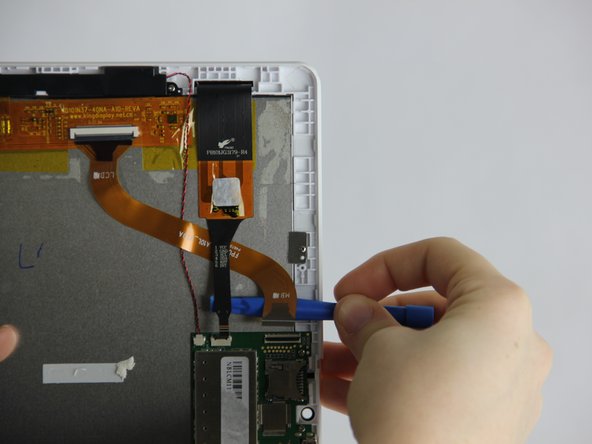
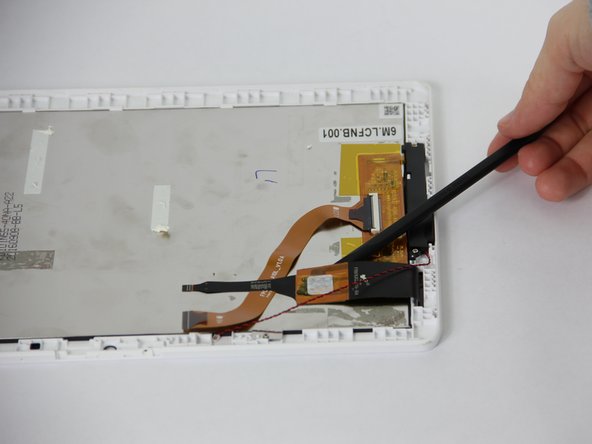
Using a plastic spudger pry the square connection away from the screen.
-
-
이 단계는 번역되지 않았습니다. 번역을 도와주십시오
-
Using the Philips #00 head unscrew the screw holding in the small plate.
-
-
이 단계는 번역되지 않았습니다. 번역을 도와주십시오
-
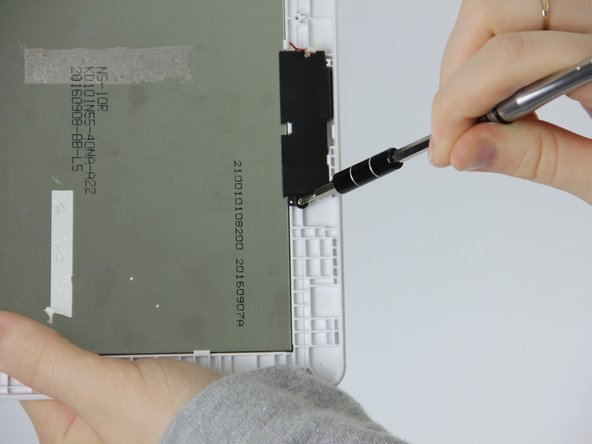
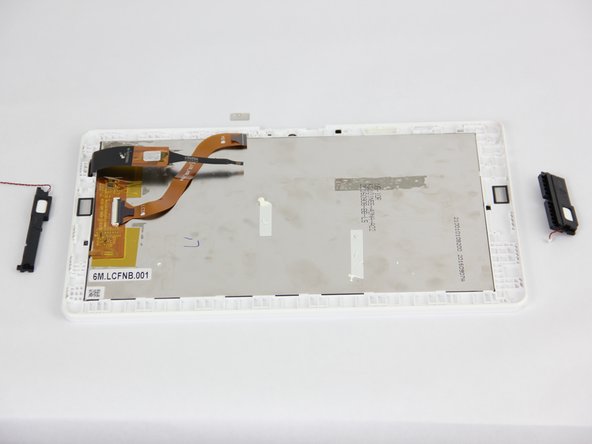
Using the Philips #00 unscrew the remaining 4 screws along the two speakers.
-
-
이 단계는 번역되지 않았습니다. 번역을 도와주십시오
-
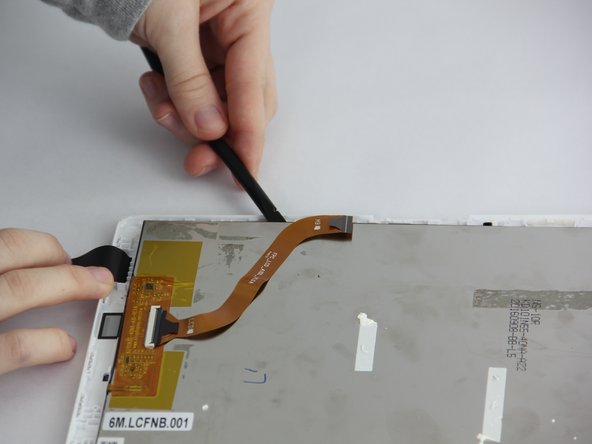
Using the plastic spudger gently pry the screen along the plastic clips.
-
Once at least 1/2 of the screen is unclipped slide it out of the frame using hands.
-
다른 14명이 해당 안내서를 완성하였습니다.
댓글 11개
nice job people!
It worked! I’m very happy
marmaesker - 답글
Fantastic set of instructions. Very much appreciated. Cheers very much!!


