주요 콘텐츠로 건너뛰기

Acer Iconia One 7 Motherboard Replacement

필요한 것

    • Reminder: Turn off device before you start opening your tablet.

  1. Acer Iconia One 7 Motherboard Replacement: 2 단계, 이미지 1/1
    • Begin at any side of the tablet.

    • With a plastic opening tool, begin taking apart the back cover from the tablet by working along the edges.

    • Use caution when prying the lid open to avoid damaging your tablet.

  2. Acer Iconia One 7 Motherboard Replacement: 3 단계, 이미지 1/1
    • Using a plastic opening tool, separate the back cover from the main device

    • Open each side continuously to ensure all sides have been separated,

  3. Acer Iconia One 7 Motherboard Replacement: 4 단계, 이미지 1/1
    • Turn tablet over.

    • Lay the tablet on a flat surface with the screen facing down. Locate the copper cover along the outside of the tablet.

  4. Acer Iconia One 7 Motherboard Replacement: 5 단계, 이미지 1/1
    • Carefully peel back the copper foil to reveal the motherboard.

  5. Acer Iconia One 7 Motherboard Replacement: 6 단계, 이미지 1/1
    • Peel tape back to expose connections.

  6. Acer Iconia One 7 Motherboard Replacement: 7 단계, 이미지 1/2 Acer Iconia One 7 Motherboard Replacement: 7 단계, 이미지 2/2
    • There are several sets of wires connected to the motherboard as shown in the images. Carefully disconnect each set of wires.

  7. Acer Iconia One 7 Motherboard Replacement: 8 단계, 이미지 1/2 Acer Iconia One 7 Motherboard Replacement: 8 단계, 이미지 2/2
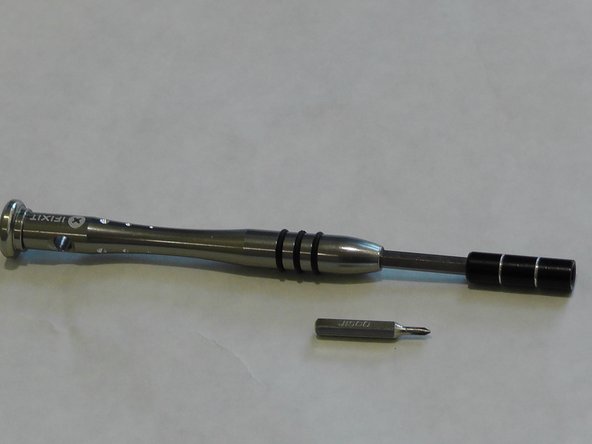
    • Use a JIS screw bit #00 to remove screws around the motherboard using the provided image to locate each screw.

  8. Acer Iconia One 7 Motherboard Replacement: 9 단계, 이미지 1/1
    • Gently pull out motherboard.

결론

To reassemble your device, follow these instructions in reverse order.

다른 4명이 해당 안내서를 완성하였습니다.

Michael

회원 가입일: 09/03/15

519 평판

안내서 4개 작성하였습니다

USF Tampa, Team 8-5, Eyestone Fall 2015 USF Tampa, Team 8-5, Eyestone Fall 2015 회원

USFT-EYESTONE-F15S8G5

3 회원들

안내서 5개 작성하였습니다

댓글 0개

댓글 쓰기

조회 통계:

24 시간 전: 0

7일 전: 2

30일 전: 3

전체 시간: 2,534