이 버전에는 잘못된 편집 사항이 있을 수 있습니다. 최신 확인된 스냅샷으로 전환하십시오.
필요한 것
-
이 단계는 번역되지 않았습니다. 번역을 도와주십시오
-
Begin at any side of the tablet.
-
With a plastic opening tool, begin taking apart the back cover from the tablet by working along the edges.
-
-
이 단계는 번역되지 않았습니다. 번역을 도와주십시오
-
Using a plastic opening tool, separate the back cover from the main device
-
Open each side continuously to ensure all sides have been separated,
-
-
-
이 단계는 번역되지 않았습니다. 번역을 도와주십시오
-
Turn tablet over.
-
Lay the tablet on a flat surface with the screen facing down. Locate the copper cover along the outside of the tablet.
-
-
이 단계는 번역되지 않았습니다. 번역을 도와주십시오
-
There are several sets of wires connected to the motherboard as shown in the images. Carefully disconnect each set of wires.
-
-
이 단계는 번역되지 않았습니다. 번역을 도와주십시오
-
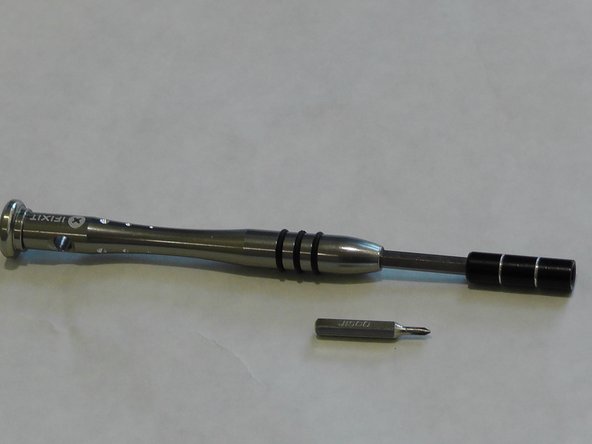
Use a JIS screw bit #00 to remove screws around the motherboard using the provided image to locate each screw.
-


다른 4명이 해당 안내서를 완성하였습니다.
팀

USF Tampa, Team 8-5, Eyestone Fall 2015 USF Tampa, Team 8-5, Eyestone Fall 2015 회원
USFT-EYESTONE-F15S8G5
3 회원들
안내서 5개 작성하였습니다