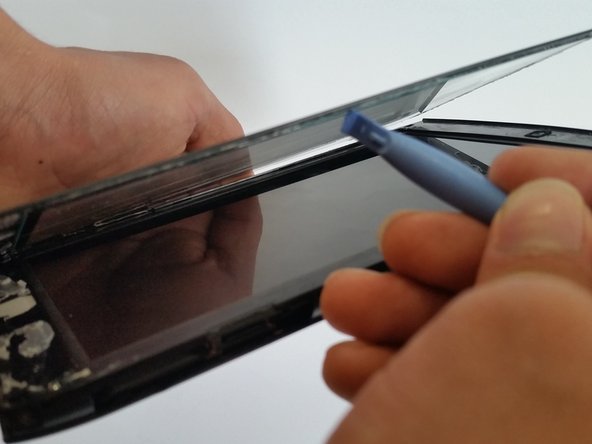
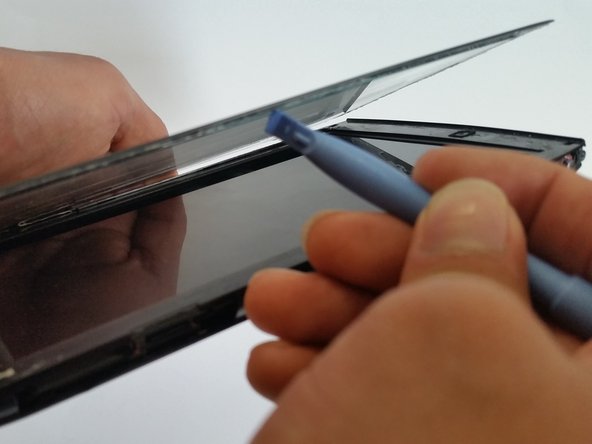
주요 콘텐츠로 건너뛰기

Acer Iconia Tablet A100 Screen Cover Glass Replacement

필요한 것

  1. Acer Iconia Tablet A100 Screen Cover Glass Replacement, Screen Cover Glass: 1 단계, 이미지 1/1
    • Begin with the screen facing in the upward position.

  2. Acer Iconia Tablet A100 Screen Cover Glass Replacement: 2 단계, 이미지 1/1
    • Remove the four side pieces of the tablet.

    • Start with either side and work your way around the tablet.

  3. Acer Iconia Tablet A100 Screen Cover Glass Replacement: 3 단계, 이미지 1/3 Acer Iconia Tablet A100 Screen Cover Glass Replacement: 3 단계, 이미지 2/3 Acer Iconia Tablet A100 Screen Cover Glass Replacement: 3 단계, 이미지 3/3
    • Separate the screen from the device with a plastic opening tool (four sides in total).

    • Start with a plastic opening tool along the top perimeter of the tablet, the thin line, and remove the screen.

  4. Acer Iconia Tablet A100 Screen Cover Glass Replacement: 4 단계, 이미지 1/1
    • Grab the new screen, and place on top of the tablet.

    • Position it to where everything is aligned correctly.

  5. Acer Iconia Tablet A100 Screen Cover Glass Replacement: 5 단계, 이미지 1/1
    • Put the four side pieces back in its original place.

결론

To reassemble your device, follow these instructions in reverse order.

다른 2명이 해당 안내서를 완성하였습니다.

Omar Acosta

회원 가입일: 03/03/15

526 평판

안내서 3개 작성하였습니다

Sam Houston State, Team 13-3, Blackburne Winter 2015 Sam Houston State, Team 13-3, Blackburne Winter 2015 회원

SHSU-BLACKBURNE-W15S13G3

1 회원

안내서 3개 작성하였습니다

댓글 0개

댓글 쓰기

조회 통계:

24 시간 전: 2

7일 전: 4

30일 전: 8

전체 시간: 1,178