주요 콘텐츠로 건너뛰기

Acer Nitro 5 AN515-54-728C Battery Replacement

  1. Acer Nitro 5 AN515-54-728C Battery Replacement, Battery: 1 단계, 이미지 2개 중 1개 Acer Nitro 5 AN515-54-728C Battery Replacement, Battery: 1 단계, 이미지 2개 중 2개
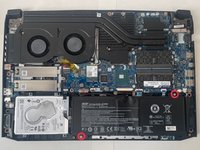
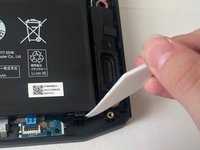
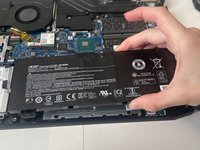
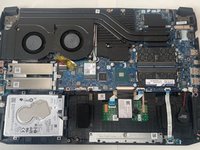
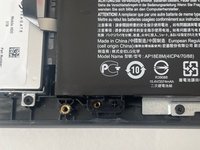
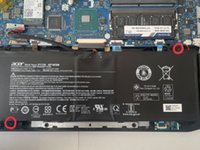
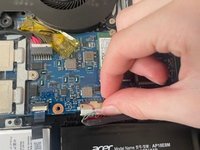
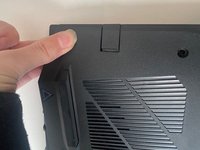
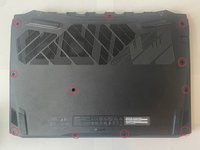
    • Step 1: Removing Bottom Plate Locate and unscrew all screws attaching bottom of laptop. Slowly remove back plate from corners. There will be popping sounds from the plastic clips releasing. This is normal.

  2. Acer Nitro 5 AN515-54-728C Battery Replacement: 2 단계, 이미지 1개 중 1개
    • Step 2: Disconnect Battery Locate the battery’s connection to the rest of the computer, at the top left of the battery. Use flat, plastic tool to help pry the plastic connection away.

  3. Acer Nitro 5 AN515-54-728C Battery Replacement: 3 단계, 이미지 1개 중 1개
    • Use a plastic tool to slide the battery connector out of its socket on motherboard.

  4. Acer Nitro 5 AN515-54-728C Battery Replacement: 4 단계, 이미지 2개 중 1개 Acer Nitro 5 AN515-54-728C Battery Replacement: 4 단계, 이미지 2개 중 2개
    • Step 4: Unscrew Battery Locate the two screws holding battery in place. Use screwdriver to remove the screws

  5. Acer Nitro 5 AN515-54-728C Battery Replacement: 5 단계, 이미지 3개 중 1개 Acer Nitro 5 AN515-54-728C Battery Replacement: 5 단계, 이미지 3개 중 2개 Acer Nitro 5 AN515-54-728C Battery Replacement: 5 단계, 이미지 3개 중 3개
    • Step 5: Remove Battery Use flat plastic tool to pull clip at the bottom right of the battery back while carefully removing it.

  6. Acer Nitro 5 AN515-54-728C Battery Replacement: 6 단계, 이미지 3개 중 1개 Acer Nitro 5 AN515-54-728C Battery Replacement: 6 단계, 이미지 3개 중 2개 Acer Nitro 5 AN515-54-728C Battery Replacement: 6 단계, 이미지 3개 중 3개
    • Step 6: Install new battery When placing new battery, make sure to line up the screw hole and the plastic cross with the two holes. Screw battery into the laptop case. Insert connection cable back into the computer.

  7. Acer Nitro 5 AN515-54-728C Battery Replacement: 7 단계, 이미지 3개 중 1개 Acer Nitro 5 AN515-54-728C Battery Replacement: 7 단계, 이미지 3개 중 2개 Acer Nitro 5 AN515-54-728C Battery Replacement: 7 단계, 이미지 3개 중 3개
    • Step 7: Replace bottom plate Apply pressure around the edges to ensure all attachment points meet. Screw bottom plate to the rest of the body

결론

To reassemble your device, follow these instructions in reverse order.

다른 한 분이 해당 안내서를 완성하였습니다.

작성자

3다른 기여자 명과 함께

Jake Buchanan

회원 가입일: 11/29/23

172 평판

안내서 1개를 작성함

0가이드 댓글

댓글 쓰기

조회 통계:

지난 24시간: 4

지난 7일: 13

지난 30일: 63

전체 시간: 794