소개
Replacement fix for broken WiFi connection if all other troubleshooting options have failed.
필요한 것
-
-
Power off the device and make sure it is disconnected from any external devices.
-
Use a plastic opening tool to create a gap between the front and back casing of the device.
-
Slowly maneuver the plastic tool around the entire perimeter of the tablet to separate the front and back.
-
-
-
-
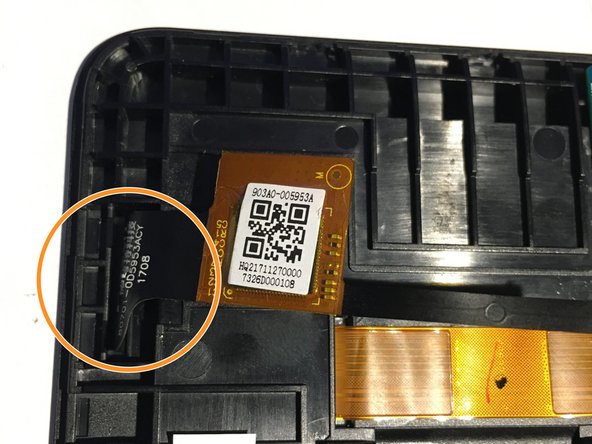
Disconnect the black ribbon connection attached to the motherboard.
-
Remove the chip fully by pulling the plastic tab on the left out.
-


To reassemble your device, follow these instructions in reverse order.
To reassemble your device, follow these instructions in reverse order.
다른 한 분이 해당 안내서를 완성하였습니다.
팀

University of Alabama, Team S2-G8, Bedsole Fall 2018 University of Alabama, Team S2-G8, Bedsole Fall 2018 회원
UA-BEDSOLE-F18S2G8
4 회원들
안내서 6개 작성하였습니다