소개
Is your screen cracked or not properly displaying images? Are there dead pixels or dark spots on your screen? If so, the screen may be faulty and needs to be replaced. Follow the instructions in this guide to remove and replace the screen assembly in the Acer Spin 3 SP315-51-79NT laptop.
필요한 것
-
-
Using the Phillips #1 screwdriver, remove twelve (12) screws from the back panel.
-
-
-
-
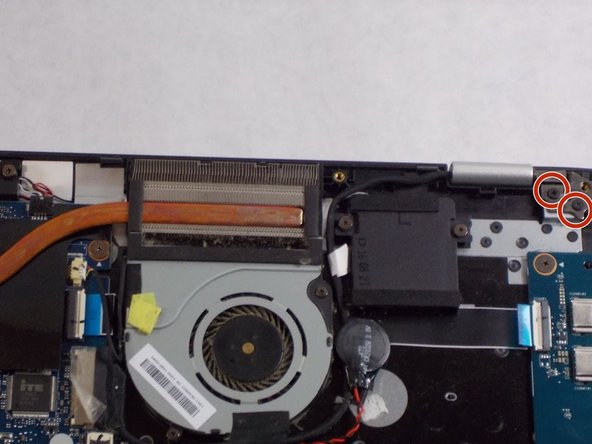
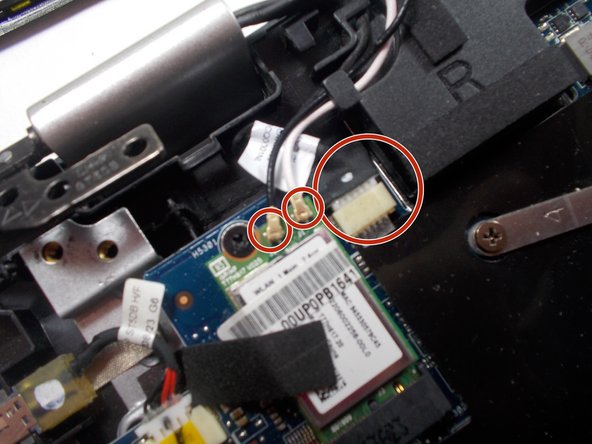
Using the Phillips #1 screwdriver, remove a total of four screws from the hinges (two on each hinge).
-


To reassemble your device, follow these instructions in reverse order.
To reassemble your device, follow these instructions in reverse order.
다른 3명이 해당 안내서를 완성하였습니다.
팀

UMass Dartmouth, Team 2-1, Sinclaire Fall 2021 UMass Dartmouth, Team 2-1, Sinclaire Fall 2021 회원
UMASSD-SINCLAIRE-F21S2G1
3 회원들
안내서 6개 작성하였습니다