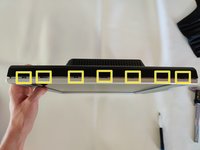
주요 콘텐츠로 건너뛰기

Acer X191 monitor Display Assembly Replacement

필요한 것

  1. Acer X191 monitor Display Assembly Replacement, Stand: 1 단계, 이미지 2개 중 1개 Acer X191 monitor Display Assembly Replacement, Stand: 1 단계, 이미지 2개 중 2개
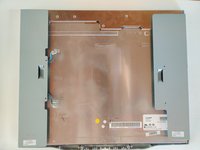
    • Lay the monitor on a flat surface, facedown.

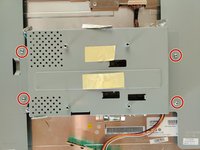
    • Use a #1 Phillips screwdriver to remove the 4x 10.2mm screws securing the stand to the back panel.

    • Remove the stand from the back panel by pulling it up.

  2. Acer X191 monitor Display Assembly Replacement, Back Cover: 2 단계, 이미지 1개 중 1개
    • Remove the 2x 9.8mm Phillips #1 screws securing the back cover to the monitor.

  3. Acer X191 monitor Display Assembly Replacement: 3 단계, 이미지 2개 중 1개 Acer X191 monitor Display Assembly Replacement: 3 단계, 이미지 2개 중 2개
    • Work your way around the monitor, putting the flathead screwdriver into the space between the front and back covers, and prying up.

    • Twisting the screwdriver can help, but you can easily mess up the plastic without getting anything out of it by doing so. Be cautious.

    • Ideally you want to pry at the locations that have the little gaps, which are locking mechanisms.

    • You should hear a poping sound and the back cover should lift a little if you are prying at the right locations.

  4. Acer X191 monitor Display Assembly Replacement: 4 단계, 이미지 3개 중 1개 Acer X191 monitor Display Assembly Replacement: 4 단계, 이미지 3개 중 2개 Acer X191 monitor Display Assembly Replacement: 4 단계, 이미지 3개 중 3개
    • I've highlighted the locations of the locking mechanisms for the back cover, try prying in these locations for the best results.

    • Right side of the monitor.

    • Top of the monitor.

    • Left side of the monitor.

  5. Acer X191 monitor Display Assembly Replacement: 5 단계, 이미지 1개 중 1개
    • On the bottom side, be careful not to pry on the monitor buttons.

    • Bottom of the monitor locking mechanism locations.

  6. Acer X191 monitor Display Assembly Replacement: 6 단계, 이미지 2개 중 1개 Acer X191 monitor Display Assembly Replacement: 6 단계, 이미지 2개 중 2개
    • The monitor back cover will then pull right off.

  7. Acer X191 monitor Display Assembly Replacement, Display Assembly: 7 단계, 이미지 1개 중 1개
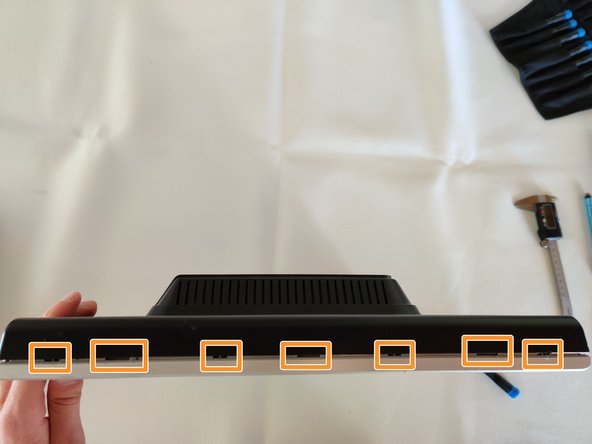
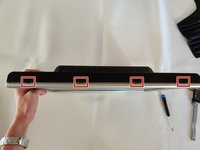
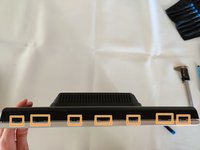
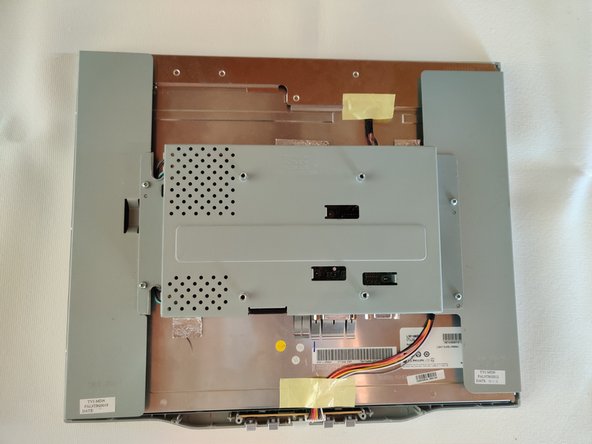
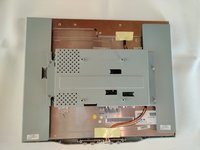
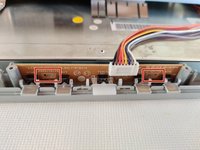
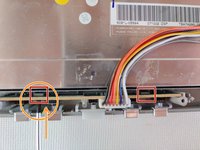
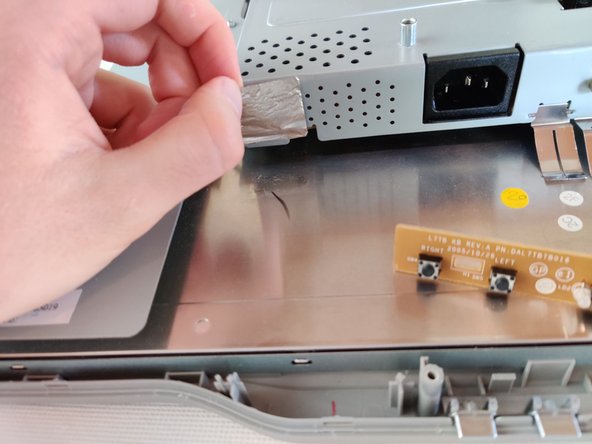
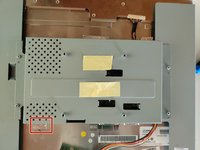
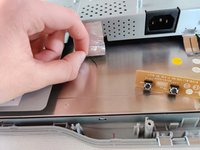
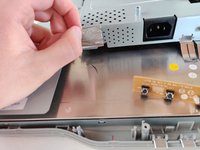
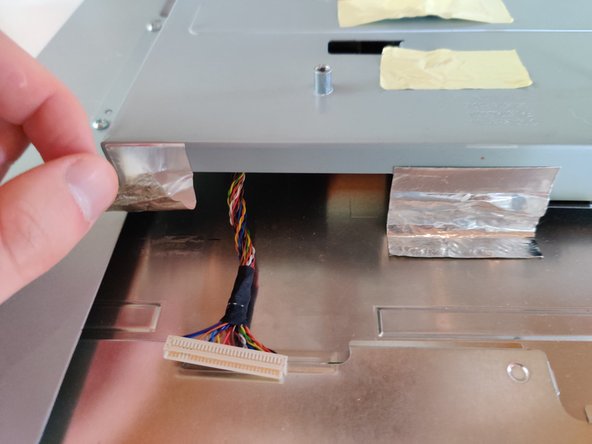
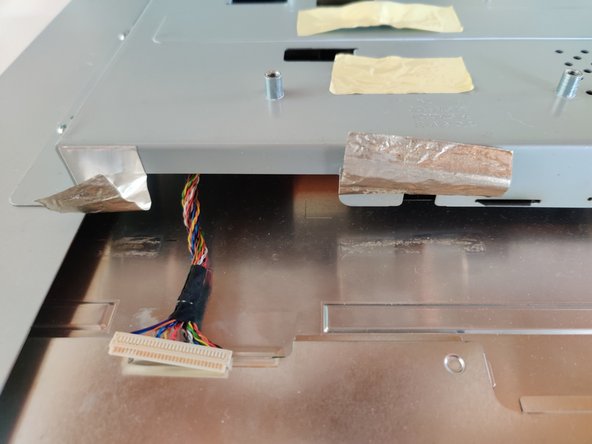
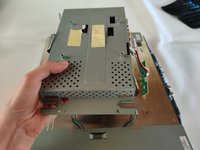
    • Remove the 2 pieces of yellow tape.

    • The bottom one have a thin sheet a metal on the underside which you need to take off too, if it does not come off with the tape.

  8. Acer X191 monitor Display Assembly Replacement, Button board: 8 단계, 이미지 3개 중 1개 Acer X191 monitor Display Assembly Replacement, Button board: 8 단계, 이미지 3개 중 2개 Acer X191 monitor Display Assembly Replacement, Button board: 8 단계, 이미지 3개 중 3개
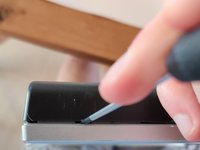
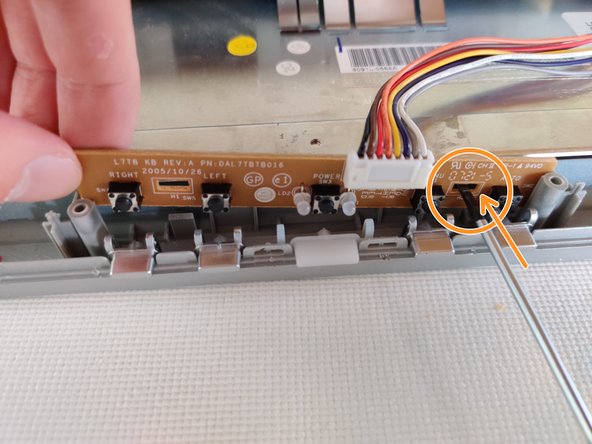
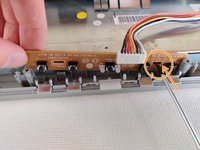
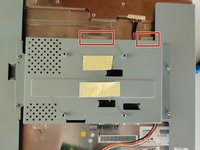
    • The button board is secured to the front frame by 2 plastic locking mechanisms.

    • To remove, insert a Flathead screwdriver into the gap to push the locking mechanism back a little, while pulling up on the board.

    • I found it easier to do one side at a time.

  9. Acer X191 monitor Display Assembly Replacement: 9 단계, 이미지 3개 중 1개 Acer X191 monitor Display Assembly Replacement: 9 단계, 이미지 3개 중 2개 Acer X191 monitor Display Assembly Replacement: 9 단계, 이미지 3개 중 3개
    • Remove the bundled cable connector that is going to the top of the monitor. Grab the black tape that holds all the individual wires together, and pull gently.

    • Be careful to pull evenly on all the wires. You can do this by pulling strait out and not at an angle. Jiggling a little bit can help, but be careful.

  10. Acer X191 monitor Display Assembly Replacement: 10 단계, 이미지 3개 중 1개 Acer X191 monitor Display Assembly Replacement: 10 단계, 이미지 3개 중 2개 Acer X191 monitor Display Assembly Replacement: 10 단계, 이미지 3개 중 3개
    • Remove the bottom foil tape from the back of the LCD.

    • Be sure to keep it. It helps dissipate static to the ground while the screen is in use. I recommend leaving the side of the tape that is sticking to the shield, where it is.

  11. Acer X191 monitor Display Assembly Replacement: 11 단계, 이미지 3개 중 1개 Acer X191 monitor Display Assembly Replacement: 11 단계, 이미지 3개 중 2개 Acer X191 monitor Display Assembly Replacement: 11 단계, 이미지 3개 중 3개
    • Remove the remaining 2 pieces of foil tape from the back of the LCD.

    • Keep the pieces of foil tape. They help dissipate static to the ground while the monitor is being used. I recommend leaving on side stuck on the shield.

  12. Acer X191 monitor Display Assembly Replacement: 12 단계, 이미지 1개 중 1개
    • Remove the 4 connectors that bring power from the powerboard to the LCD.

    • The connectors have a plastic locking tab on them, and the available space make them very difficult to pull out.

    • Next step shows one way to remove them without too much trouble.

  13. Acer X191 monitor Display Assembly Replacement, Removing the power cable connectors: 13 단계, 이미지 3개 중 1개 Acer X191 monitor Display Assembly Replacement, Removing the power cable connectors: 13 단계, 이미지 3개 중 2개 Acer X191 monitor Display Assembly Replacement, Removing the power cable connectors: 13 단계, 이미지 3개 중 3개
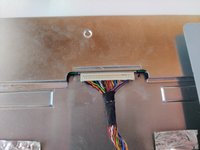
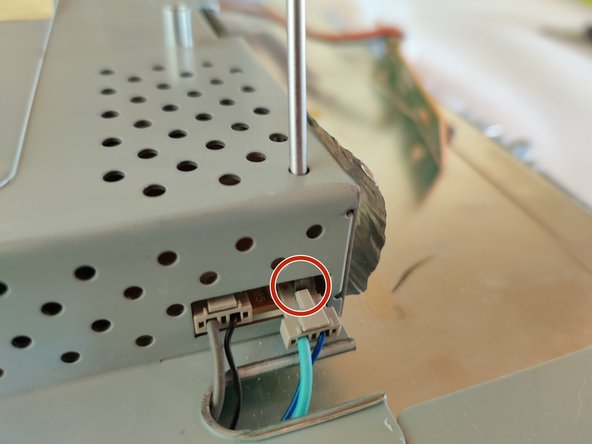
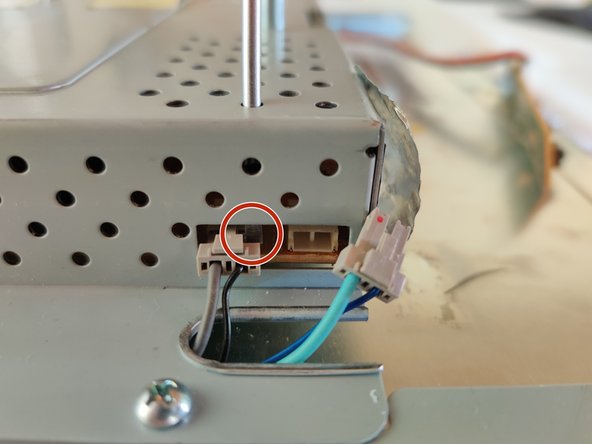
    • Insert a Flathead screwdriver into the holes on the top of the shield. Lodge the tip between the socket and the connector and slowly push the connector out of it's socket.

    • Be very careful that you are NOT pushing on the socket itself, but the connector, ideally on the locking tab.

  14. Acer X191 monitor Display Assembly Replacement: 14 단계, 이미지 3개 중 1개 Acer X191 monitor Display Assembly Replacement: 14 단계, 이미지 3개 중 2개 Acer X191 monitor Display Assembly Replacement: 14 단계, 이미지 3개 중 3개
    • Use a Phillips #1 to remove the 4x 8.5mm screws that are securing the shield to the display assembly.

    • Pull the shield up carefully.

    • The power board and logic board are inside the shield.

결론

To reassemble your device, follow these instructions in reverse order.

작성자

2다른 기여자 명과 함께

Sam

회원 가입일: 09/13/14

920 평판

안내서 5개를 작성함

0가이드 댓글

댓글 쓰기

조회 통계:

지난 24시간: 0

지난 7일: 4

지난 30일: 7

전체 시간: 131