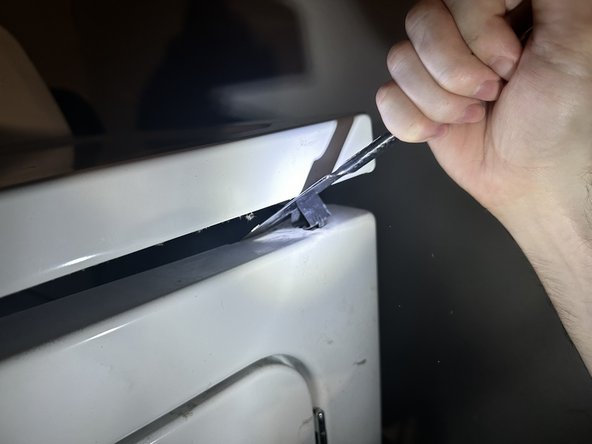
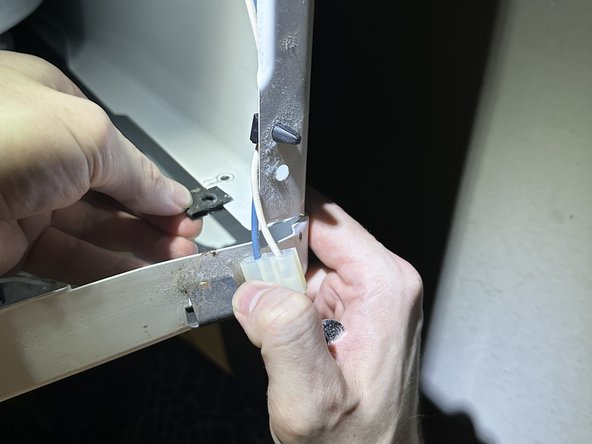
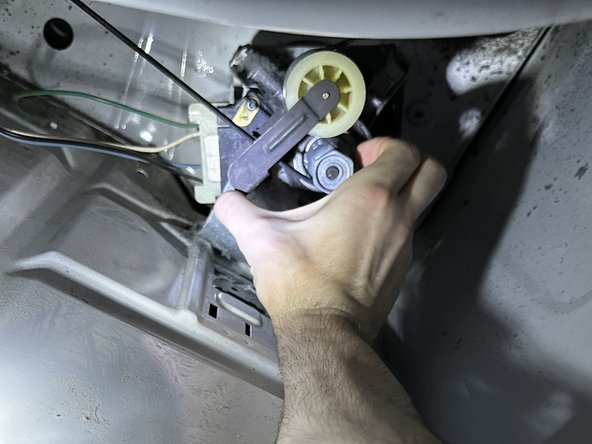
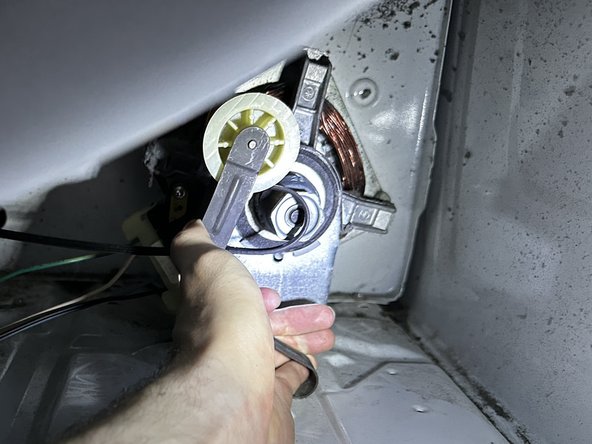
주요 콘텐츠로 건너뛰기

Admiral AGD4675YQ3 Drum Belt Replacement

필요한 것

  1. Admiral AGD4675YQ3 Drum Belt Replacement, Drum Belt: 1 단계, 이미지 1/1
    • Unplug the dryer's power cord.

  2. Admiral AGD4675YQ3 Drum Belt Replacement: 2 단계, 이미지 1/1
    • Remove the lint catcher.

  3. Admiral AGD4675YQ3 Drum Belt Replacement: 3 단계, 이미지 1/2 Admiral AGD4675YQ3 Drum Belt Replacement: 3 단계, 이미지 2/2
    • When removing the screws, ensure that they do not fall into the lint chute. If this happens, a deeper disassembly will be required that this guide does not cover.

    • Use your Phillips #1 screwdriver and remove both 25.4 mm Phillips #1 screws.

  4. Admiral AGD4675YQ3 Drum Belt Replacement: 4 단계, 이미지 1/2 Admiral AGD4675YQ3 Drum Belt Replacement: 4 단계, 이미지 2/2
    • While keeping to the right corner, slip the butter knife in the slit above the dryer door.

    • If you cannot push the butter knife in, you are likely hitting the clip. Simply move the knife a bit more to the left till it slips in deep.

    • Pry up with moderate force and the clip holding the lid will pop up.

    • Repeat on the left side.

  5. Admiral AGD4675YQ3 Drum Belt Replacement: 5 단계, 이미지 1/1
    • Fully lift the lid so that it stays in an upright position.

  6. Admiral AGD4675YQ3 Drum Belt Replacement: 6 단계, 이미지 1/1
    • Disconnect the electrical harness on the right side.

  7. Admiral AGD4675YQ3 Drum Belt Replacement: 7 단계, 이미지 1/2 Admiral AGD4675YQ3 Drum Belt Replacement: 7 단계, 이미지 2/2
    • Remove the 18.4 mm hex cap screws on the left and right side with the 8 mm socket wrench.

    • Remove the clips underneath the screws on the left and right side.

  8. Admiral AGD4675YQ3 Drum Belt Replacement: 8 단계, 이미지 1/2 Admiral AGD4675YQ3 Drum Belt Replacement: 8 단계, 이미지 2/2
    • Using your thumb to hold the drum in place, pull the front panel of the dryer away from the drum.

    • There are two clips in the bottom left and right sides that will pop out when you pull.

    • Set the front panel to the side.

  9. Admiral AGD4675YQ3 Drum Belt Replacement: 9 단계, 이미지 1/1
    • Place a shoebox sized item under the drum to hold the drum in place.

    • Keep the item as far to the left as possible so you will have room to work on the assembly underneath, located on the right.

  10. Admiral AGD4675YQ3 Drum Belt Replacement: 10 단계, 이미지 1/3 Admiral AGD4675YQ3 Drum Belt Replacement: 10 단계, 이미지 2/3 Admiral AGD4675YQ3 Drum Belt Replacement: 10 단계, 이미지 3/3
    • If your drum belt has snapped, you can just pull the old belt out and proceed to step 13.

    • Grip the pulley bar and squeeze to push the pulley away from the drum.

    • Pull the belt off of the gear.

  11. Admiral AGD4675YQ3 Drum Belt Replacement: 11 단계, 이미지 1/1
    • Remove the belt from the drum.

  12. Admiral AGD4675YQ3 Drum Belt Replacement: 12 단계, 이미지 1/1
    • Place the new belt around the drum.

    • Make sure the grooved part of the belt is facing the grooved part of the drum.

    • The serial number and other identifying information on the belt should be facing up.

  13. Admiral AGD4675YQ3 Drum Belt Replacement: 13 단계, 이미지 1/3 Admiral AGD4675YQ3 Drum Belt Replacement: 13 단계, 이미지 2/3 Admiral AGD4675YQ3 Drum Belt Replacement: 13 단계, 이미지 3/3
    • Form a loop with the belt and pull the loop under the pulley.

    • Squeeze the pulley bar and place the loop around the gear.

  14. Admiral AGD4675YQ3 Drum Belt Replacement: 14 단계, 이미지 1/1
    • Rotate the drum counter clockwise and ensure the belt is covering the drum groove all the way around.

    • If the belt is out of place, simply tap it into place with your fingertips.

결론

To reassemble your device, follow these instructions in reverse order.

Clayton Biehunko

회원 가입일: 09/22/23

229 평판

안내서 1개 작성함

Austin Community College, Team 1-3, Meigs Fall 2023 Austin Community College, Team 1-3, Meigs Fall 2023 회원

AUSTINCC-MEIGS-F23S1G3

1 회원

안내서 1개 작성하였습니다

댓글 한 개

댓글 쓰기

조회 통계:

24 시간 전: 5

7일 전: 16

30일 전: 64

전체 시간: 147