주요 콘텐츠로 건너뛰기

이 버전에는 잘못된 편집 사항이 있을 수 있습니다. 최신 확인된 스냅샷으로 전환하십시오.

필요한 것

  1. 이 단계는 번역되지 않았습니다. 번역을 도와주십시오

    : 1 단계, 이미지 1/2 : 1 단계, 이미지 2/2
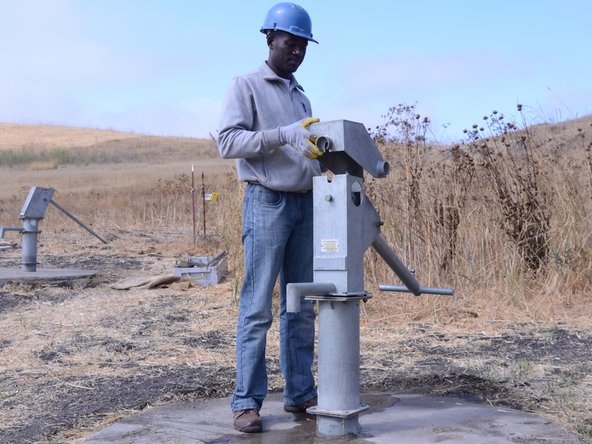
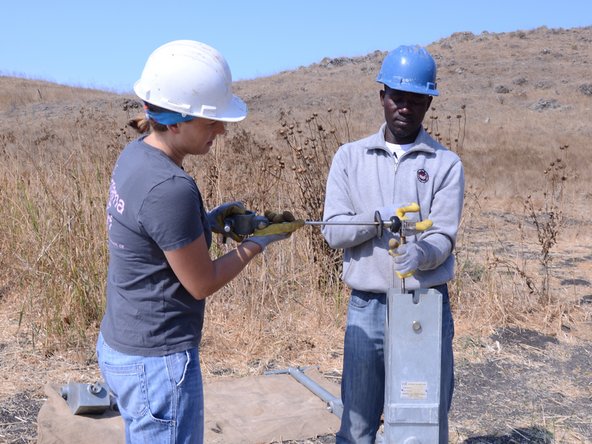
    • Assemble the required tools, including the Afridev tool and crescent wrenches.

  2. 이 단계는 번역되지 않았습니다. 번역을 도와주십시오

    : 2 단계, 이미지 1/3 : 2 단계, 이미지 2/3 : 2 단계, 이미지 3/3
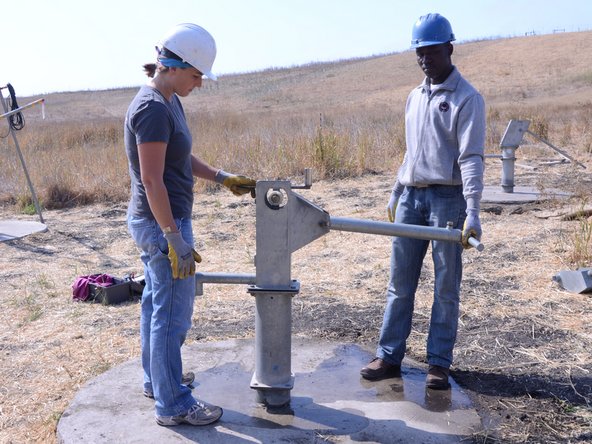
    • Perform a water test on the pump, by raising and lowering the handle a full 40 strokes. A properly performing pump will yield greater than 10 liters.

  3. 이 단계는 번역되지 않았습니다. 번역을 도와주십시오

    : 3 단계, 이미지 1/2 : 3 단계, 이미지 2/2
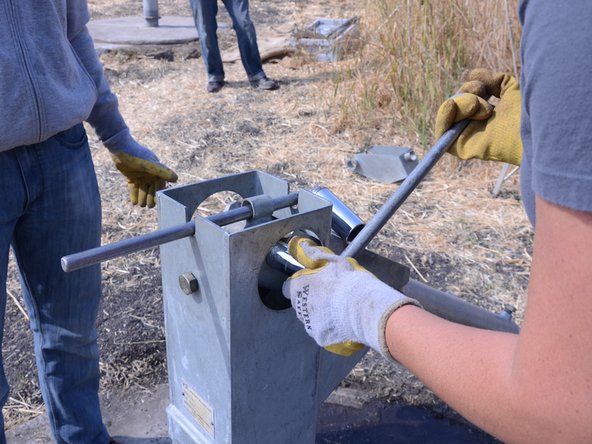
    • Loosen the bolt on front of the face plate with the Afridev tool.

    • Remove the plate from the pump by lifting it straight up.

  4. 이 단계는 번역되지 않았습니다. 번역을 도와주십시오

    : 4 단계, 이미지 1/3 : 4 단계, 이미지 2/3 : 4 단계, 이미지 3/3
    • Insert the T-handle into the top cylinder of the exposed pump rod.

  5. 이 단계는 번역되지 않았습니다. 번역을 도와주십시오

    : 5 단계, 이미지 1/2 : 5 단계, 이미지 2/2
    • Loosen the 2 bolts on either side of handle.

    • It is not necessary to remove the bolt at this time; however, take caution to not let the bolt fall out of the handle.

  6. 이 단계는 번역되지 않았습니다. 번역을 도와주십시오

    : 6 단계, 이미지 1/3 : 6 단계, 이미지 2/3 : 6 단계, 이미지 3/3
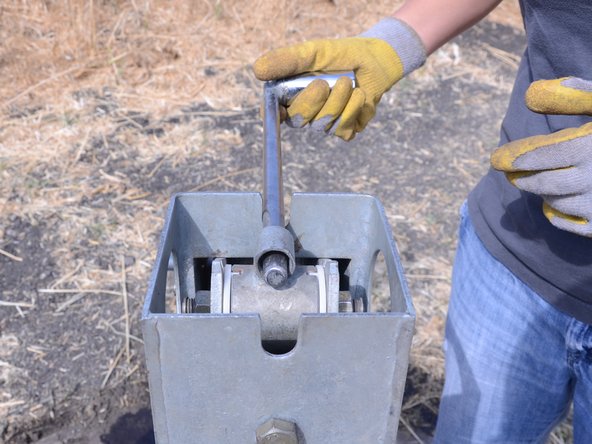
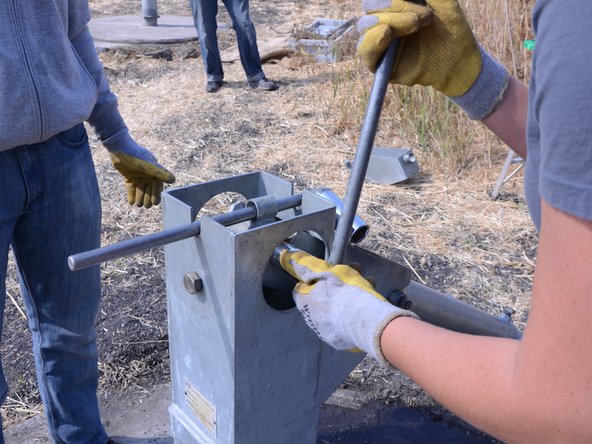
    • Loosen the 2 bolts on either side of the head to remove the handle from the pump rod.

    • It is not necessary to remove the bolt at this time; however, take caution to not let the bolt fall out of the handle.

  7. 이 단계는 번역되지 않았습니다. 번역을 도와주십시오

    : 7 단계, 이미지 1/2 : 7 단계, 이미지 2/2
    • Lift the handle to a horizontal position.

  8. 이 단계는 번역되지 않았습니다. 번역을 도와주십시오

    : 8 단계, 이미지 1/3 : 8 단계, 이미지 2/3 : 8 단계, 이미지 3/3
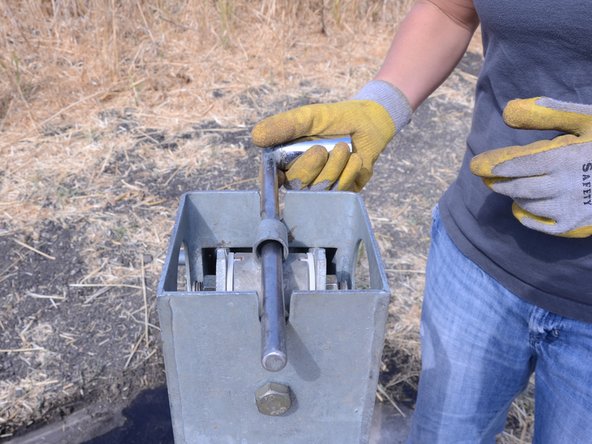
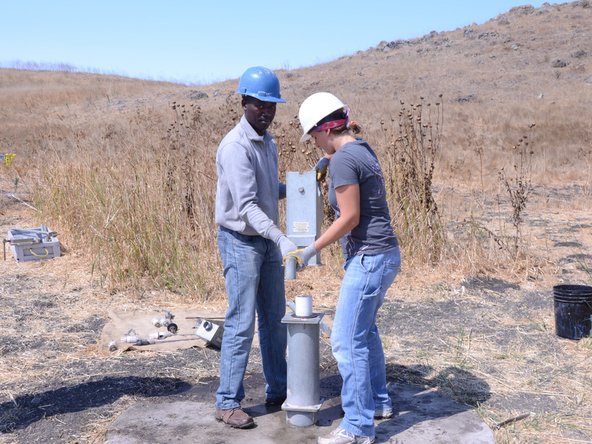
    • While one person lifts up on the T-handle, remove the bolt and connection pieces.

  9. 이 단계는 번역되지 않았습니다. 번역을 도와주십시오

    : 9 단계, 이미지 1/3 : 9 단계, 이미지 2/3 : 9 단계, 이미지 3/3
    • Remove the bolt and connection pieces from the handle.

    • Set the bolt pieces in a sanitary place, such as a bucket, to prevent contamination.

  10. 이 단계는 번역되지 않았습니다. 번역을 도와주십시오

    : 10 단계, 이미지 1/2 : 10 단계, 이미지 2/2
    • Remove the handle from the pump.

    • Be sure to set the handle in a sanitary place to prevent contamination.

  11. 이 단계는 번역되지 않았습니다. 번역을 도와주십시오

    : 11 단계, 이미지 1/2 : 11 단계, 이미지 2/2
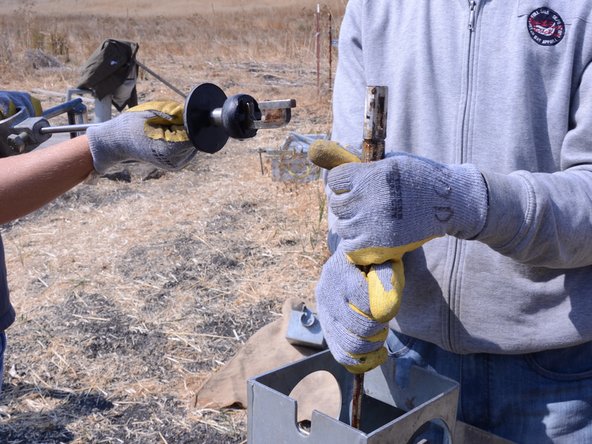
    • Grab firmly on the T-handle and lift the pump rod straight up.

    • Expose the first connection of the pump rod, and support the portion below the connection.

  12. 이 단계는 번역되지 않았습니다. 번역을 도와주십시오

    : 12 단계, 이미지 1/2 : 12 단계, 이미지 2/2
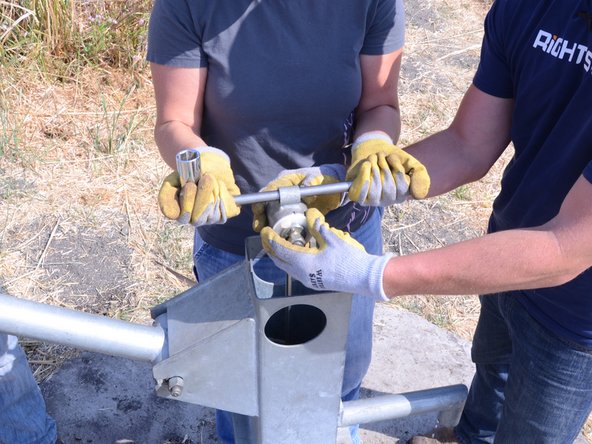
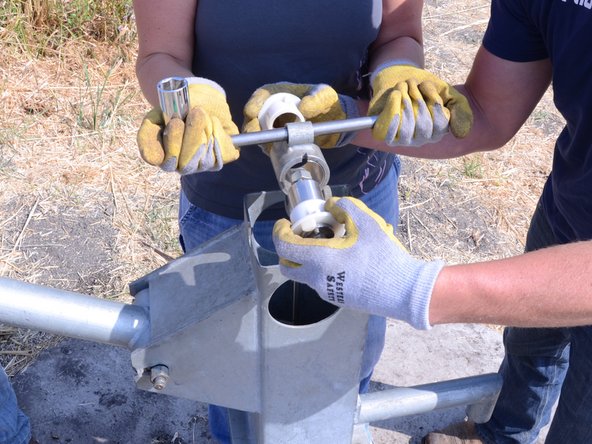
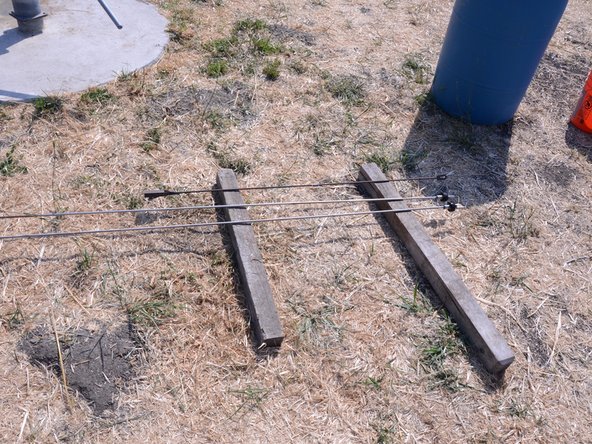
    • While holding the pump rod below the first connection tightly, lower the first portion of the rod to a horizontal position.

  13. 이 단계는 번역되지 않았습니다. 번역을 도와주십시오

    : 13 단계, 이미지 1/3 : 13 단계, 이미지 2/3 : 13 단계, 이미지 3/3
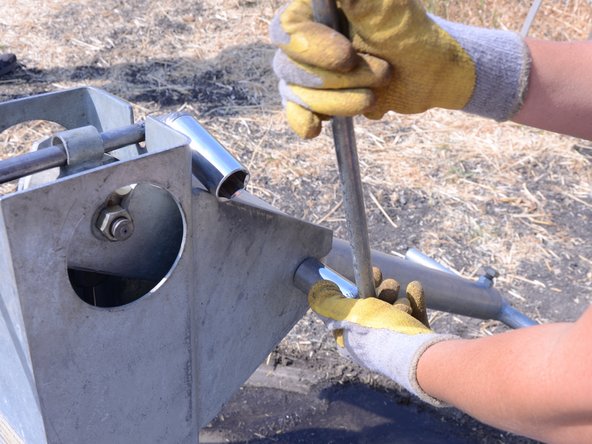
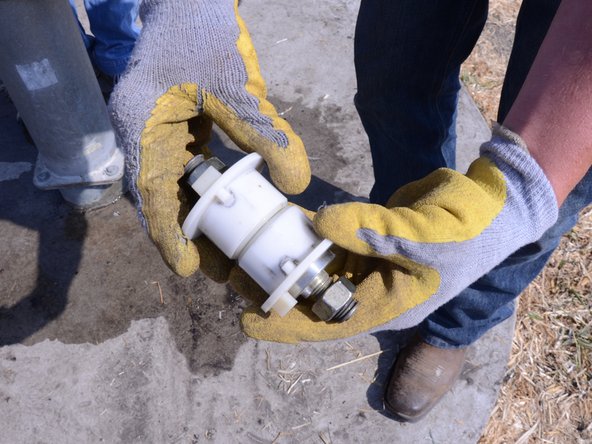
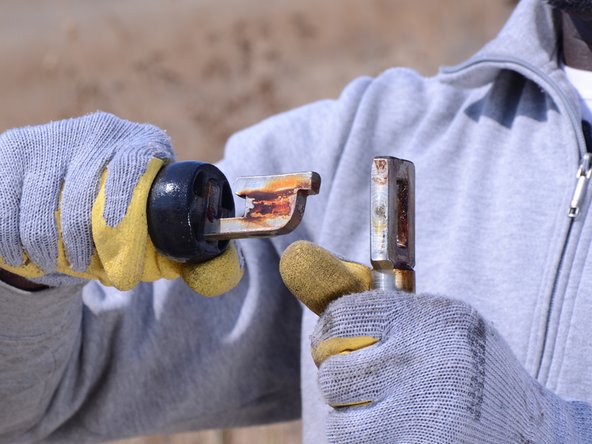
    • Unhook the first connection by pushing it out and down, then pulling it away from the rest of the rod.

  14. 이 단계는 번역되지 않았습니다. 번역을 도와주십시오

    : 14 단계, 이미지 1/3 : 14 단계, 이미지 2/3 : 14 단계, 이미지 3/3
    • Repeat steps 11-13 for the remaining sections of pump rod.

    • Be sure to set the pump rod segments above the ground to avoid contamination.

  15. 이 단계는 번역되지 않았습니다. 번역을 도와주십시오

    : 15 단계, 이미지 1/2 : 15 단계, 이미지 2/2
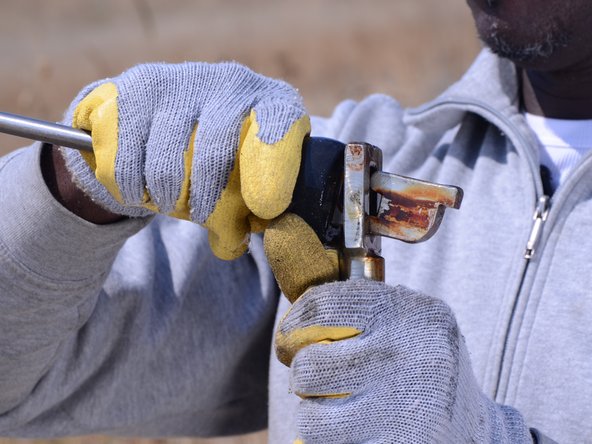
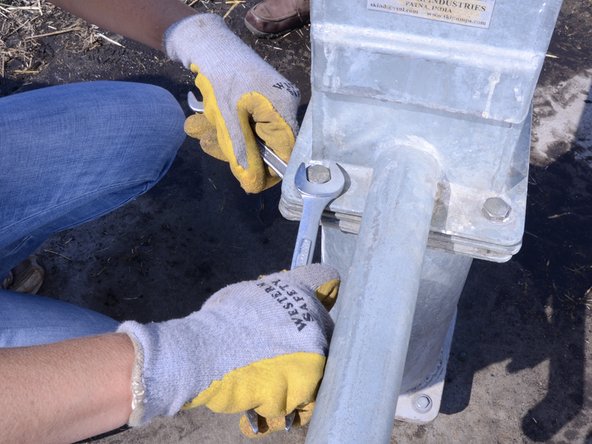
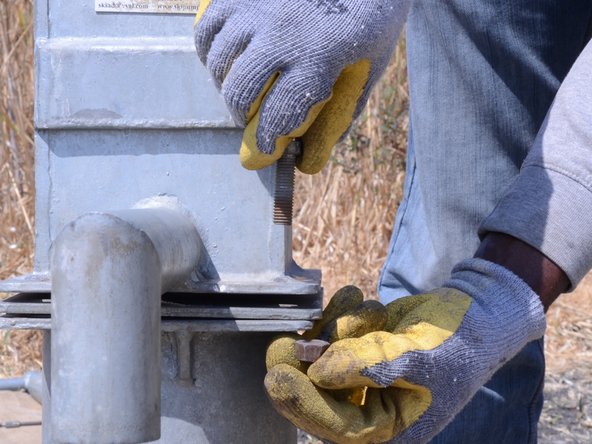
    • Place one wrench on the top side of the top base of the tank spout.

    • Place another wrench on the underside of the bolt in order to get more leverage.

    • Pull the top wrench to the right, and the bottom wrench to the left.

  16. 이 단계는 번역되지 않았습니다. 번역을 도와주십시오

    : 16 단계, 이미지 1/3 : 16 단계, 이미지 2/3 : 16 단계, 이미지 3/3
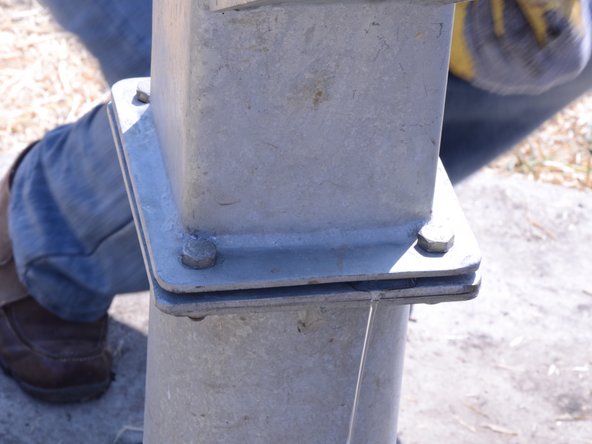
    • Remove the loosened bolt from the pump.

    • Repeat this procedure for the 3 remaining bolts.

  17. 이 단계는 번역되지 않았습니다. 번역을 도와주십시오

    : 17 단계, 이미지 1/2 : 17 단계, 이미지 2/2
    • Lift the tank straight up to remove it from the pump.

    • Be sure to place the tank in a sanitary place to prevent contamination.

결승점

다른 한 분이 해당 안내서를 완성하였습니다.

Jake Devincenzi

회원 가입일: 04/18/11

117,301 평판

안내서 57개 작성하였습니다

댓글 0개

댓글 쓰기

조회 통계:

24 시간 전: 2

7일 전: 9

30일 전: 15

전체 시간: 320