소개
The original AirPods were released in 2016, almost a decade ago. Thus, it is almost certain that no AirPods of that generation can still hold a good charge. This guide aims to solve that, but replacing AirPods batteries is extremely challenging. You must cut them open and work in very tight spaces. To help you complete this grueling process, many contributors at iFixit compiled this repair guide. Good luck, and let's begin!
Note: This is a very difficult procedure. It requires numerous tools and soldering skills. Please understand this... realize too, that it may not be possible to repair your AirPods. The procedure can cause other internal components to be damaged.
ALSO NOTE: the order of steps and the instructions are not (yet) in perfect synchronicity. Read through the instructions and view all the photos before you begin.
필요한 것
동영상 개요
-
-
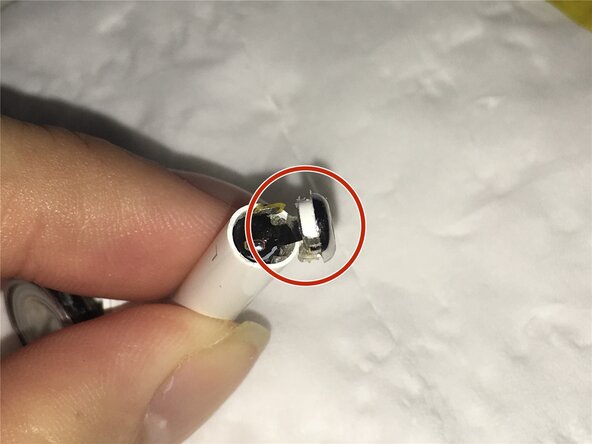
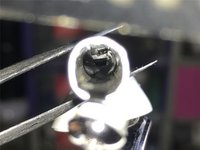
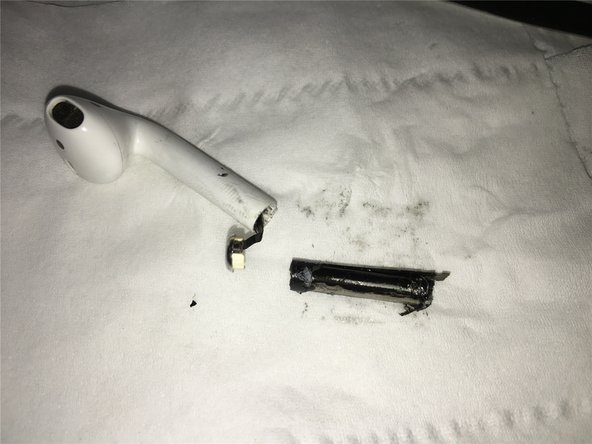
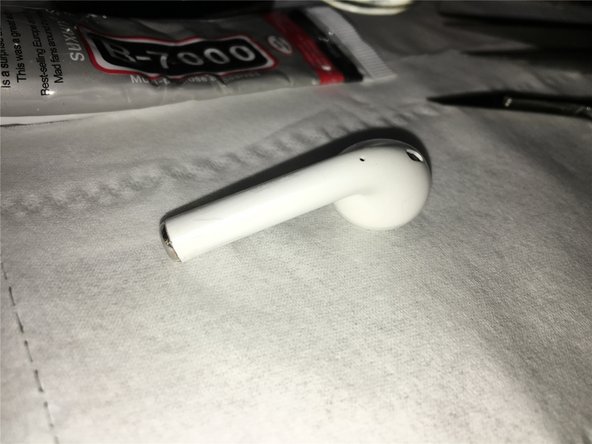
Using our tools, we pried open the bottom (silver tip) of our AirPod.
 FixBot에 문의하기
-
-
-
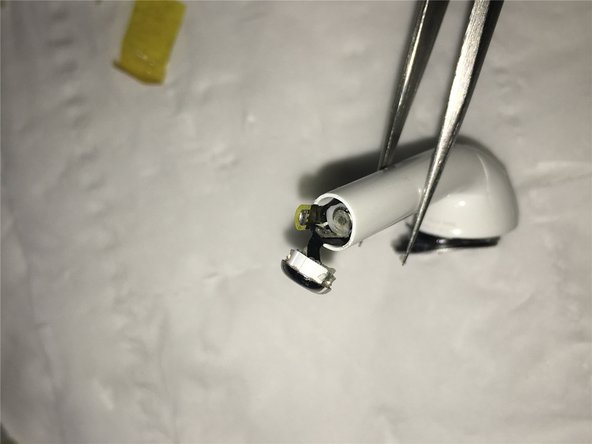
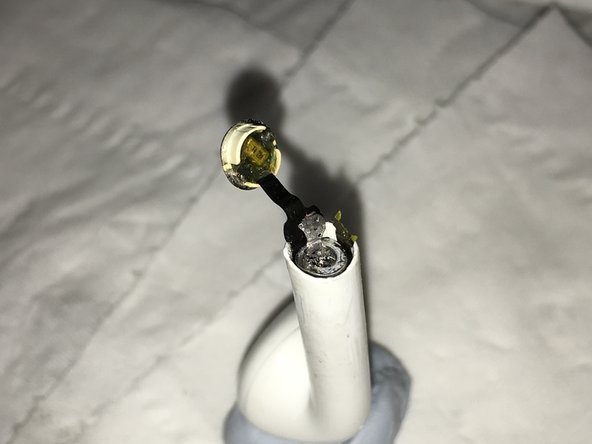
Next: Detailed disassembly of charging contact parts at the base of the battery.
-
-
-
We heated the AirPod to make battery removal easier. The heat softens the adhesive.
-
-
-
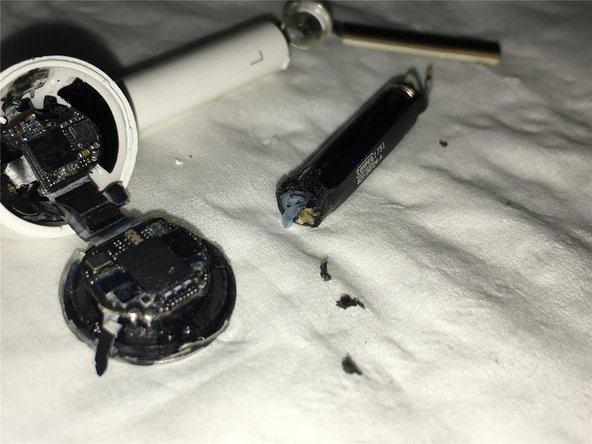
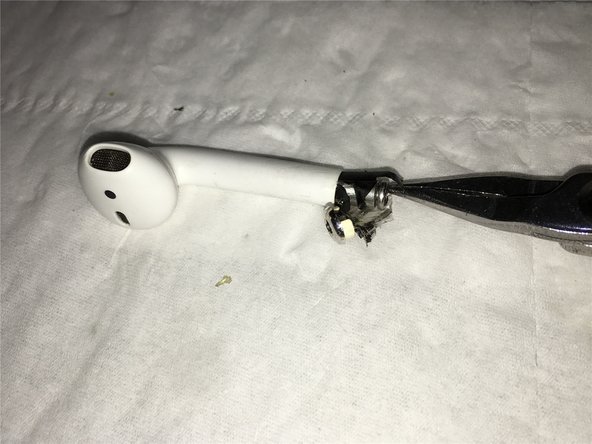
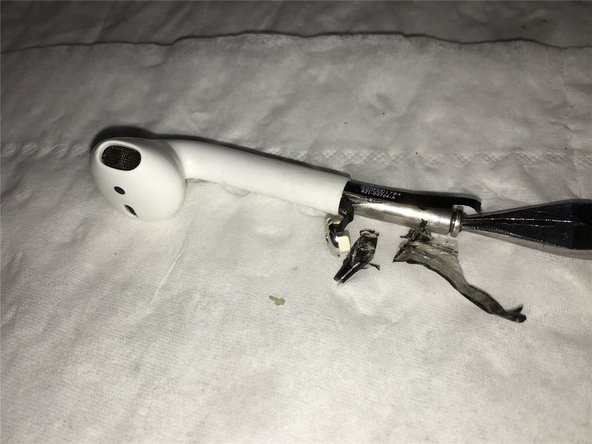
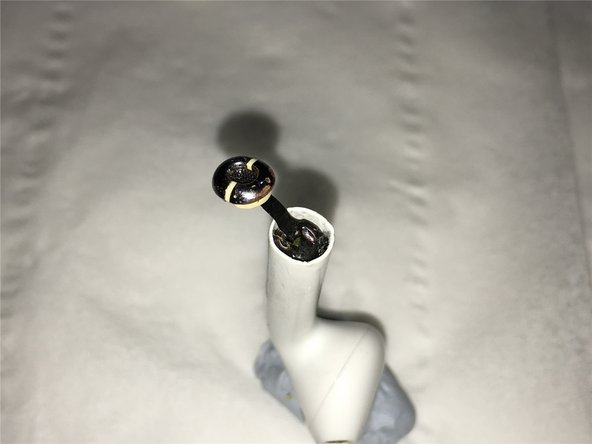
You can see here that on the first try to remove the battery, the antenna components were pulled out, damaging them.
-
-
-
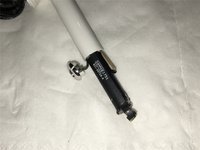
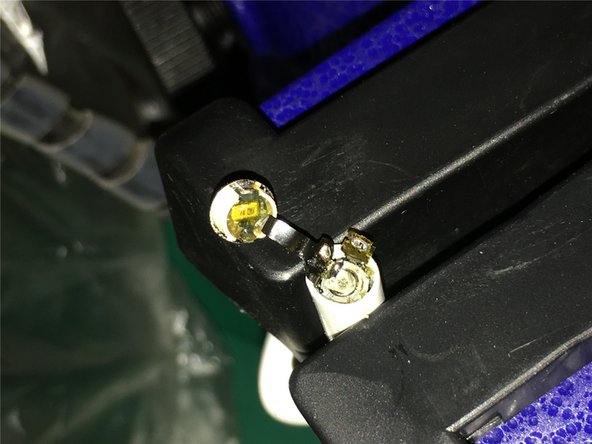
Here you can see that the negative terminal of the battery is connected from the top to the base of the charging board, and the inner surface of the antenna is glued to the battery.
-
-
-
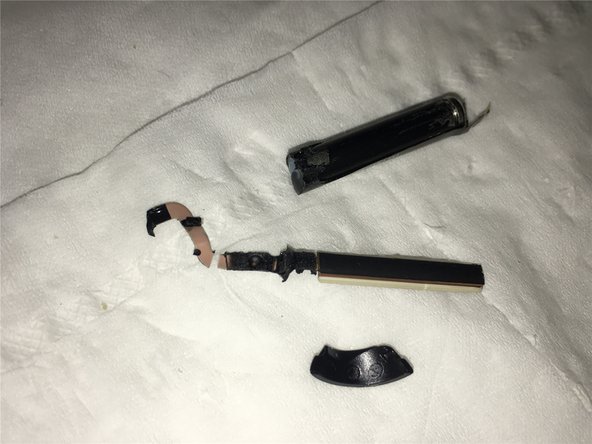
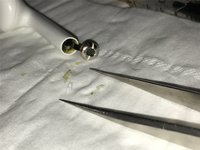
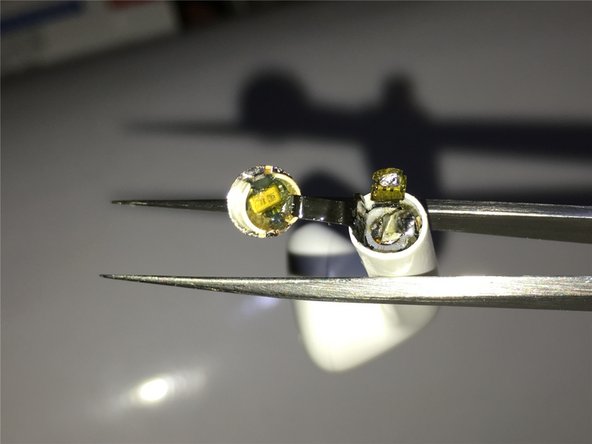
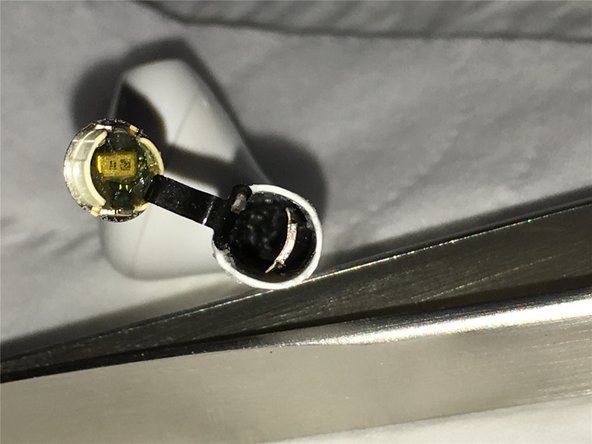
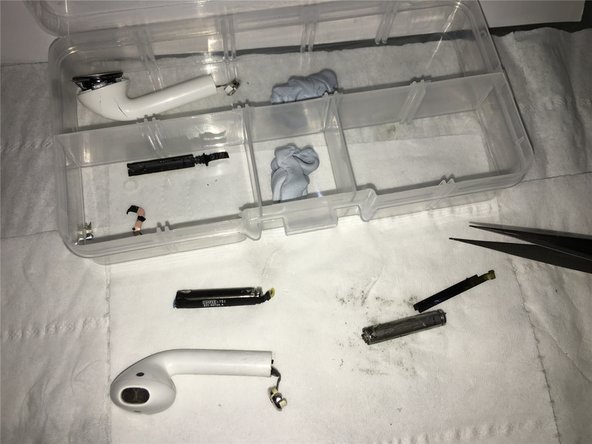
For your reference: Close-up views of the original parts of the AirPods after completely removing the battery.
-
-
-
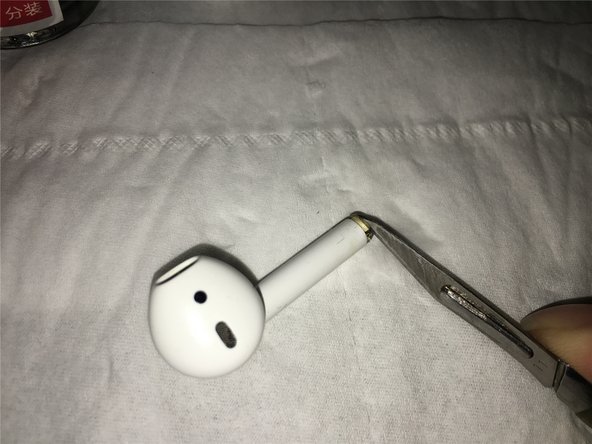
Well! The official AirPods disassembly and battery replacement begins here. After heating, we will use a scalpel to pry open the bottom charging and microphone board.
-
-
-
-
As you take it out, be careful of the short length and delicacy of the microphone lead, don't break it. Gently remove it. Then carefully clean the adhesive with fine-tip forceps or plastic tweezers and cotton bud wet with your solvent.
-
-
-
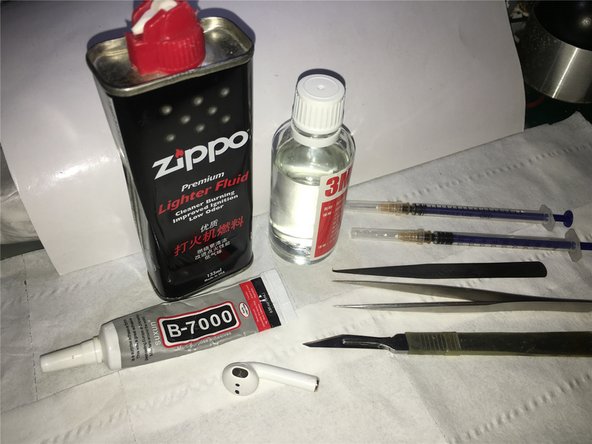
With your syringe draw up a small amount (about 3/10ths C. C. or 0.3 ml) of the Zippo fuel to dissolve and clean the adhesive inside.
-
Though not mentioned in the tools, you can alternatively use the 3M adhesive remover/solvent in the photo.
-
-
-
Prepare the required disassembly and soldering tools.
-
Firmly secure the AirPod.
-
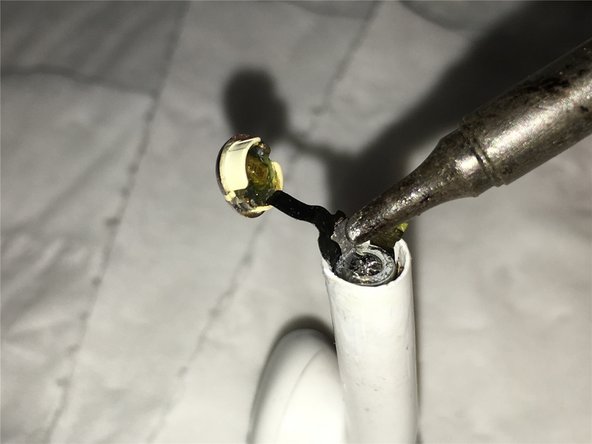
Tin the tip of your iron, then add a small amount of solder. This makes for faster heat conduction, which makes it easier to remove the bottom battery lead. (and helps to avoid overheating the battery)
-
-
-
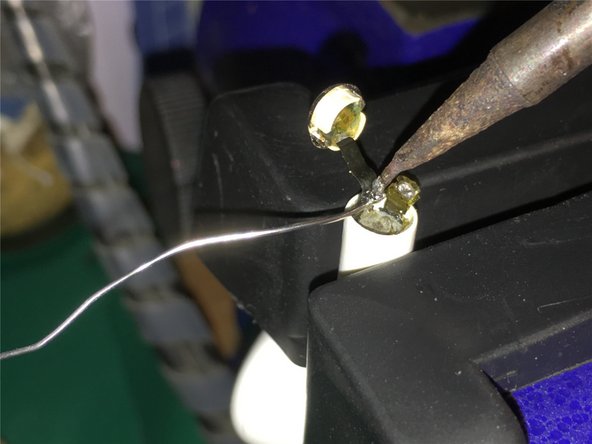
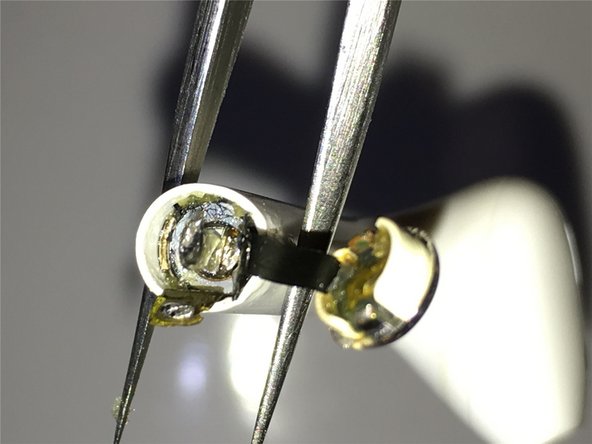
These are close-up views while disconnecting the negative lead from the battery.
-
-
-
Reposition the AirPod as shown, and bend the connector to better access the positive terminal. We will repeat the steps to de-solder the positive lead with a soldering iron.
-
-
-
Use the syringe you drew up earlier to inject the solvent around the outside of the battery. Wait for the (foamed rubber?) adhesive to soften.
-
-
이 단계에 사용된 도구:Tweezers$4.99
-
Use a pair of tweezers to wiggle the antenna glued on the outside of the battery left and right, then reapply the solvent.
-
Next we will insert a thin, piece of plastic between the battery and the inner surface of the antenna, vertically, to loosen and separate the battery and antenna.
-
-
-
Next, heat the upper area of the outer casing of the earphone with a heat gun to soften the adhesive foamed rubber on the inside. After heating, inject the Zippo solvent again. Finally, use the hook and pliers to slowly pull the battery out.
-
-
-
At last the battery is perfectly removed, you can see the bottom of the charging and microphone board and antenna leads in the AirPod.
-
-
-
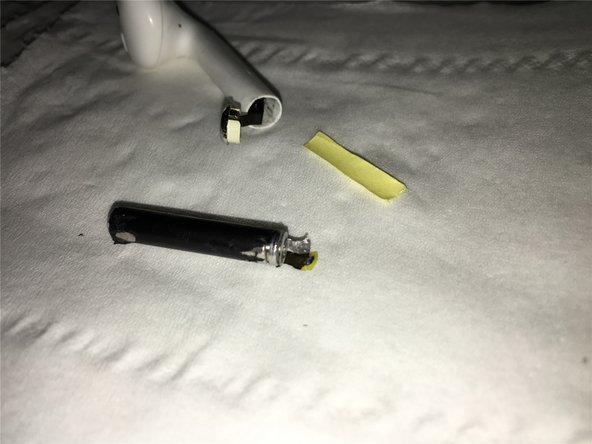
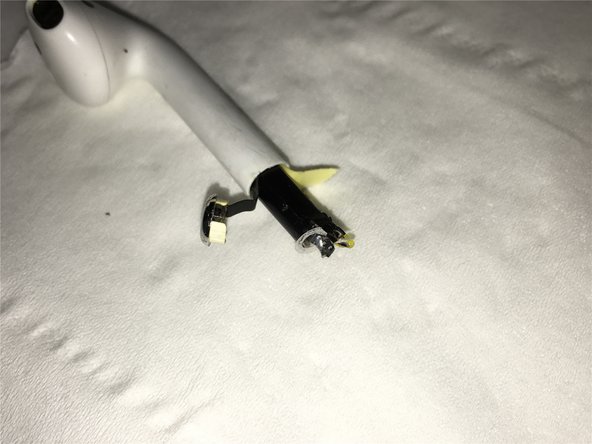
Prepare to replace the old battery. Ready the adhesive sticker backing by cutting it to the appropriate size.
-
-
-
Insert the cut piece of backing paper between the battery lead and the antenna cable to facilitate battery insertion and to reduce friction.
-
-
-
Then use the old battery that you removed to push the new battery down into place.
-
Next, solder the positive electrode of the battery.
-
-
-
Next we solder and secure the negative electrode of the battery.
-
We used B-7000 glue, but if you want a more secure bond (and thus make fixing it again impossible?) it is recommended to use ab glue or epoxy glue.
-
-
-
Clamp the glued AirPods with the C-clamps, wait for the glue to set, (or increase the temperature to accelerate the glue setting).
-
-
-
Install them, test charging, play some music, check the Bluetooth connection is stable, and finally, verify that they can be used for at least three hours.
-


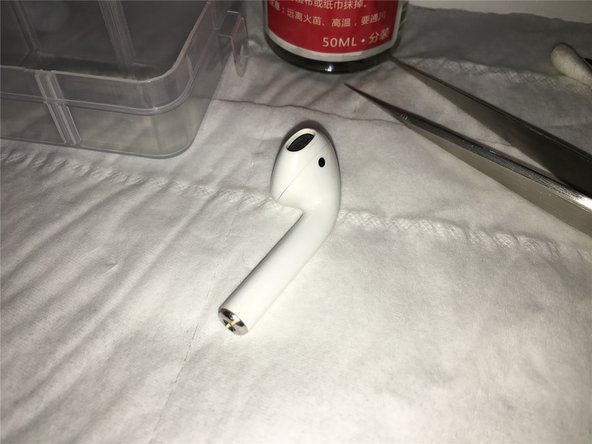


Since the first-generation AirPods have been used for a long time, the left earbud now only lasts for less than 30 minutes. The right earbud was replaced after it was lost, so the battery performance between the two is very different. This imbalance has shortened overall usage time and affected normal use.
I recently found a broken left AirPod and, after testing, discovered that its battery and battery life were still intact. This led me to try swapping the battery by disassembling the old AirPods. After some trial and error, I successfully completed the battery replacement.
I’m sharing this tutorial so others can try it too. Hopefully, it will help anyone on iFixit or elsewhere who is dealing with similar issues.
다른 19명이 해당 안내서를 완성하였습니다.

10가이드 댓글
Where can i buy an airpods battery…???
My location is Bangladesh,Asia.
Can i buy airpods battery in online???
You can try AliExpress:
CaptainDrone - 답글 공유
Hola amigo, excelente el tutorial, sabes donde puedo comprar la batería? he buscado en canales de china pero no encuentro… mil gracias, espero tu respuesta.