소개
This guide will help you remove the front panel of your Akaso EK7000. You will need a metal spudger or any other tool for prying and separating.
필요한 것
-
-
Locate the battery cover at the bottom of the camera. Use your fingers to gently pry open the battery cover.
-
-
-
-
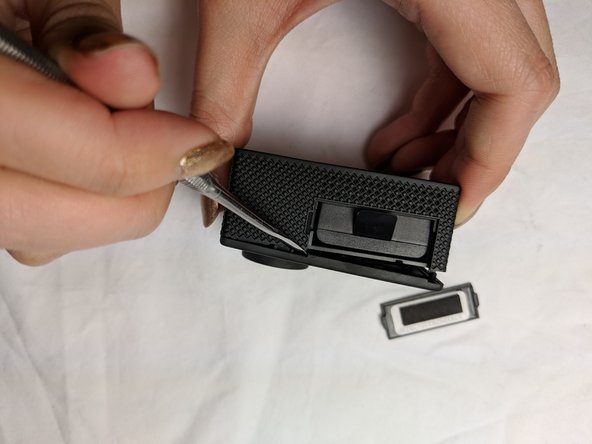
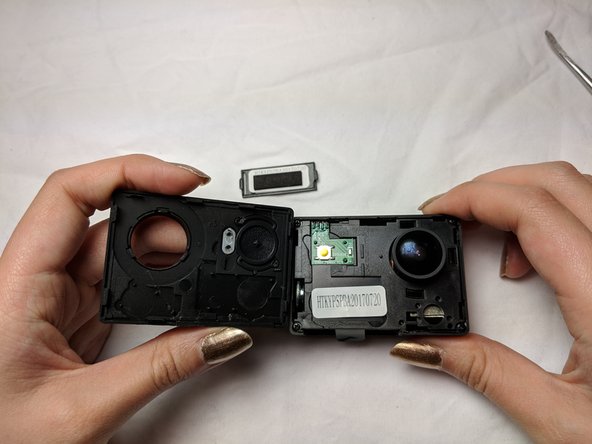
Using the metal spudger, gently pry open the front panel from the exposed battery cartridge.
-


To reassemble your device, follow these instructions in reverse order.
To reassemble your device, follow these instructions in reverse order.
다른 한 분이 해당 안내서를 완성하였습니다.
팀

UC Davis, Team S20-G2, Lore Winter 2019 UC Davis, Team S20-G2, Lore Winter 2019 회원
UCD-LORE-W19S20G2
3 회원들
안내서 4개 작성하였습니다